6. In the Study Details dialog box, define the study details and click OK.
7. Click Modify Recording Details to open the Recording Details dialog box.
8. In the Recording Details dialog box,
define the recording details and click OK.
9. Choose File > Save Study Configuration to save the study configuration.
See also:
• Template Study Configurations
• Modify a Study Configuration
Modify a Study Configuration
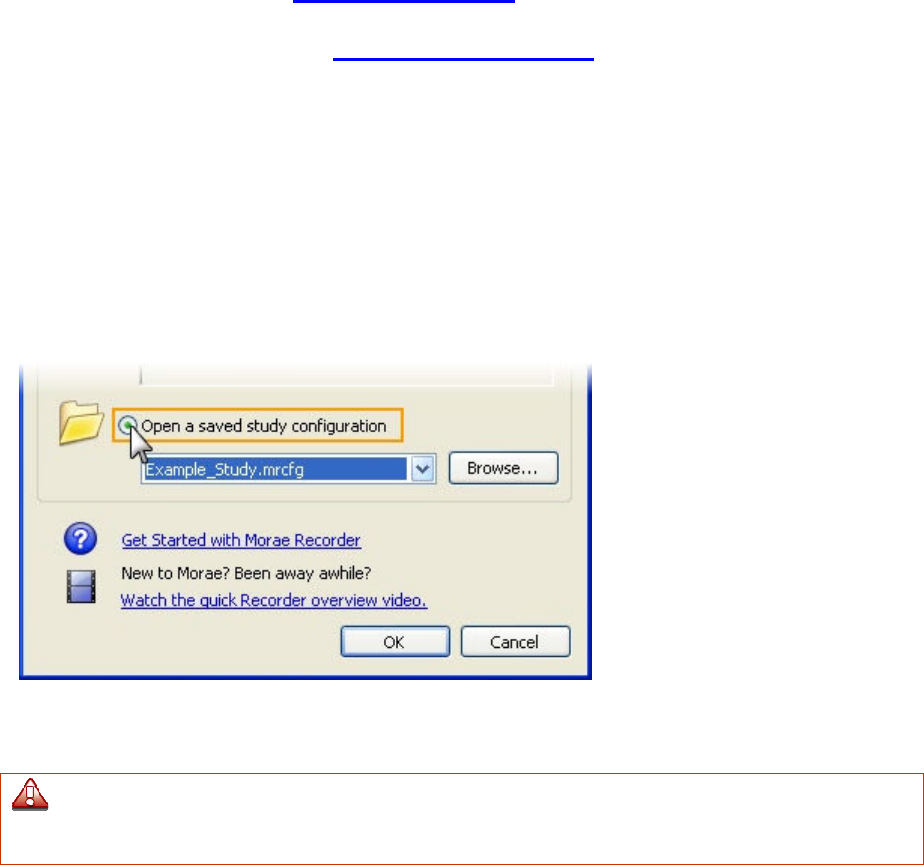
1. Open Recorder. The Welcome to Morae Recorder dialog box opens.
2. Select Open a saved study configuration.
3. Select a recently used file from the dropdown list or click Browse to locate a file on your computer.
4. Click OK. The study configuration opens in Recorder.
5. Click Modify Study Details to open the Study Details dialog box.
6. In the Study Details dialog box, define the study details and click OK.
If you modify study details, new recordings will not automatically match recordings previously
made using this study configuration. You can merge these recordings later into a single study in
Manager. For more information, see the Morae Manager Help.
7. Click Modify Recording Details to open the Recording Details dialog box.
8. In the Recording Details dialog box, define the recording details and click OK.
9. Choose File > Save Study Configuration to save the study configuration.
See also:
• Template Study Configurations
• Create a Study Configuration


