Appendix B Using the BIOS Configuration Utility to Configure the Sun Blade RAID 5 Expansion Module 61
10. After you make your selections, press Enter.
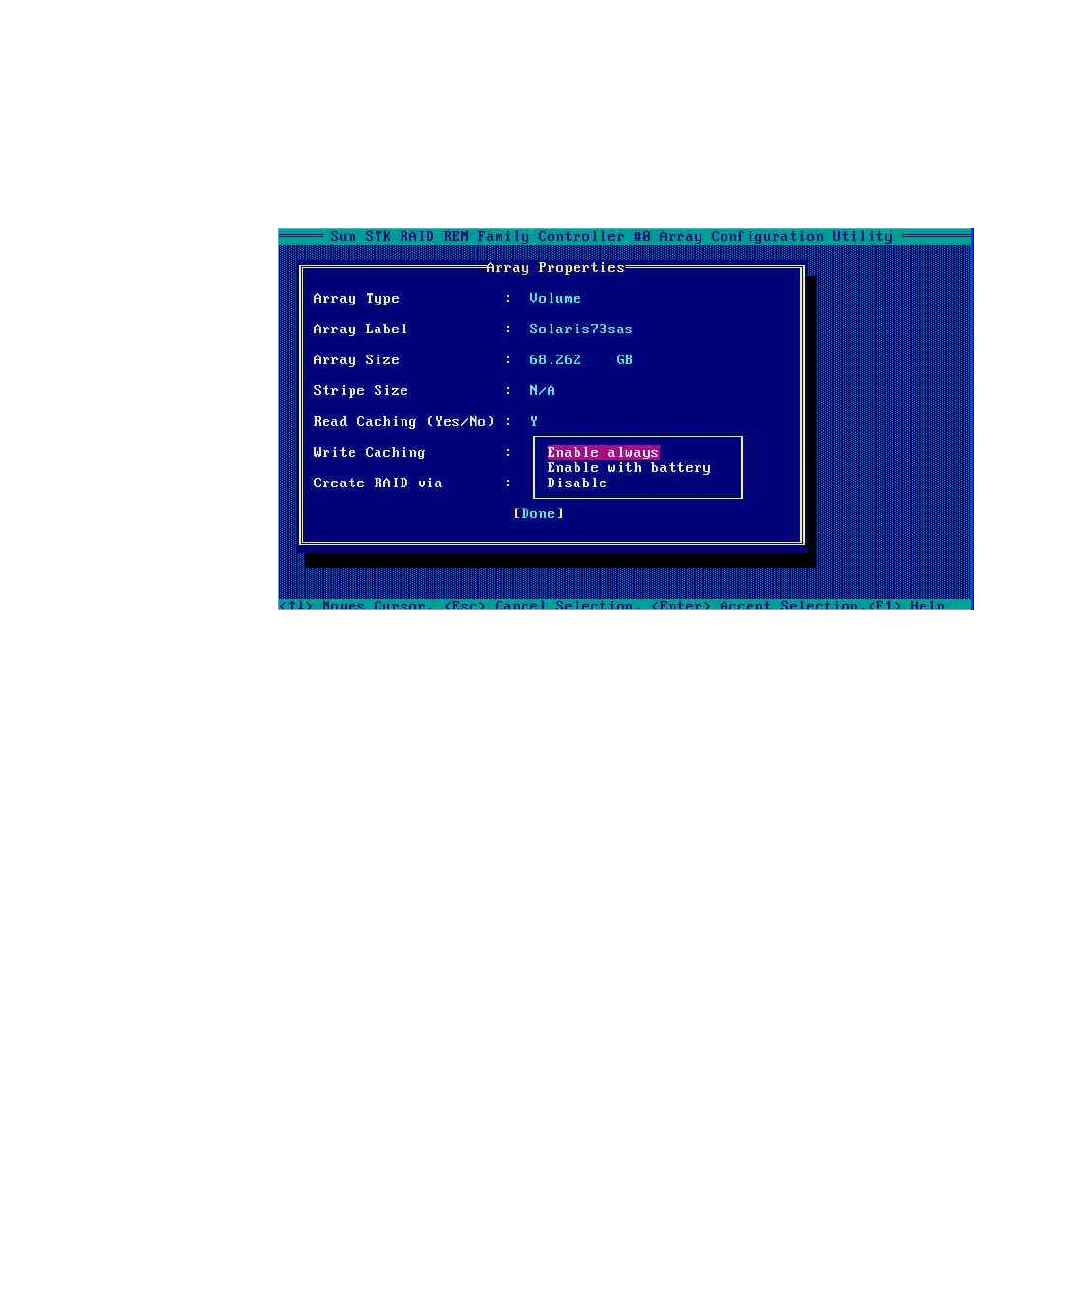
The Array Properties view appears, as shown in
FIGURE B-6.
FIGURE B-6 Array Properties View
11. Make the following selections:
■ Array Type – Select an array type from the drop-down list.
■ Array Label – Type in a label.
■ Stripe Size – Type in a stripe size.
■ Read Caching – Type Y or N.
■ Write Caching – Select an option from the list.
12. Press Enter or click Done to proceed.
Depending on the Write Caching selection, a number of warnings might appear:
■ If the Write Caching setting is Enable Always, and if you do not have a
battery, or if the battery is not charged sufficiently, several warnings might
appear. Type Yes to proceed, or type No to return to the Array Properties
screen.
■ If the write cache is enabled, a write cache warning appears (FIGURE B-7).


