Maintenance
Replacing the Head Cleaning Roller
46
Replacing the Head
Cleaning Roller
This section explains how to replace the head cleaning
roller.
Use an EPA-5CR head cleaning roller (not supplied).
Notes
• When replacing the cleaning roller, keep the power of
the printer on. Before replacement, be sure to remove
the auto sheet feeder tray.
• When replacing the cleaning roller, be careful of ink
stain around the head cleaning roller and the head
cleaning unit. The ink may stain your hands and
clothes.
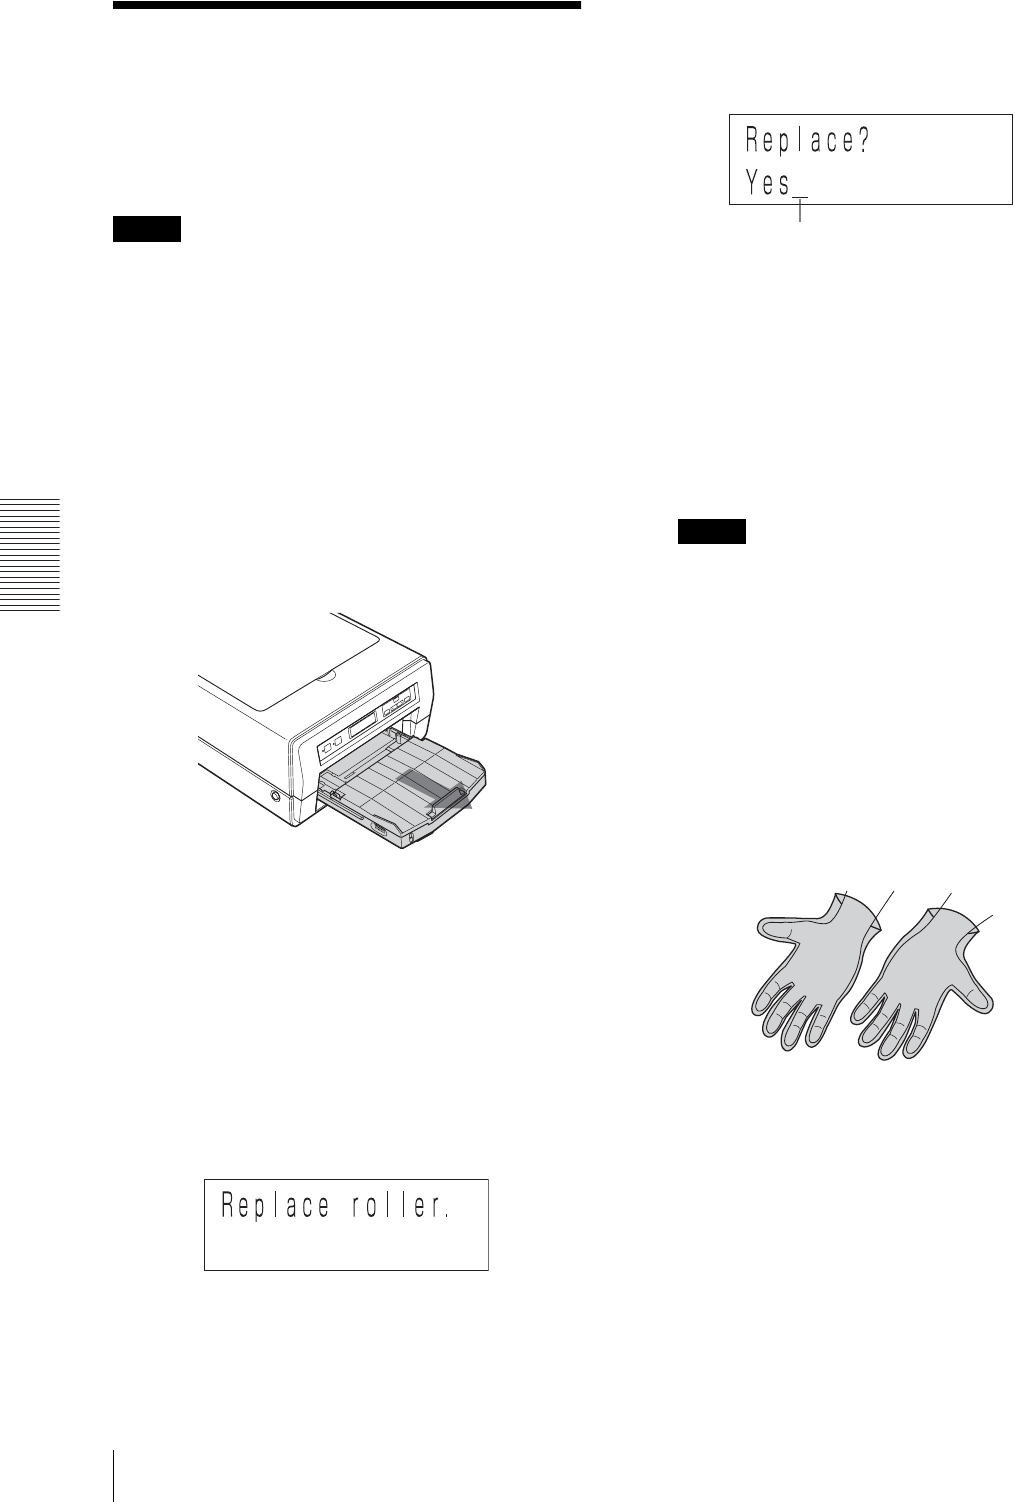
• We recommend that you put on gloves when replacing
the cleaning roller.
• Do not press buttons on the printer during
replacement.
1
Remove the auto sheet feeder tray.
2
Push the MENU button.
The READY indicator goes out and the message
“Ink level/Black (BL)” appears on the printer
window display.
3
Push the MENU button or the m/M button and
hold it until the message “Replace roller.” appears
on the printer window display.
4
Push the SET button.
The message “Replace?/Yes_” appears on the
printer window display.
If the message “Replace?/No_” appears
Display “Yes_” by pressing the m/M button,
and then push the SET button.
5
Push the SET button.
The message changes from “Warming up” to
“Ready to replace”, and then, after several seconds,
the message “End?/Yes” appears.
Note
While the cleaning roller is being replaced, the
message “Ready to replace.” or “End?/Yes.”
appears.
At this time, do not open the main cover. If you
open the main cover, this may cause the printer to
malfunction.
6
Remove the used head cleaning roller in use as
follows.
1 Put on the glove supplied with the head
cleaning roller.
Cursor


