Test Patterns
Generated by the projector itself. Utilized as installation basis for better installation of the projector.
Setup
Test Patterns
51
1
MENU
2, 3, 4
2, 3, 4
…/†
5
EXIT
NOTE
■
The Crosshatch and
Screen Size patterns
of this projector are
provided by JKP (JK
Production).
■
The Red/Green/Blue
colors of the test
patterns are only for
the color adjustment
procedures, and may
not comply with the
actual colors
displayed during
video playback.
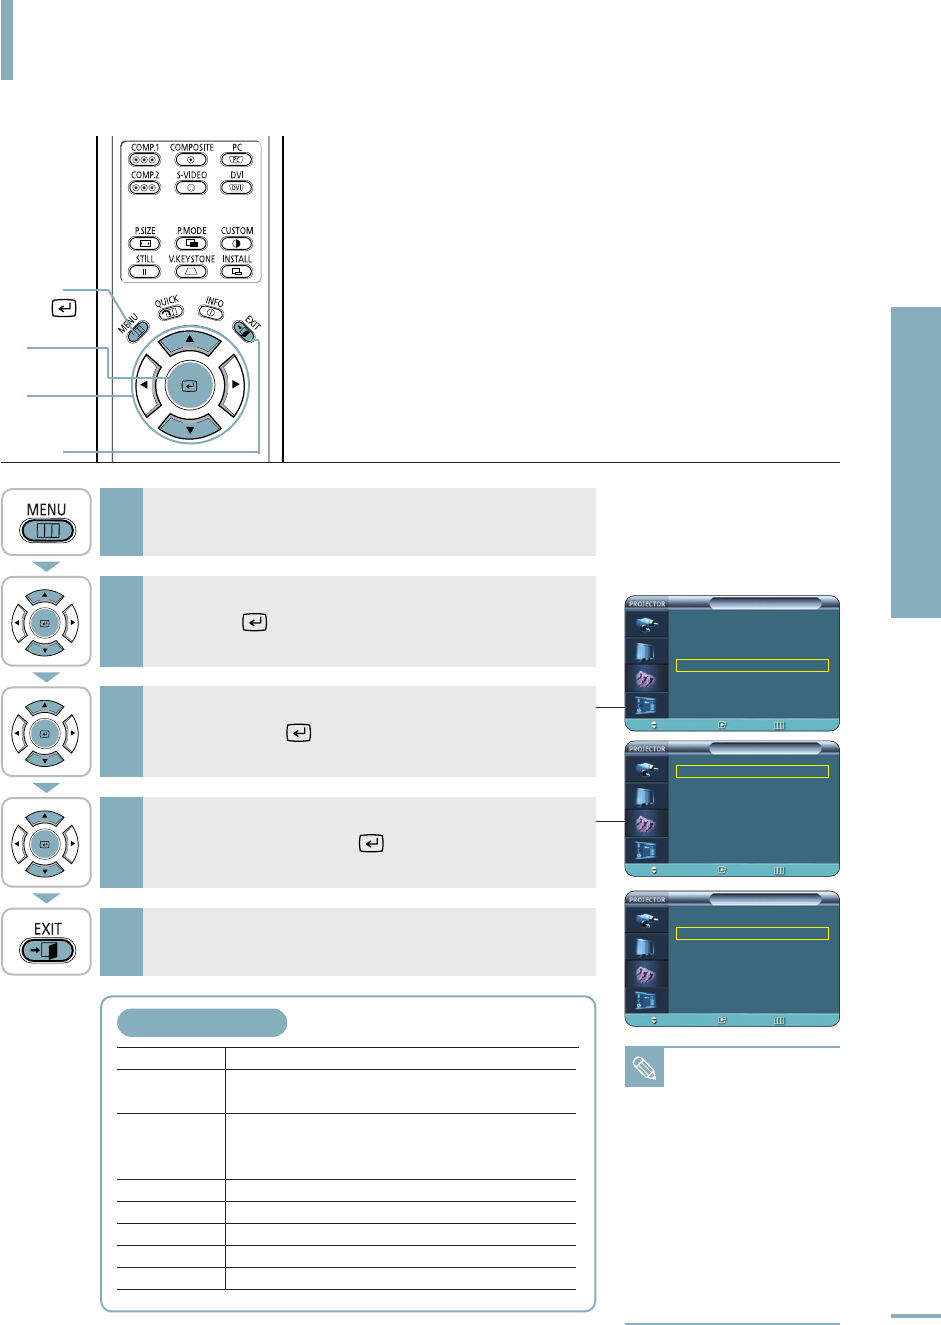
Press the MENU button.
The main menu is displayed.
1
Press the ▲ or ▼ button to move to Setup, then
press the button.
The Setup menu is displayed.
2
Press the EXIT button to exit the settings.
5
Press the ▲ or ▼ button to move to Test Pattern,
then press the button.
The Test Pattern options will be displayed.
3
Press the ▲ or ▼ button to move to desired
pattern, then press the button.
The selected pattern is displayed.
4
Crosshatch
You can check whether the picture is distorted or not.
Screen Size You can refer to picture format sizes such as 1.33:1
or 1.78:1.
Color Standard You can view the difference by changing the Color
Standard to SMPTE_D/HD/EBU. For more information
about the Color Standard, refer to page 32.
Red Red Screen, only for color adjustment.
Green Green Screen, only for color adjustment.
Blue Blue Screen, only for color adjustment.
White White Screen, only for color adjustment.
6500K_White White Screen, shows brightest white color possible.
Test Pattern Menu
Setup
Install : Front-Floor √
Light Setting : Theater √
V-Keystone √
Test Pattern √
PC √
Factory Default √
†
More
Move
Enter Return
Test Pattern
Crosshatch √
Screen Size √
Color Standard √
Red √
Green √
Blue √
† More
Move
Enter Return
Test Pattern
… More
White √
6500K_White √
Move Enter Return


