15
Chapter 2 Settings and Adjustments
3
Performtheautoadjustmentagainwiththeanalogscreen
adjustmentpatterndisplayed.
● Toadjustickering,screenposition,andscreensize
automatically[Screen]
(1) Display Pattern 1 of the screen adjustment pattern les in full
screen on the monitor.
(2) Choose <Screen> from the <Auto Adjustment> menu, and press
.
The <Auto Adjustment> menu appears.
(3) Choose <Execute> with or , and press .
Flickering, screen position, and screen size are corrected by the auto-
adjustment function.
If the screen is not displayed correctly even after adjusting in step
3 above, perform the adjustments according to the procedures on
the following pages. When the screen is displayed correctly, go to
step 5 “To adjust color gradation automatically [Range]”.
4
Performadvancedadjustmentsforthefollowingusingthe
<Screen>menuoftheAdjustmentmenu.
Adjust the clock, phase and position, in this order.
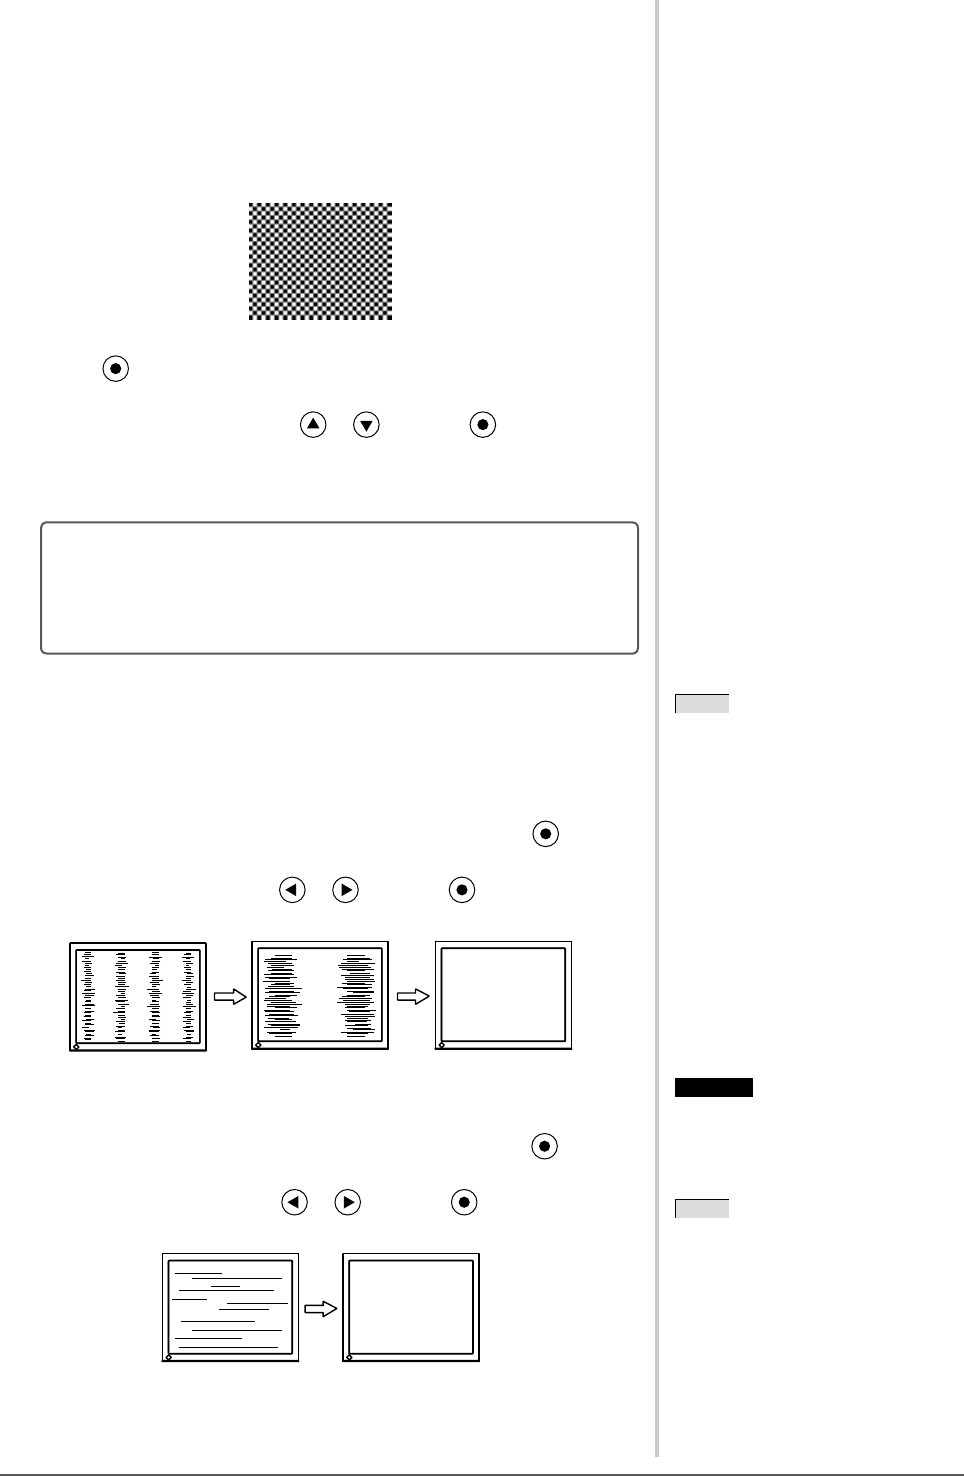
● Toeliminateverticalbars[Clock]
(1) Choose <Clock> from the <Screen> menu, and press
.
The <Clock> menu appears.
(2) Adjust the clock with or , and press .
The adjustment is completed.
● Toremoveickeringorblurring[Phase]
Adjustable range: 0 to 63
(1) Choose <Phase> from the <Screen> menu, and press
.
The <Phase> menu appears.
(2) Adjust the phase with or , and press .
The adjustment is completed.
NOTE
• Press the control button slowly so as
not to miss the adjustment point.
• When blurring, ickering or bars
appear on the screen after adjustment,
proceed to [Phase] to remove
ickering or blurring.
Attention
• Flickering or blurring may not be
eliminated depending on your PC or
graphics board.
NOTE
• When vertical bars appear on the
screen after adjustment, go back to
“To eliminate vertical bars [Clock]”.
(Clock → Phase → Position)


