EN-23
8. ProjectorView
8.3. Entering projector information
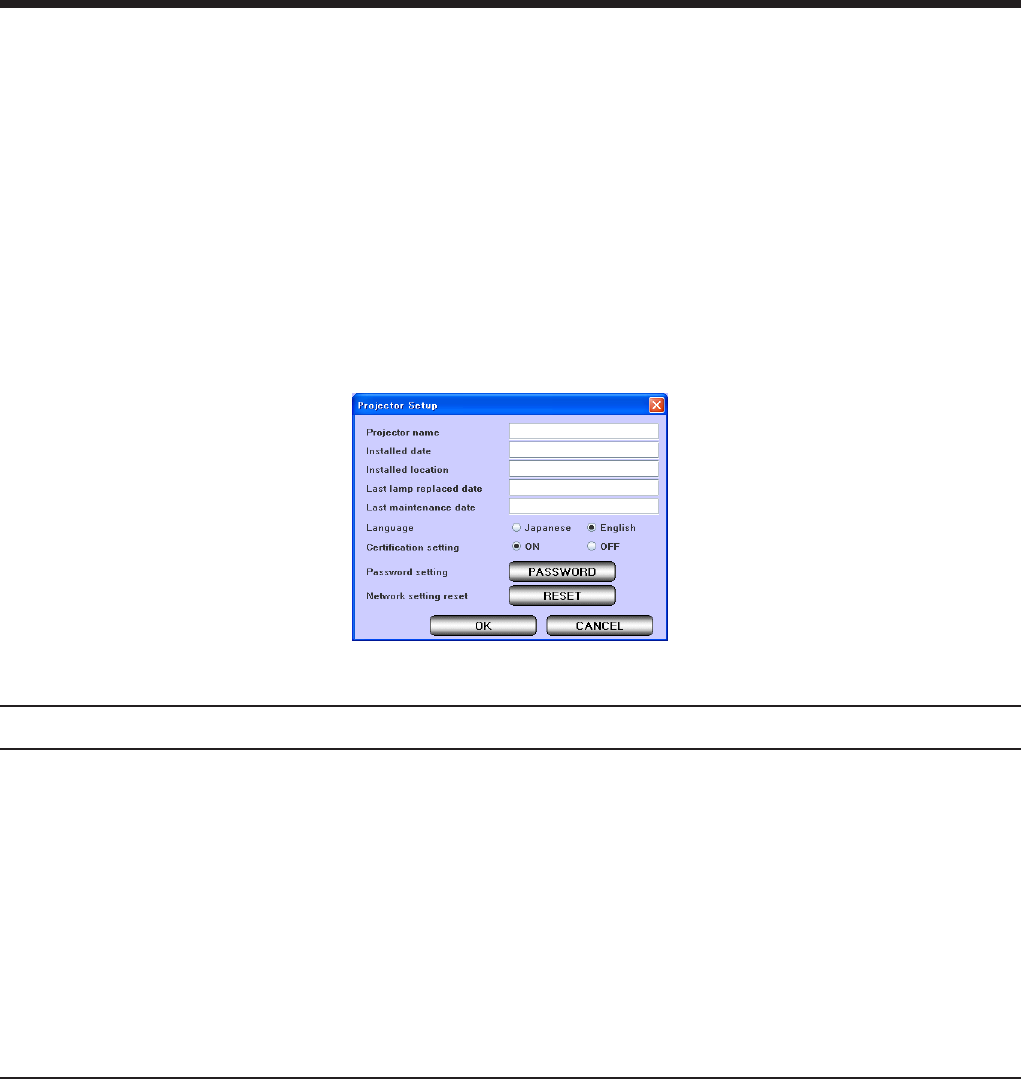
(1) Click [SETUP] in the ProjectorView main window (PROJECTOR INFORMATION).
• Setupwindowisdisplayed.
<Note>
• BesuretoenterdatawithinveminutesaftertheSetupwindowisdisplayed.ClickOKtosavechanges.
The connection will turn off in five minutes after the window is displayed so you need to go back to the
main window (PROJECTOR INFORMATION) to access the Setup window.
(2) Enter data in each field, choose Language between Japanese and English, set Certification
setting to ON or OFF, specify Password setting, and choose to [RESET] Network setting
reset.
<Note>
• WhenyouchangetheLanguagesetting,besuretorestarttheProjectorViewforthechangestotakeeffect.
Thefollowingtableexplainseachitem.
Item Description
Projector name Enter a unique name to identity the projector.
Installed date *
1
Enter the date when the projector is installed.
Installed location *
1
Enter the place where the projector is located.
Last lamp replaced date
*1
Enter the date when the last change of lamp was made.
Last maintenance date *
1
Enter the date when the last maintenance was done.
Language Choose the display language of ProjectorView (Japanese or English).
Certification setting Choose whether to set the network certification setting.
Password setting Click [PASSWORD] to access the network password setting window. (For
details, see “8.4. Setting the network password”.)
Network setting reset Click [RESET] to access the network settings reset window. (For details, see
“8.5. Resetting the network settings”.)
*
1
Fordataentry,usesingle-bytealphanumericalcharactersandsymbols(+-/=*_!?.,:;#$%&()|<>[]{
}"' @ ).


