CAUTION: The panels have cut metal edges. Handle
carefully to avold cutr to hands and scratcher on panela.
To change the front panel color:
1.
Remove the drawer from the unit. (See Step 4 of the
Installation Instructions.)
2. Remove handle by removing the screws at the top
inside of the drawer.
3. Remove spacer and inside panel. See Figure 16.
4. Remove spacer and center panel if supplied.
5. Remove outside front panel. DO NOT SCRATCH.
6.
Select the color you wish to have showing and
carefully push the panel in the drawer trim
7. Replace the spacer, then carefully replace the
remaining panels and spacers on the inside.
8.
Replace the handle with the screws removed In Step 2
above.
9. Replace the drawer
kiiiiik
REPLACE HANDLE BEFORE OPERATlNG(
COMPACTOR TO AVOID INJURY FROM
MOVING
PARTS.
CUSTOM DECORATING
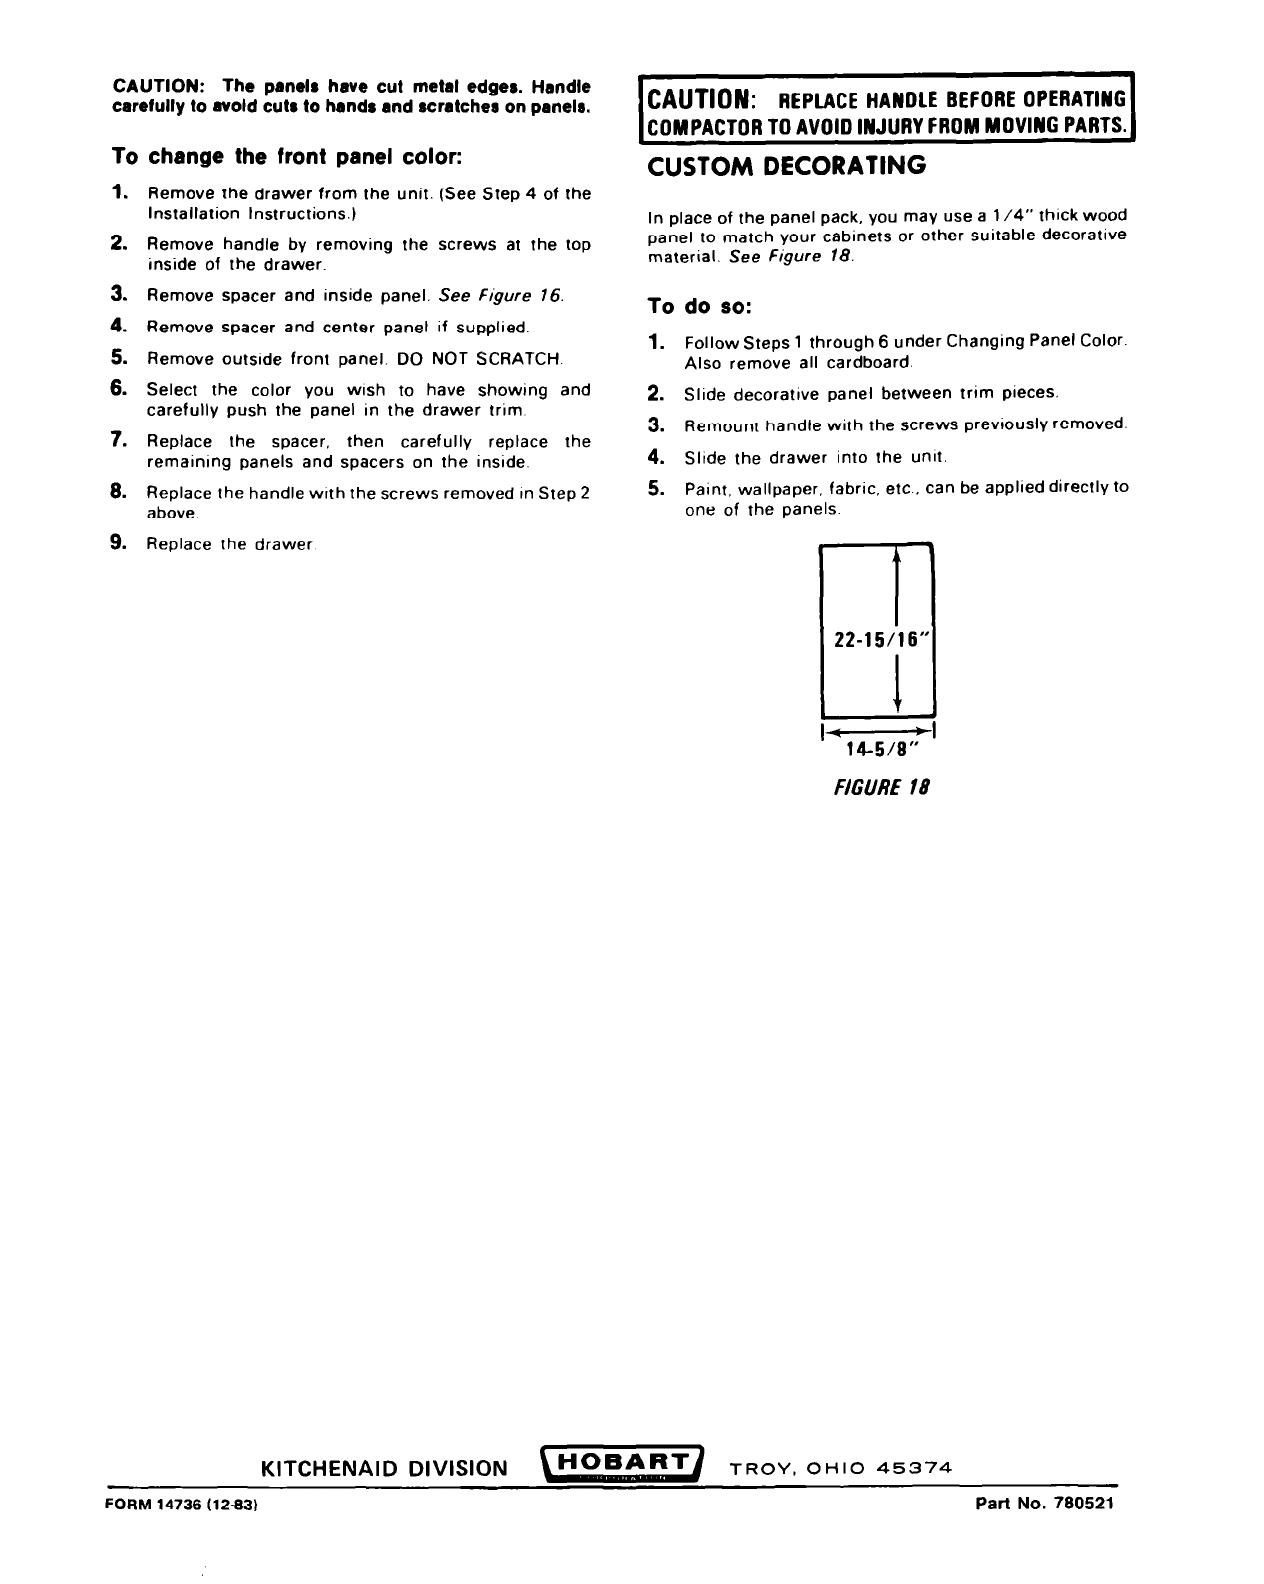
In place of the panel pack, you may use a l/4” thick wood
panel to match your cabinets or other suitable decorative
material. See Figure 18.
To do so:
1.
Follow Steps 1 through 6 under Changing Panel Color.
Also remove all cardboard.
2. Slide decorative panel between trim pieces.
3. Remount handle with the screws previously removed.
4. Slide the drawer into the unit.
5. Paint, wallpaper, fabric, etc., can be applied directly to
one of the panels
T
22-15/16’
-M-5/6’;
FIGURE 18
KITCHENAID DIVISION
TROY, OHIO 45374
FORM 14736 (12-83)
Part No. 780521


