60 Using the Remote Control
2. Use the pointer button on the remote control to position the
pointer on the screen.
3. To draw a straight line, place the pointer where you want the line
to begin and press
Enter. Move the pointer to where you want the
line to end, and press
Enter again.
4. To draw a curved line, place the pointer at the start of the line,
then press and hold the
Enter button until it lights. Then use the
pointer button to move the pointer and draw on the screen.
Press
ESC when done.
5. If you want to draw additional lines, repeat steps 3 and 4.
6. When done drawing, press
ESC to clear the screen.
Customizing the Pointer Tools
You can customize the shape and size of each of the three pointer
tools, select the color and width of the line made with each pointer,
and set how fast you can move the pointer across the screen.
1. Press the
Menu button on the remote control, highlight the
Effect menu, and press Enter.
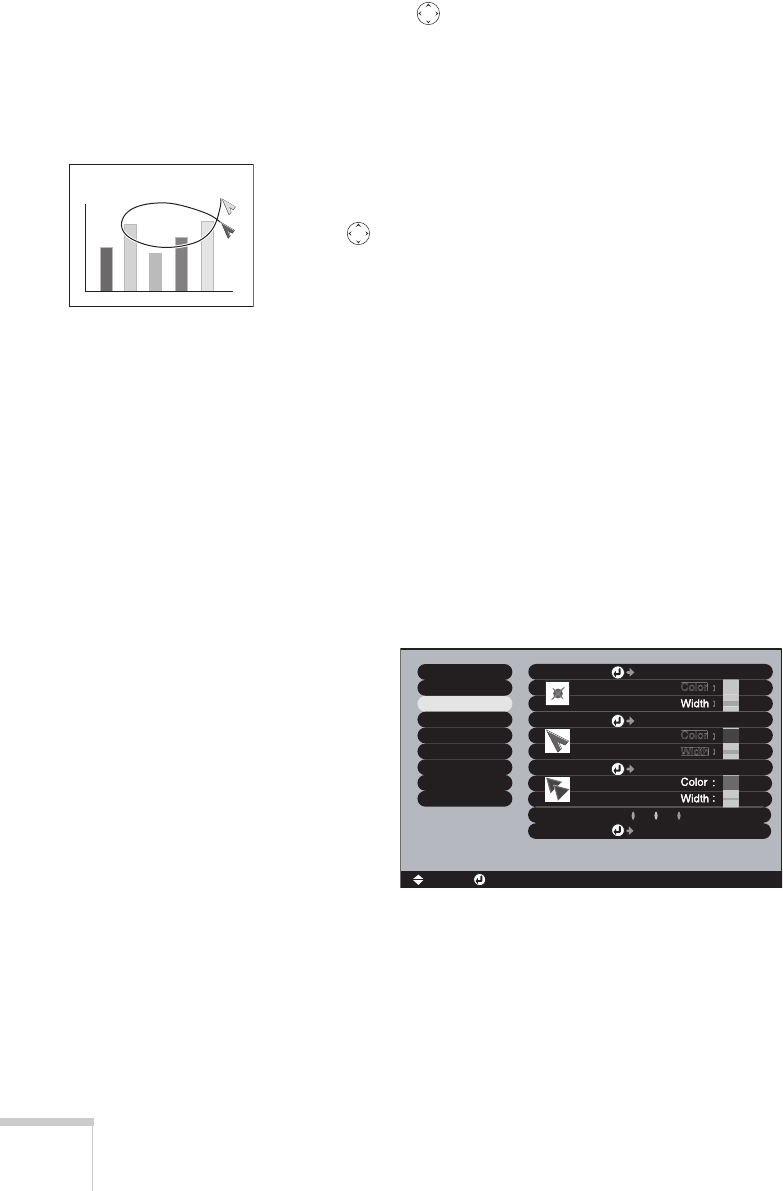
You see this screen:
Set
Video
Audio
Setting
User's Logo
Advanced1
Color Mode
Pointer/Line1
Color
[Menu]: Exit
Pointer Speed
:
[ ]: Enter
[ ]: Select
About
Reset All
Advanced2
Effect
Zoom Rate
:
100%
Set
Pointer/Line2
Set
Pointer/Line3
Zoom Rate
:
100%
Zoom Rate
:
100%
L M
Execute
H
Reset


