11
Advanced Color Adjustments
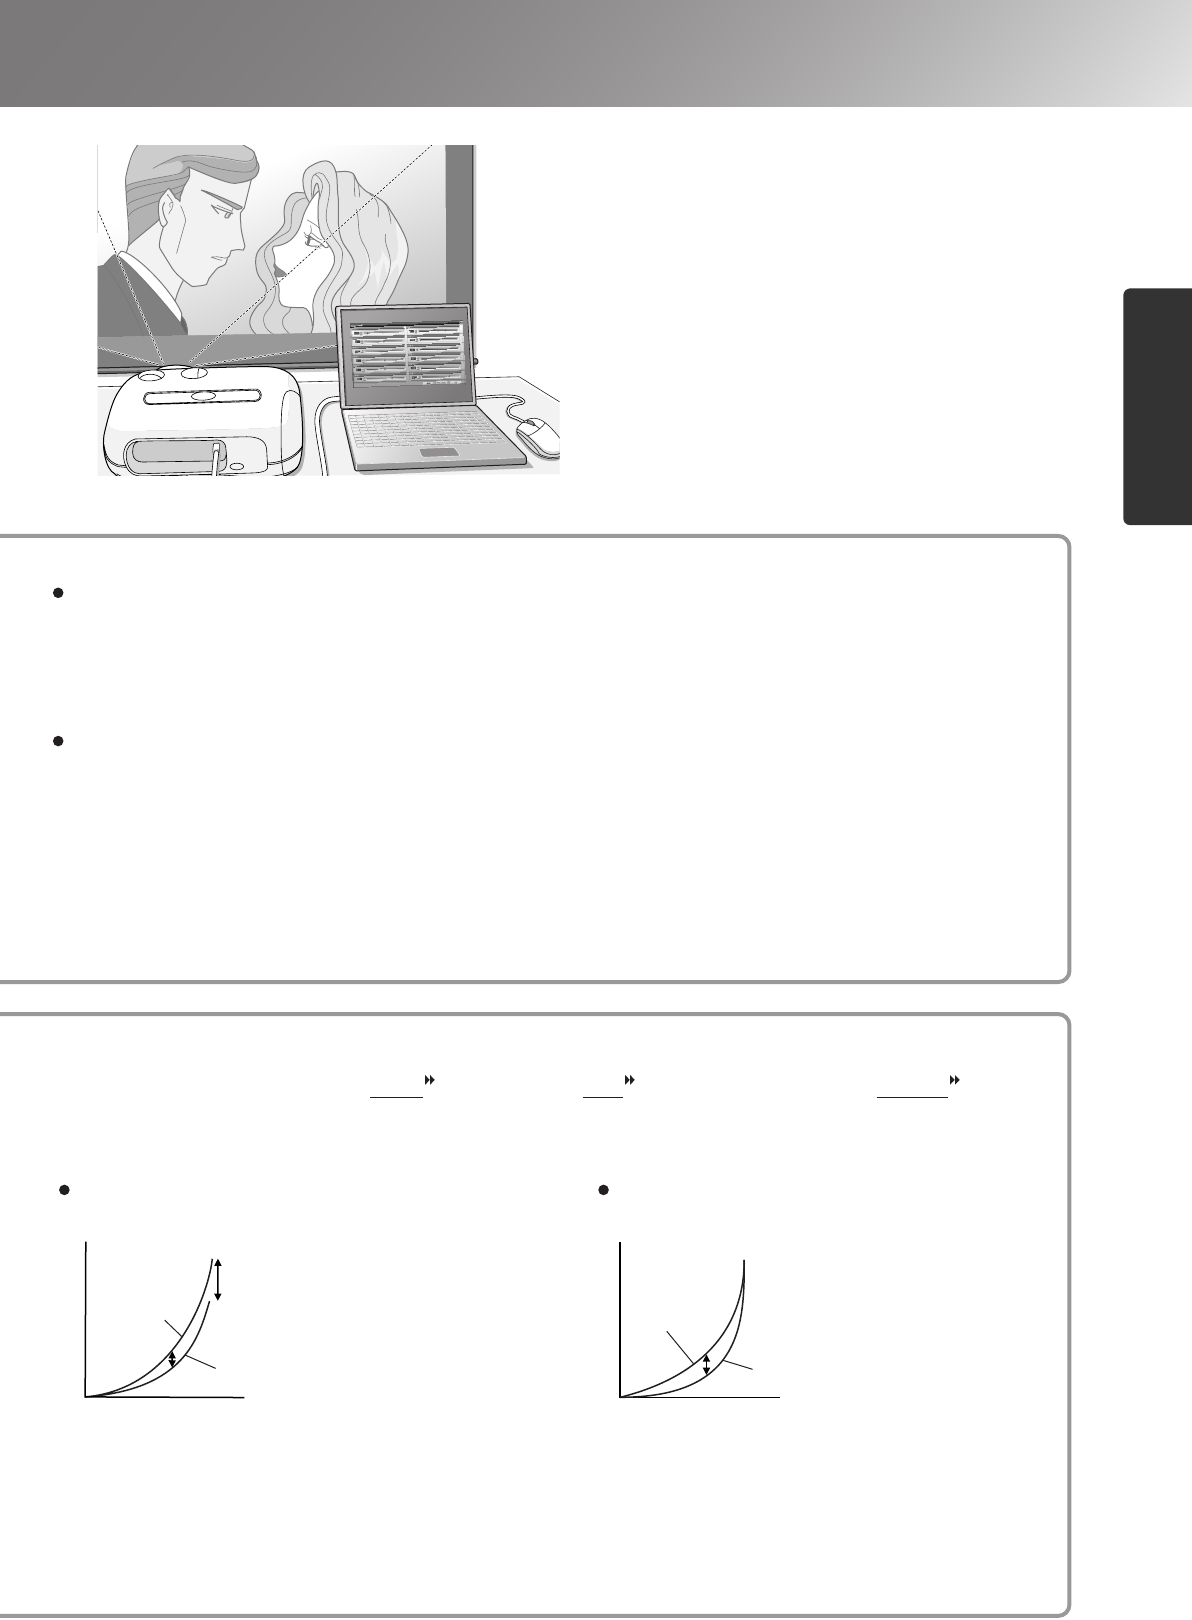
Basic Image Quality Adjustments
Brightness
Input signal
When
adjusted to
+ side
When
adjusted to
– side
Brightness
Input signal
When
adjusted to
– side
When
adjusted to
+ side
Color Temp.
You can adjust the overall tint of images.
If you select "High", images appear bluish, and if you select "Low", images appear reddish.
Select one of three levels: "High" (9300K), "Medium" (6500K) or "Low" (5500K).
Flesh Tone
This can be used to adjust the flesh tones for images of people.
The Epson Cinema Filter effect that is automatically applied to images when a "Color Mode" setting
is made creates natural-looking flesh tones. If you would like to further enhance flesh tones, use this
"Flesh Tone" setting to make the adjustment.
If set to the + side, the colours become greenish, and if set to the – side, the colours become reddish.
Gain adjustment Gamma adjustment
The image brightness can be adjusted by adjusting the individual R (red), G (green) and B (blue)
components of the dark areas (offset ), bright areas (gain ) and intermediate areas (gamma )
respectively. Because such detailed adjustments are possible, images with greater depth can be
obtained.
If you would like bright areas to appear
more clearly, change the setting to the –
side. If you change it to the + side, bright
areas will become whiter, but the contrast
will become poorer.
If the setting is changed to the – side,
smoother images can be obtained. If the
setting is changed to the + side, sharper
images can be obtained.


