38 Projecting
■ Or press the Menu button on the remote control, select the
Settings menu, and press Enter. From the Settings menu, select
Keystone and press Enter. Use the pointer button on the
remote control to adjust the keystone setting as needed.
Correcting Computer Images
If you’re connected to a computer and the image doesn’t look right,
press the
Auto button on the remote control (or the Enter button
on the projector’s control panel). This automatically resets the
projector’s tracking, sync, resolution, and position settings.
If vertical stripes appear in the projected image and the
Auto button
doesn’t correct the problem, adjust the projector’s Tracking setting.
See page 102 for instructions.
If the image appears fuzzy or flickers and the
Auto button doesn’t
correct the problem, adjust the projector’s Sync setting. See page 102
for instructions.
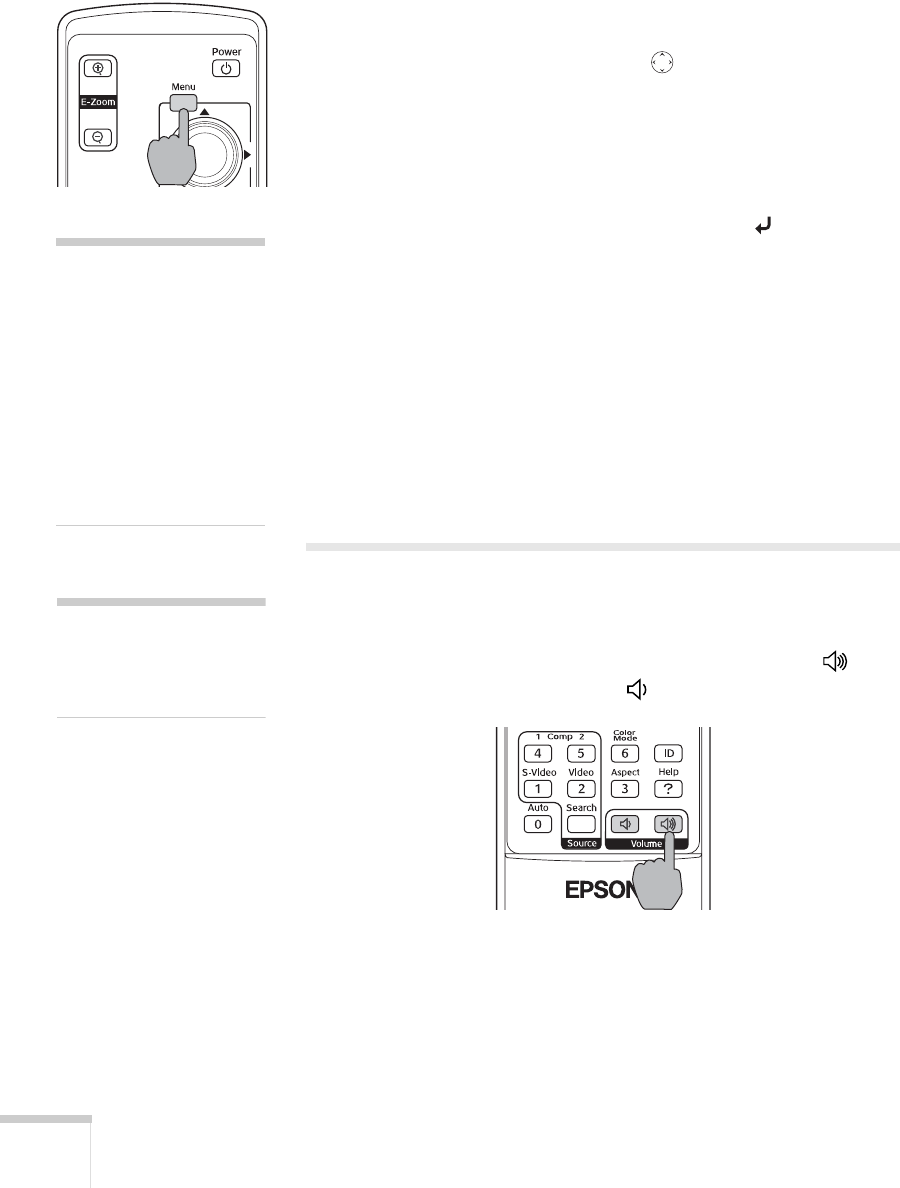
Adjusting the Volume
You can use the buttons on the remote control or projector to increase
or decrease the volume for the projector’s built-in speaker or an
external speaker system connected to the projector. Press the
button to increase the volume, or the button to decrease it.
note
You must be projecting an
image for this button to have
any effect. The
Auto button
works only with computer
images.
Make sure Auto Setup is
turned on to adjust the
source automatically; see
page 57.
note
You can also adjust the
volume using the projector’s
menu system. See page 59.


