8. Close the computer cover.
9. Connect your computer and devices to electrical outlets, and turn them on.
See the documentation that came with the drive for instructions on installing any software required for drive operation.
10. If the drive you just installed is the primary drive, insert a bootable floppy disk into drive A.
11. Turn on the computer.
12. Enter system setup, and update the appropriate Drive option.
13. Exit system setup, and restart the computer.
14. Partition and logically format your drive before you proceed to the next step.
See the documentation for your operating system for instructions.
15. Test the hard drive by running the Dell Diagnostics
16. If the drive you just installed is the primary drive, install your operating system on the hard drive.
Floppy Drive
1. Follow the procedures in Before You Begin.
2. Release and remove the front panel.
Removing a Floppy Drive
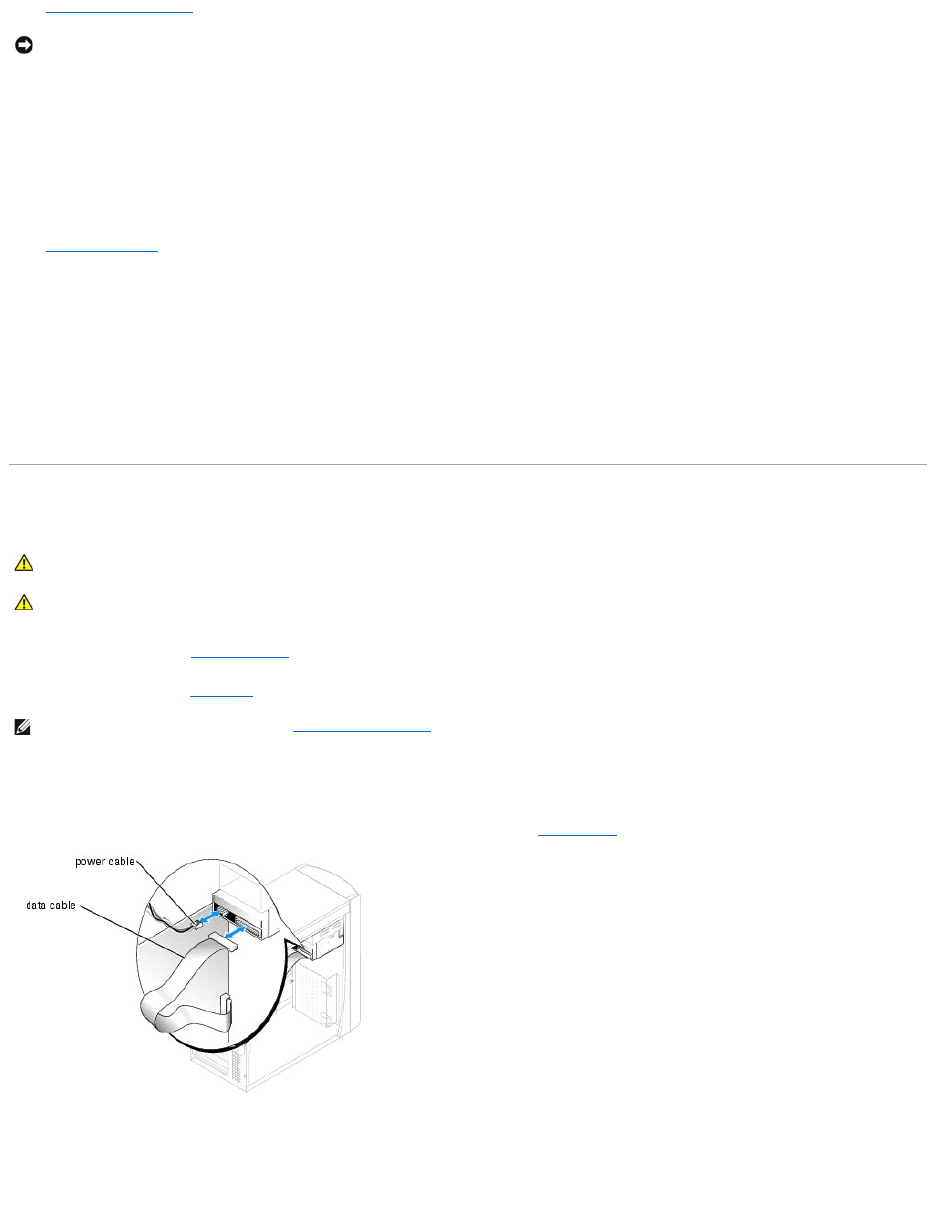
1. Disconnect the power and data cables from the back of the floppy drive and from the system board.
2. Remove the floppy drive bracket from the computer:
a. Remove the bracket-securing screw for the floppy drive.
b. Remove the bracket for the floppy drive from the computer.