104
Normally, the (Auto) white balance setting selects an optimal white
balance. When the setting cannot produce natural looking colors,
change the white balance using a setting appropriate for the light
source.
z Use the LCD monitor to confirm that the image was recorded
at the desired brightness.
z Please note that camera shake becomes a factor at low
shutter speeds. Shoot with the camera attached to a tripod.
z Use of the flash may result in an over-exposed image. If this
occurs, shoot with the flash set to
.
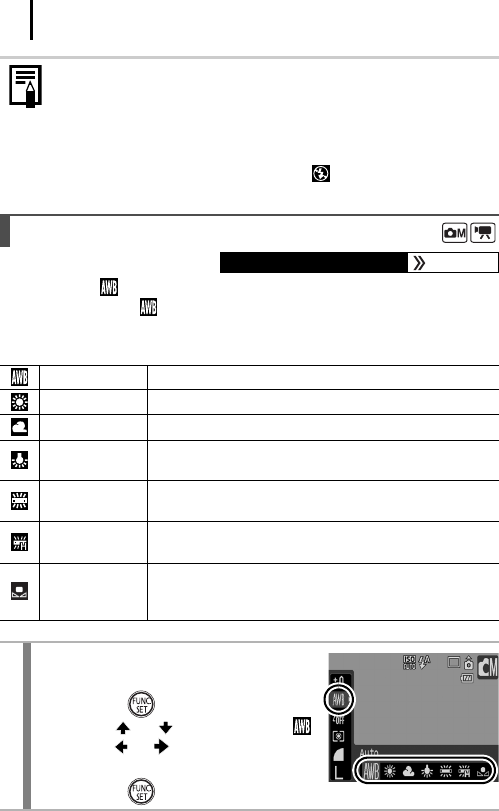
Adjusting the Tone (White Balance)
Available Shooting Modes p. 232
Auto Settings are automatically set by the camera.
Day Light For recording outdoors on a bright day.
Cloudy
For recording under overcast, shady or twilight skies.
Tungsten
For recording under tungsten and bulb-type 3-
wavelength fluorescent lighting.
Fluorescent
For recording under warm-white, cool-white or
warm-white (3-wavelength) fluorescent lighting.
Fluorescent H
For recording under daylight fluorescent, or daylight
fluorescent-type 3-wavelength fluorescent lighting.
Custom
For recording with the optimal white balance data
memorized in the camera from a white-colored
object, such as white paper or cloth.
1
Select a white balance
setting.
1. Press the button.
2. Use the or button to select
and the or button to change
the option.
3. Press the button.
