6
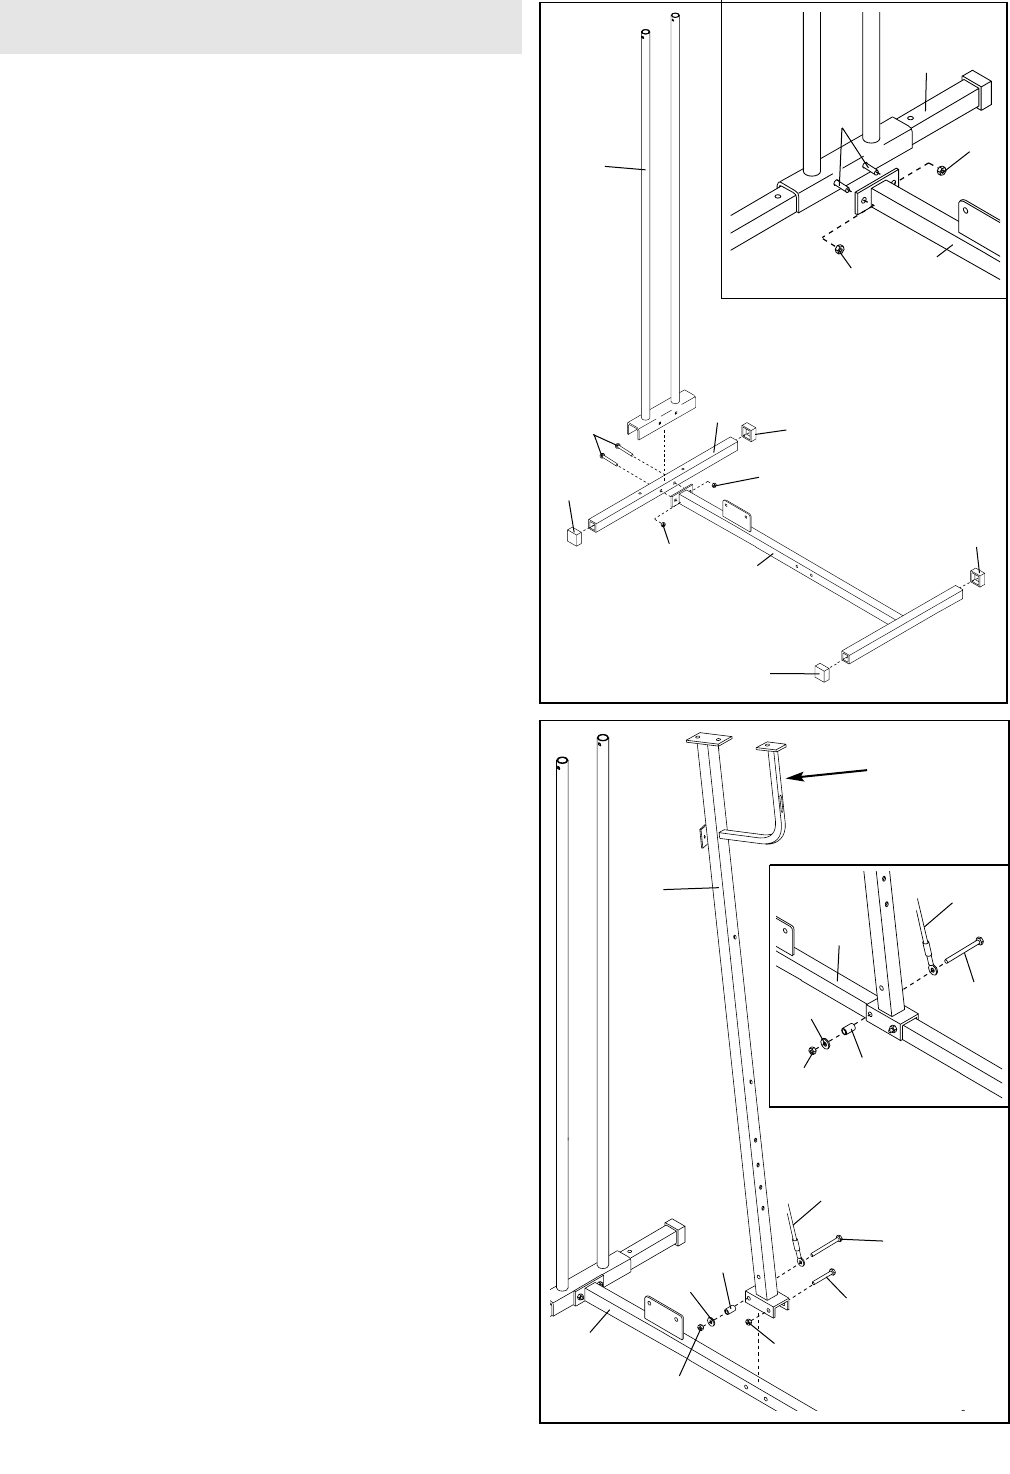
Frame Assembly
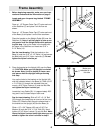
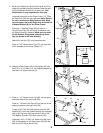
1. Before beginning assembly, make sure you have
read and understood the information on page 5.
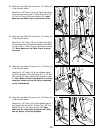
Locate and open the parts bag labeled “FRAME
ASSEMBLY.”
Press a 1 1/2” Square Outer Cap (27) onto each end
of the Stabilizer (5) and place it on the floor as
shown.
Press a 1 1/2” Square Outer Cap (27) onto each end
of the Base (4) and place it on the floor as shown.
Place the bracket on the Weight Guide (62) over the
Stabilizer (5). Note: It will be helpful to have a sec-
ond person hold the Weight Guide while perform-
ing this step. Line up the holes in the bracket with
the holes in the Stabilizer and insert two 5/16” x
2 1/2” Bolts (14).
See the inset drawing. Slide the bracket on the
Base (4) onto the 5/16” x 2 1/2” Bolts (14) and secure
the Bolts with two 5/16” Nylon Locknuts (3). Do not
tighten the Nylon Locknuts yet.
1
3
4
27
27
27
62
3
27
14
5
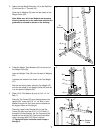
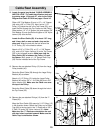
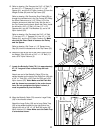
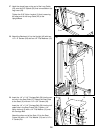
2. Place the bracket on the Upright (42) over the Base
(4). CAUTION: Make sure the Upright is oriented
as shown. Note: It will be helpful to have a sec-
ond person hold the Upright while performing
this step.
Line up the holes in the bracket on the Upright (42)
with the indicated holes in the Base (4). Slide a 5/16”
x 2 1/4” Bolt (1) through the indicated hole and
mount a 5/16” Nylon Locknut (3) onto the Bolt. Do
not tighten the Nylon Locknut yet.
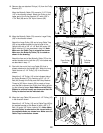
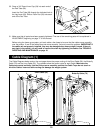
Locate the Long Cable (23). It is approximately 233“
long and it has a closed loop on both ends.
See the inset drawing. Slide a 5/16” x 3 1/4” Bolt
(33) through the closed loop on one end of the Long
Cable (23). Slide the Bolt through indicated hole in
the bracket on the Upright (42) and the Base (4).
Slide a 1/2” x 3/4” Spacer (45) and a 5/16” Flat
Washer (8) onto the 5/16” x 3 1/4” Bolt (33). Hand
tighten a 5/16” Nylon Locknut (3) onto the Bolt. Note:
Leave the Nylon Locknut hand tight when you are
asked to tighten the other Locknuts in step 6.
2
33
23
3
45
8
1
42
4
3
Make sure
bracket is on
this side
3
4
3
14
5
33
23
45
8
4
3


