


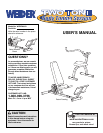


Thank you for selecting the versatile WEIDER
®
TWO
TONE body toning system. The TWO TONE body toning
system is designed to help you develop every major mus-
cle group of the body. Whether your goal is a shapely fig-
ure, dramatic increase in muscle size and strength, or a
healthier cardiovascular system, the TWO TONE body ton-
ing system will help you achieve the specific results you
want.
For your benefit, read this manual carefully before
using the WEIDER
®
TWO TONE body toning system. If
you have additional questions, please call our Customer
Service Department toll-free at 1-800-999-3756, Monday
through Friday, 6 a.m. until 6 p.m. Mountain Time (exclud-
ing holidays). To help us assist you, please mention the
product model number (WEBE09913) and the serial num-
ber found on a decal attached to the body toning system
(see the front cover of this manual).
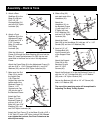
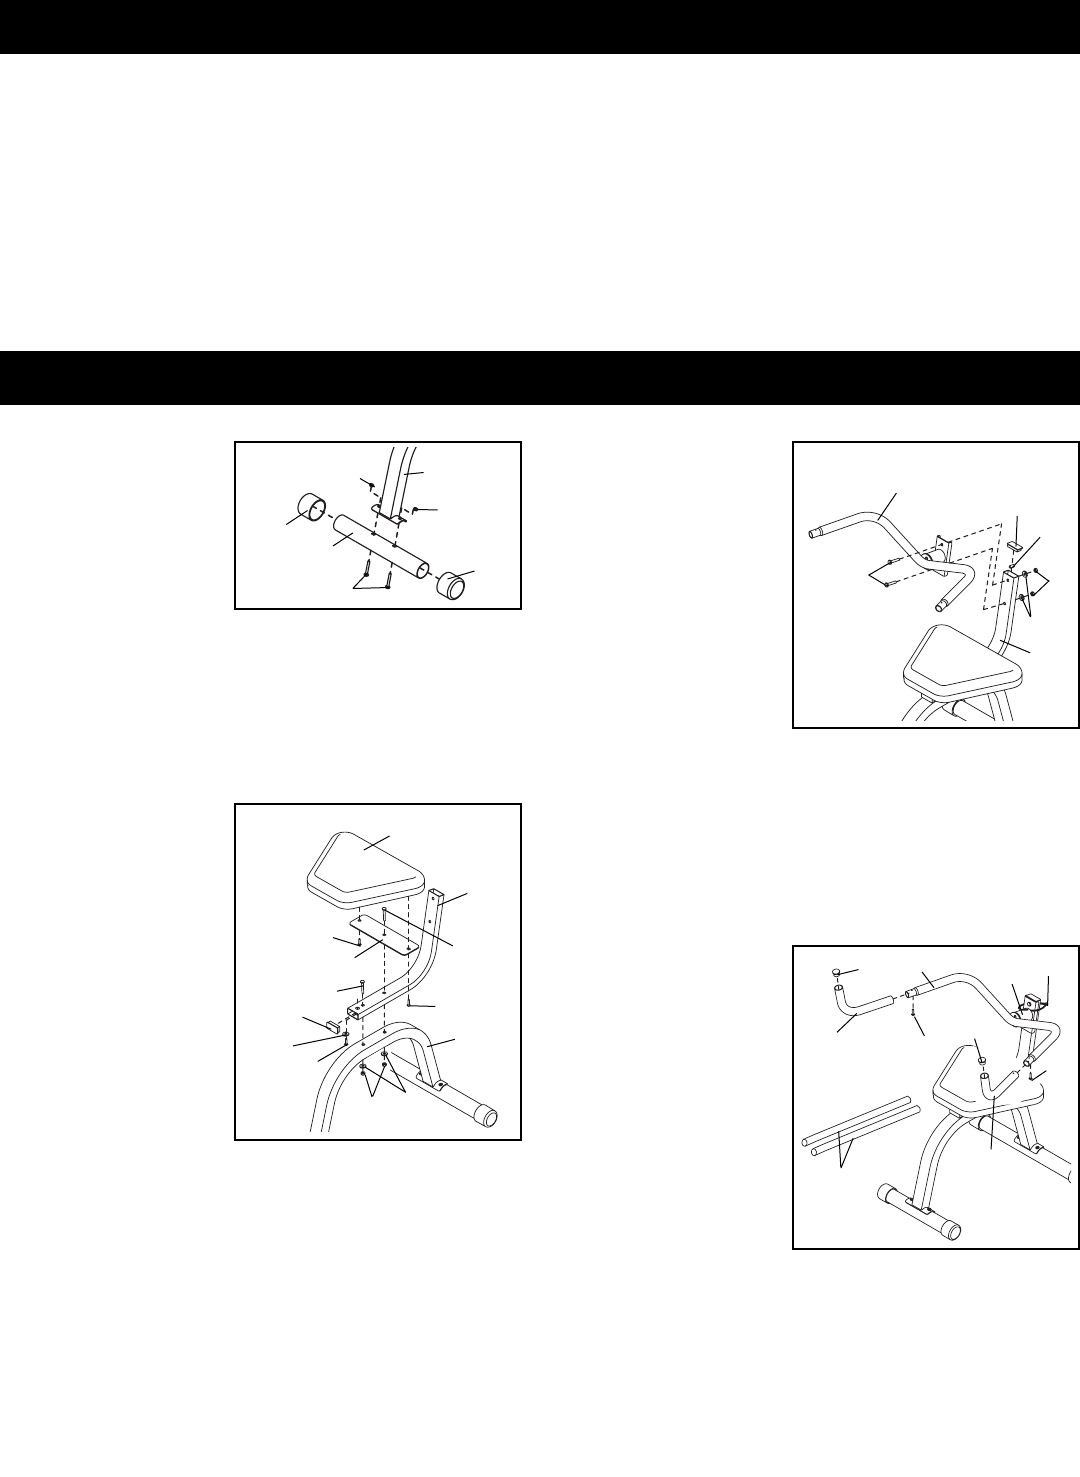
1.Press two 2” Round
Outer Caps (23) onto
each of the two Front
Stabilizers (9) and
the two Rear
Stabilizers (not
shown). Note: The
Front Stabilizers are
shorter than the Rear Stabilizers.
Attach a Front Stabilizer (9) to the Ab Leg (12) with two
5/16” x 2 1/2” Carriage Bolts (31) and two 5/16” Nylon
Locknuts (34). Attach a Rear Stabilizer (not shown) to the
other end of the Ab Leg in the same manner.
2.Insert a 5/16” x 3”
Carriage Bolt (32)
into the center hole in
the Large Support
Plate (14). Attach the
Large Support Plate
to the Large Seat
(13) with two 1/4” x
3/4” Screws (40).
Insert a 5/16” x 3”
Carriage Bolt (32)
into the indicated
hole in the Seat
Frame (15). Insert
the 5/16” x 3” Carriage Bolt in the Large Support Plate
(14) through the rear hole in the Seat Frame.
Hold a 1/4” Washer (38) and a 1/4” x 3/4” Screw (40)
inside the Seat Frame (15), and use them to attach the
Large Seat (13) to the Seat Frame. Press a 1” x 2”
Inner Cap (30) into the lower end of the Seat Frame.
Secure the two 5/16” x 3” Carriage Bolts (32) to the Ab
Leg (12) with two 5/16” Washers (35) and two 5/16”
Nylon Jamnuts (46).
1
3.Hold the Metal
Bushing (27) inside
the Seat Frame (15).
Slide a 5/16” x 1 3/4”
Bolt (33) into the
upper hole in the Ab
Frame (11), the Seat
Frame, and the Metal
Bushing.
Slide another 5/16” x
1 3/4” Bolt (33) into
the lower hole in the
Ab Frame (11) and the Seat Frame (15).
Secure the two 5/16” x 1 3/4” Bolts (33) with two 5/16”
Washers (35) and two 5/16” Nylon Locknuts (34).
Press a 1” x 2” Inner Cap (30) into the upper end of the
Seat Frame (15).
4.Remove the 1/4” x
1/2” Type 23 Screws
(47) from the Ab
Frame (11). Attach
the Ab Handlebars
(10) to the Ab Frame
with the two 1/4” x
1/2” Type 23 Screws.
Press a 1 1/8” Round
Inner Cap (16) into
each Ab Handlebar
(10).
Wet the Ab Handlebars (10) and the Ab Frame (11) with
soapy water. Slide a Cover Sleeve (17) onto each Ab
Handlebar.
Insert the Tie Wrap (39) through the hole in the Spring
Cover (48), and secure it around the Seat Frame (15).
Cut the excess Tie Wrap.
2
3
11
33
23
23
34
12
34
31
13
15
14
32
32
40
12
40
38
40
30
46
35
9
35
34
30
15
27
4
10
10
11
48
39
16
47
17
47
16
Before You Begin
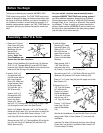
Assembly—Ab–Tilt & Tone