8
Leg length / The ChainLeg length / The Chain
Leg length / The ChainLeg length / The Chain
Leg length / The Chain
The trickiest part of the VISION set up is setting the proper leg length. Since the
front boom moves in and out to set your leg length, the chain will have to be set
after we determine the proper boom setting for you.
If possible, set your VISION on a rear wheel type wind trainer. If you don't have
access to such a trainer, have a friend hold the bike up behind your seat while you sit
and spin the pedals backwards. When the leg length is set properly, you will be
pedaling with just a slight bend in your knee at full extension. Take your time - this
is a very important adjustment. Most riders start out with the boom set too short.
To avoid this, start your adjustment process with the boom out too far and work back
in.
Note:Note:
Note:Note:
Note:
adjusting the seat back adjusting the seat back
adjusting the seat back adjusting the seat back
adjusting the seat back
angle affects the boom lengthangle affects the boom length
angle affects the boom lengthangle affects the boom length
angle affects the boom length
adjustment. Check leg lengthadjustment. Check leg length
adjustment. Check leg lengthadjustment. Check leg length
adjustment. Check leg length
adjustment after a seat back angleadjustment after a seat back angle
adjustment after a seat back angleadjustment after a seat back angle
adjustment after a seat back angle
change.change.
change.change.
change.
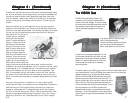
Your 2002 Vision features our new
Instant-Adjust system. To set the
boom length to accomidate your leg,
simply loosen the quick release
skewer on the left side of the boom
collar, shown below. Then move the boom to wherever you need it, and retighten the
skewer. The boom will move easier if you loosen the QR skewer one turn after
flipping it open. Retighten the skewer by turning it back in one turn, and then
clamping it closed securely. Make sure the QR skewer closes firmly. See page two
for details on the proper operation of quick releases. There is an alignment
mechanism built into the boom
collar to keep everything straight.
Proper Leg Extension
Chapter 2: (Continued)Chapter 2: (Continued)
Chapter 2: (Continued)Chapter 2: (Continued)
Chapter 2: (Continued)
QR skewer
13
Before you start to ride, look at your gears and make sure that you are set in a
good gear to start in. On a flat surface this usually is in the middle chainring (up
front) and in one of the three largest cogs (on the back). If the bike is not in one
of these gears, have someone hold the rear wheel off the ground so you can spin
the cranks and shift the gears. Don’t forget that you should only shift when
pedaling! As you gain experience you will find yourself thinking ahead and
shifting into your favorite “start-up” gear before you come to a stop.
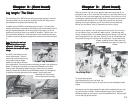
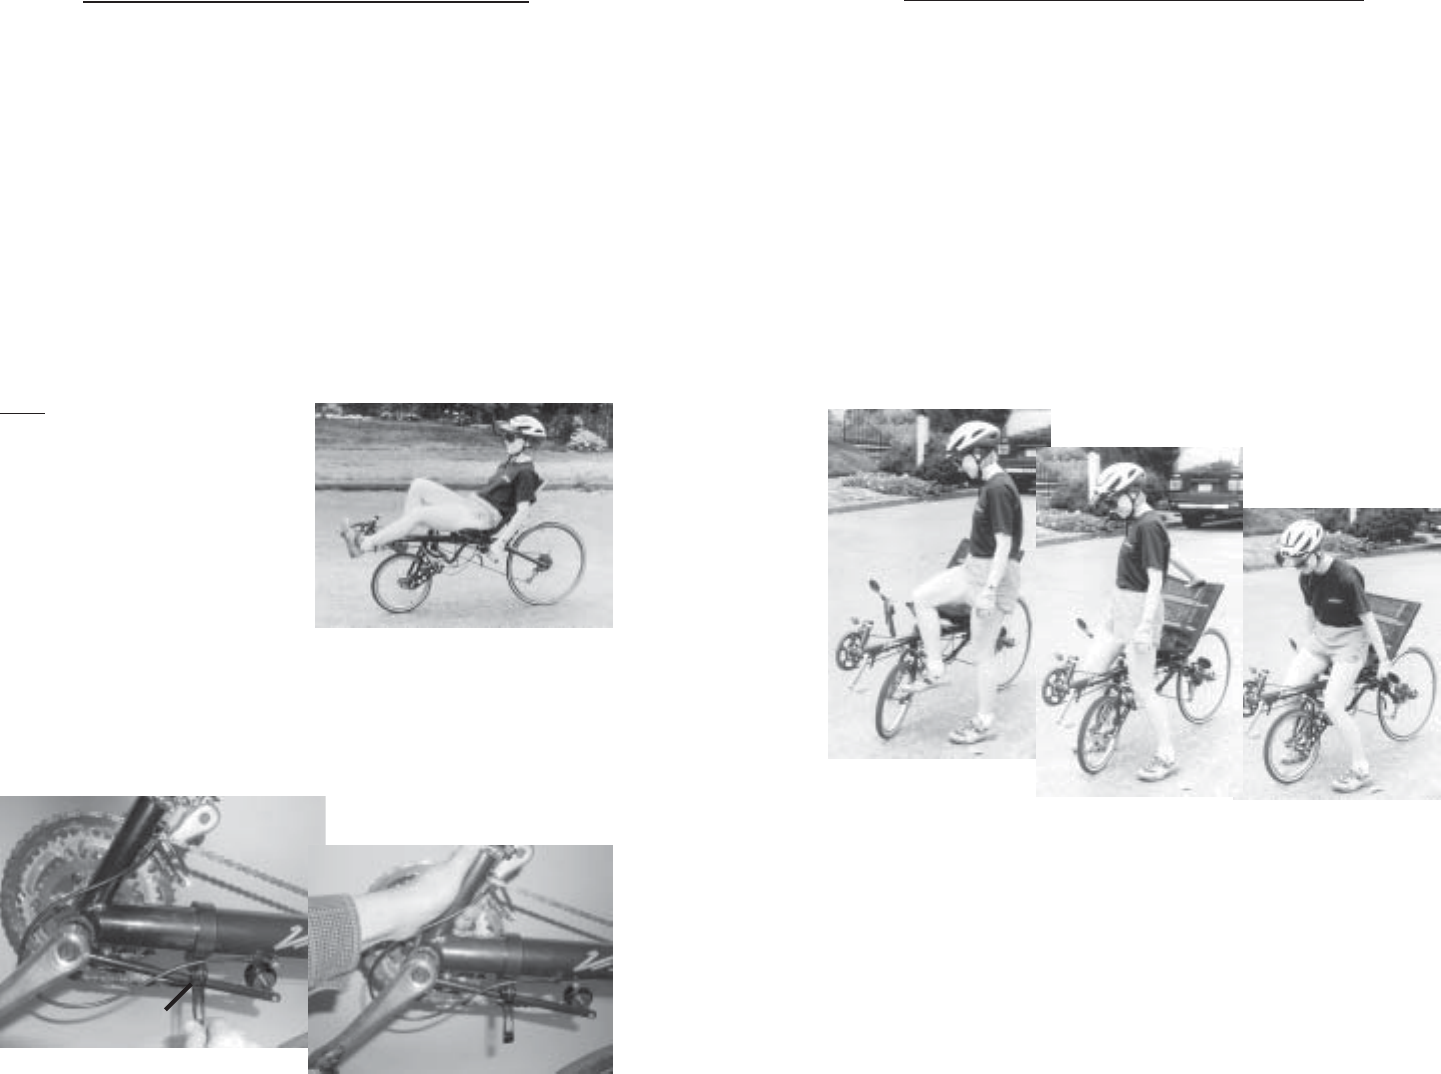
Now let’s get on the bike. I tend to always mount from the left, like on a horse,
but the important thing is to establish a pattern and do it the same way every
time so it becomes a habit. For underseat steering bikes, starting on the left side,
hold the seat back with your right hand. Standing in front of the handlebar and
facing the bike, swing your right leg over the front boom. You are now looking
forward, straddling the bike. Reach down and
grab the handlebar grips, apply the brakes, and
sit down.
For upright steering bikes,
grab the seat back with your right hand, the
middle of the handlebars with your left hand, and move the handlebars forward
slightly.
Now step through the space between the seat and the handlebar with your right
leg, and sit down on the seat. Grab the brakes and apply lightly. Rotate the
handlebars toward you until they hit the fore/aft adjustment stop. Settle yourself
into the seat and get comfortable.
Chapter 3: (Continued)Chapter 3: (Continued)
Chapter 3: (Continued)Chapter 3: (Continued)
Chapter 3: (Continued)
Step 3
Step 2
Mounting-Step 1


