


4
OWNER’S MANUAL
•
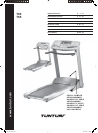
T80 T85
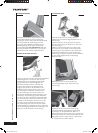
3. Secure the front support to the running base with
screws (C) and washers (D).
4. Connect the wire coming out of the left handrail
with the connector in the running base. Secure the
coiled cable to the lower frame with the coupler and
the screw so that the coiled part of the cable remains
visible between the coupler and the connector. Remove
the styrox foam pieces from under the running base.
Remove the styrox foam pieces from under the running
belt.
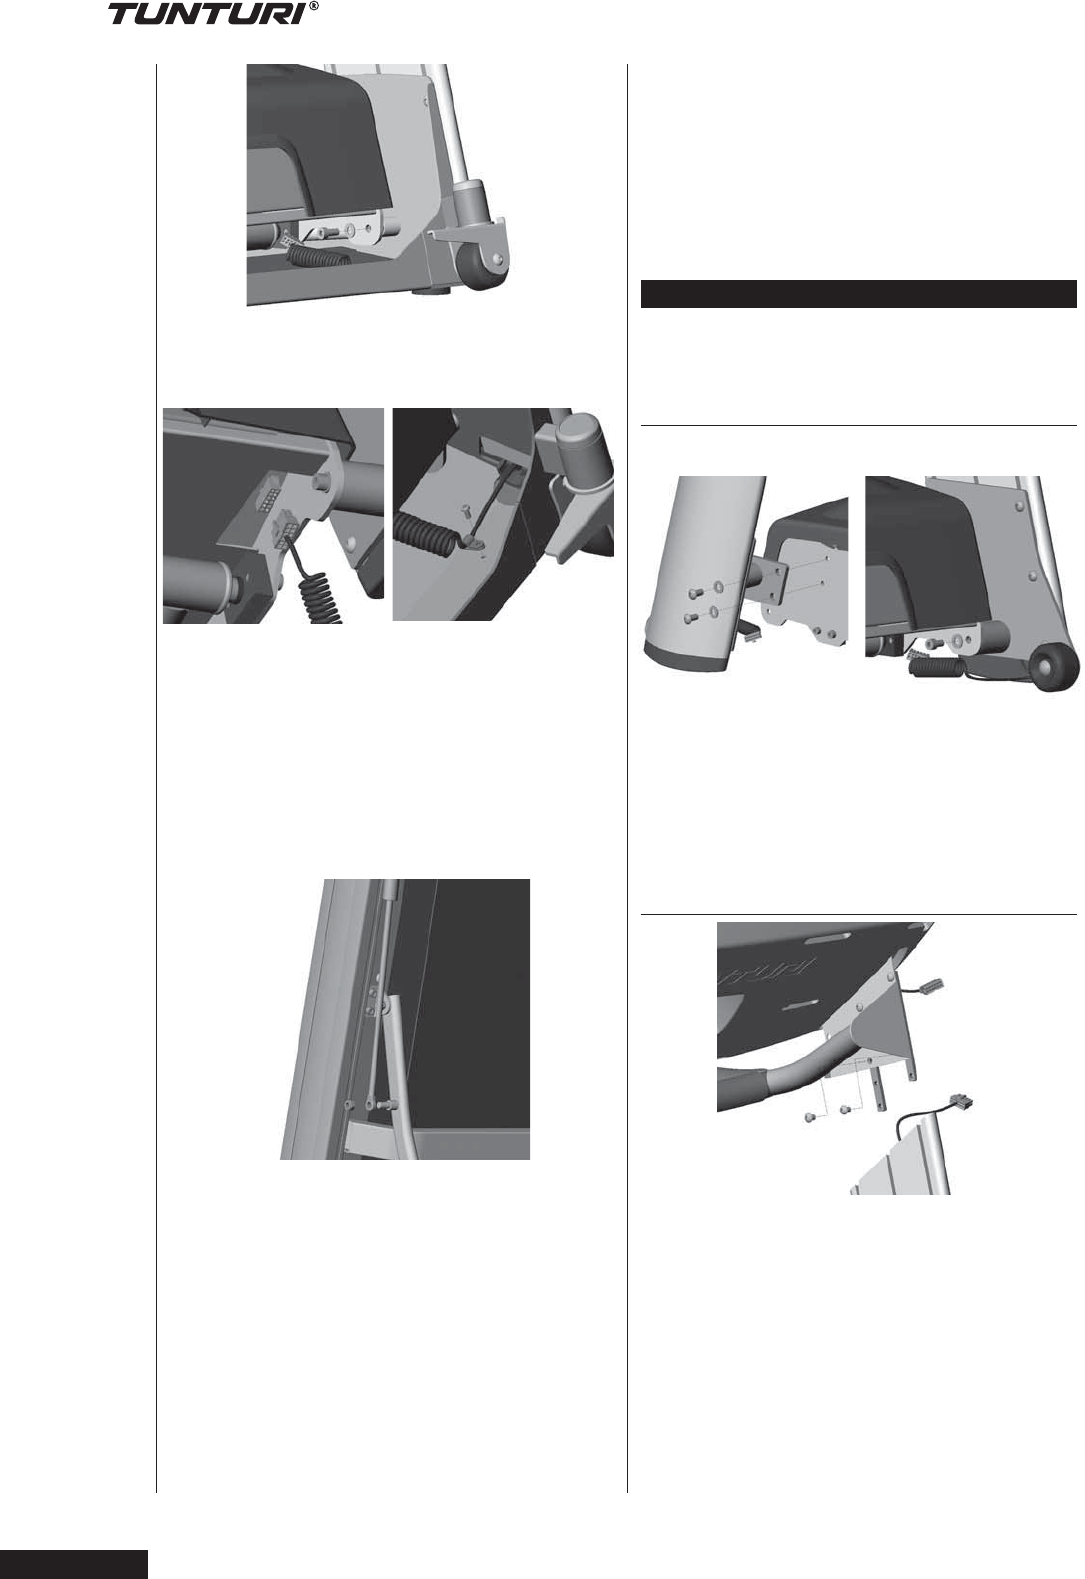
5. Turn the transportation wheels back to the sides
and lift the running base up. Cut the H-frame and the
gas spring ribbons and lower the H- frame with the
transportation wheels onto the floor. Lock the running
base into the storage position (see Moving and Storage).
Push the running base forward to take weight off the
base and secure both gas springs to the lower frame with
the nylock nuts (E). NOTE! Do not secure the nuts too
tight so that the gas spring coupler can move freely!
6. If the treadmill does not lock properly, push the
running base forward until the transportation wheels lift
off the floor to take weight off the base, and then loosen
the screws (2 on each side) on the H-frame mounting
pieces. Tighten the screws again: the H-frame will now
lock into the correct position.
7. Move the running base (see Moving and Storage).
Lower the running base onto the floor and make
sure that the running base is steady. If the treadmill
feels unstable, use the adjustable feet at the back of
the treadmill under the running base to stabilize the
treadmill: undo the fastening nuts on the adjustable feet
and adjust the height of the feet. Secure the fastening
nuts.
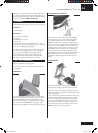
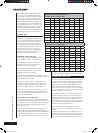
T80 / T85
Open both packages and remove all protective styrox
foam pieces.
HANDRAILS
Secure the handrails to the running base with four hex
screws (A) and washers (B) from the outside and two
hex screws (C) and washers (D) from the inside. Be
careful not to damage the wire coming out of the left
handrail. NOTE! Do not tighten these bolts until the
handlebar and console have been secured.
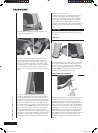
HANDLEBAR AND CONSOLE
Turn the sliders located at the sides of the handlebars
downward so that you can attach them with another
screw (E) through the lower hole of the handlebar.
NOTE! Attach the screws as loosely as possible. Do not
remove the screws on the sliders. Place the handlebar/
console unit on the handrails so that the sliders fit the
handrail grooves. Connect the wire coming out of the
left handlebar with the connector in the console and
push the connected wire inside the handlebar. Push
the handlebar/console unit onto the handrail ends and
tighten all the hex screws on the sliders. Fasten the
handrail bolts. Remove the protective film from the
display.
T80_T85_manual.indd 4T80_T85_manual.indd 4 28.2.2006 17:38:3028.2.2006 17:38:30