


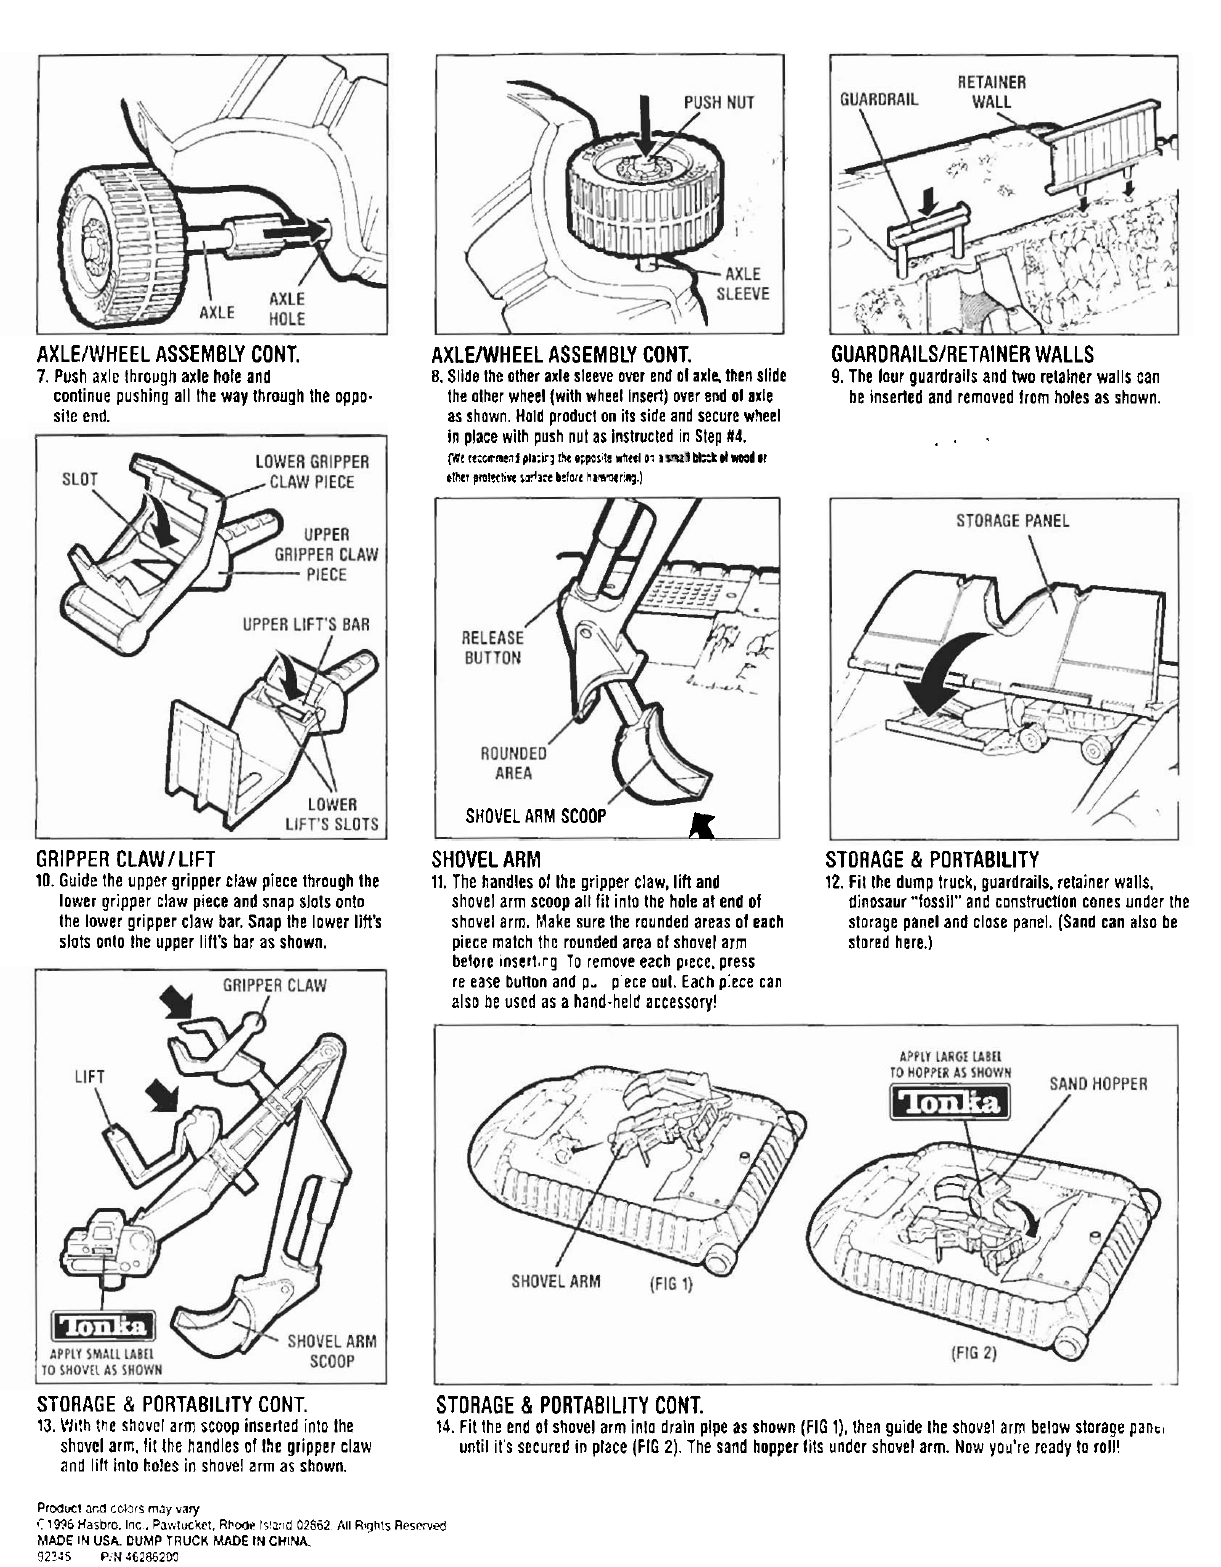
AXLEIWHEEL ASSEMBLY CONT.
7.
Push axle lhrough axle hole and
continue pushing all the way through the oppo.
site end.
GRIPPER CLAWlLlFT
10. Guide the upper gripper claw piece through the
lower gripper claw piece and snap slots onto
the lower gripper claw bar. Snap the lower lift's
slots
onlo the upper lift's bar as shown.
AXLEIWHEEL ASSEMBLY CONT.
0.
Slide the other axle sleeve over end 01 axle then slide
the olher wheel (with wheel Insert) over end ol axle
as shown. Hold product on its side and secure wheel
in place with push nut as
instrucled in Step
14.
rat
rcc.m:at
#a:ir~
tk
sp~sb
~htti
07
I
M::L
ti
md
o
,In7
plNm
nd3:r
kbs
hmsr~l
SHOVEL
ARM
SCOOP
A
SHOVEL ARM
11. The handles ol the gripper claw, lift and
shovel arm scoop all fit inlo the hole at end ol
shovel arm. Make sure the rounded areas ol each
piece match
the rounded area of shovel arm
GUARORAILSIRETAINER WALLS
9.
The lour guardrails and two retainer walls can
be inserted and removed from holes as shown.
..
'
STORAGE
&
PORTABILITY
12. Fil lhe dump truck, guardrails. relainer walls.
dinosaur "fossil" and constructlon cones under the
storage panel and close panel. (Sand can also be
stored here.)
betore inserl.rg To remove ezch pme, press
re ease
bunon and p. p ece out. Each p ece can
also be uscd as a hand-held accessory!
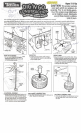
STORAGE
&
PORTABILITY CONT.
STORAGE
&
PORTABILITY CONT.
13. \'11!h the shovel arm scoop inserted into lhe
14.
Fit the end of shovel arm inlo drain plpe as shown (FIG I). then guide the shovel arm below storage pan.,
shovel arm. lit the handles of the gripper claw
until it's secured in place (FIG
2).
The sand hopper fils under shovel arm. Now you're ready to roll!
and lilt into holes
in
shovel arm as shown.
Prmwl
ard
LCI~~S
mdy
vary
'
1536
Haibro.
Inc
.
Pawluckrt.
Rhmr
11'1.10
02362
ill
Ryhli
Rercvzj
MADE
IN
USA.
DUMP
TRUCK
WE
IN
CHINA.
92?<5
P:N4621203