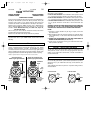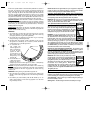
Review the various adjustable bracelet types below to determine
which one is on your watch.
NOTE: The clasp can be damaged if excessive force is used.
SLIDING CLASP BRACELET
1. Open locking plate using nail file, small
screwdriver or other blunt instrument.
2. Move clasp to desired bracelet length.
3. While holding the locking plate with your finger and thumb, exert
slight pressure and slide the clasp back and forth until you feel the
clasp engage in one of the grooves on the underside of the bracelet.
4. Firmly press the locking plate down until it snaps to the closed
position. If it seems to be difficult to push closed, repeat Step 3 to
ensure that you have properly positioned the clasp.
FOLDOVER CLASP BRACELET
You can adjust the bracelet size by moving the position of the bracelet
within the foldover clasp as shown. (Illustration shows bracelet in
upright position.) NOTE: The bracelet on your watch may be in a
different position on the clasp than is shown in the illustration.
1. Locate pushpin in the openings on the clasp.
Using a pointed tool, press the spring bar in
and gently twist bracelet for removal (Fig. 1).
Keep your hand over the pushpin and use
caution when twisting the bracelet. The
pushpin is spring loaded and may eject from
the opening.
2. Insert pushpin in the bracelet endpiece and
determine the desired position (Fig. 2). Insert one
end of the pin securely in the pushpin opening
and depress the spring tip of the pushpin. Move
the pin to fit into the top opening of the clasp
opposite the opening in which the pin is
positioned on the clasp bottom (Fig. 3).
BRACELET LINK REMOVAL INSTRUCTIONS
NOTE: Prior to removing any bracelet links, first determine if your
watch can be sized using the “FOLDOVER CLASP” instructions above.
If not, then follow the instructions below.
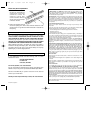
Removing Links: Place the bracelet upright and insert a pointed tool
in open space of bracelet (see diagram).
Slide bracelet pin in the direction of the
arrow. Push hard since pins are designed
to be difficult to remove. Repeat this
procedure until desired number of links
are removed.
Reassembly: Position the two bracelet parts back together, and push
pin in from end it was removed, in opposite direction of the arrow. Be
sure to press the bracelet pin down securely all the way into the link of
the bracelet until it is flush with the rest of the bracelet.
Fig. 1
Fig.2
Fig.3
SECTION 12 – BRACELET ADJUSTMENT
O
P
E
N
If your watch is equipped with a compass, it gives an approximate
directional reading in 10˚ intervals. For a more accurate reading, place
the compass on a level surface.
TO REMOVE THE COMPASS – Remove the watch from your wrist,
push against the front of the compass and it will pop out of the strap.
TO REINSERT THE COMPASS – Place the compass under the opening
and push in.
SECTION 9 – HOW TO USE THE COMPASS
SECTION 10 –
HOW TO USE THE COMPASS DIRECTIONAL RING
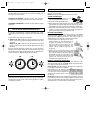
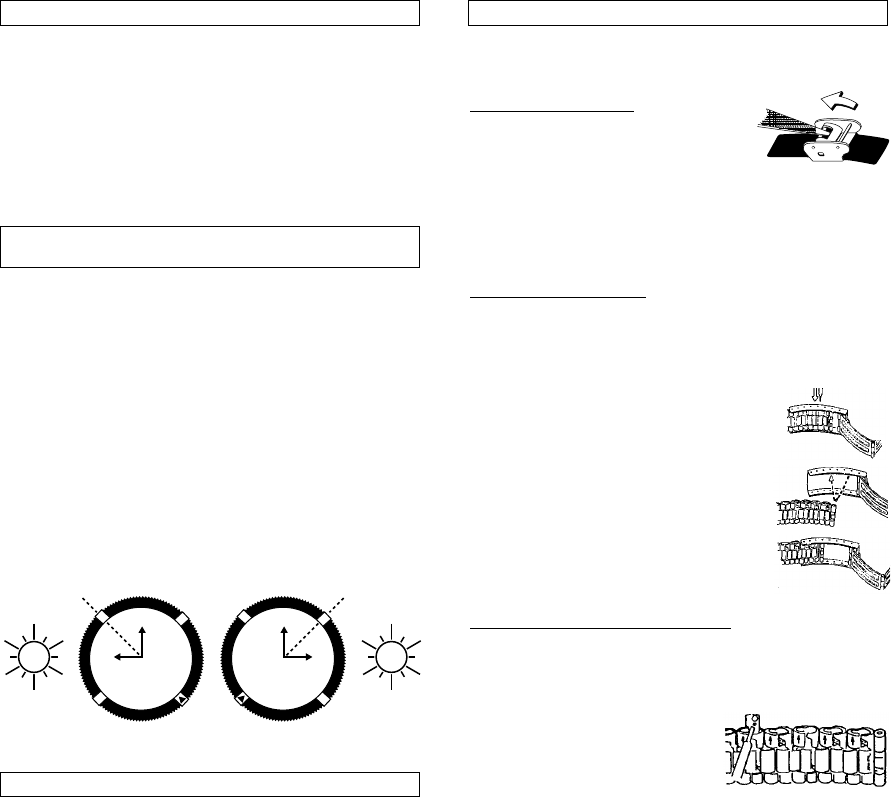
If your watch is equipped with a compass directional ring, it gives
approximate compass readings. Locate the sun and then follow these
steps:
1. Point the hour hand at the sun (see diagram).
2. WHEN IN A.M. TIME - Rotate the compass directional ring until S
(South) is past the hour hand and halfway between the hour hand
and 12:00.
WHEN IN P.M. TIME - Rotate the compass directional ring until S
(South) is before the hour hand and halfway between the hour hand
and 12:00.
Adjust the compass directional ring every hour to reflect changes in
the sun's position. When reading the compass directional ring, make
sure the hour hand is always pointed towards the sun. When the hour
hand is at 12:00 noon, S (South) should also be at 12:00.
SECTION 11 – SCREW-IN SETTING CROWN
If your watch has this type of crown, turn it counterclockwise to
loosen then proceed to Section 4 to set the time. To start timekeeping,
simultaneously push the crown in while turning clockwise to tighten.
Timekeeping will resume.
12
1
2
3
4
5
6
7
8
9
10
11
A.M.
S
W
E
12
1
2
3
4
5
6
7
8
9
10
11
P.M.
E
S
W
CORE #94 1/16/97 3:51 PM Page 7


