


39
Section 3.5.7. Navidata.)
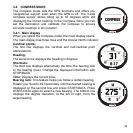
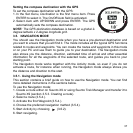
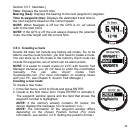
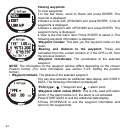
Time: Displays the current time
Bearing (bea): Displays the bearing to the next waypoint in degrees.
Time to waypoint (ttw): Displays the estimated travel time to
the next waypoint based on the current speed.
NOTE: When Navigate is off but the GPS is on, all values
refer to the start point.
NOTE: If the GPS is off, the unit always displays the selected
route, the total length and the current time.
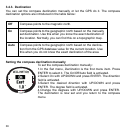
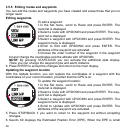
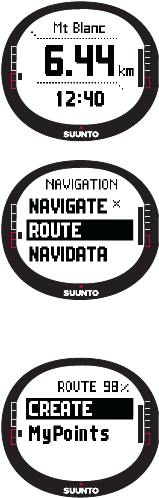
3.5.3. Creating a route
Suunto X9 does not include any factory-set routes. So, to be
able to use the route function, you first need to create a route.
You can store up to 50 routes in the memory. Each route can
include 50 waypoints, ten of which can be alarm points.
NOTE: It is easier to create routes on a PC with Suunto Trek
Manager because you do not have to enter the coordinates
manually. You can also import routes from
Suuntosports.com. (For more information on creating routes
with your PC, see Chapter 6. Suunto Trek Manager.)
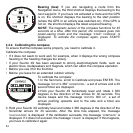
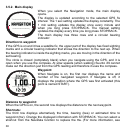
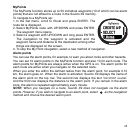
Creating a new route
To create a new route:
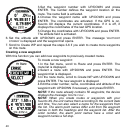
1. In the Set menu, scroll to Route and press ENTER.
2. Create is the first menu item. Press ENTER to activate it.
The waypoint window opens and the field that shows the
waypoint number is highlighted.
NOTE: If the memory already contains 50 routes, the
device displays the message ‘ROUTE MEMORY FULL’.
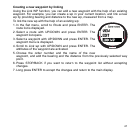
NOTE: The information on the waypoint window differs
depending on the chosen Position format. (For more
information, see section 3.2.6. Setting the position format.)