Page 6 STAR TRAC GROUP CYCLES OWNER’S GUIDE
ASSEMBLY
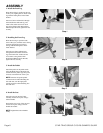
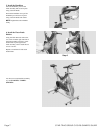
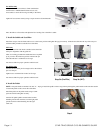
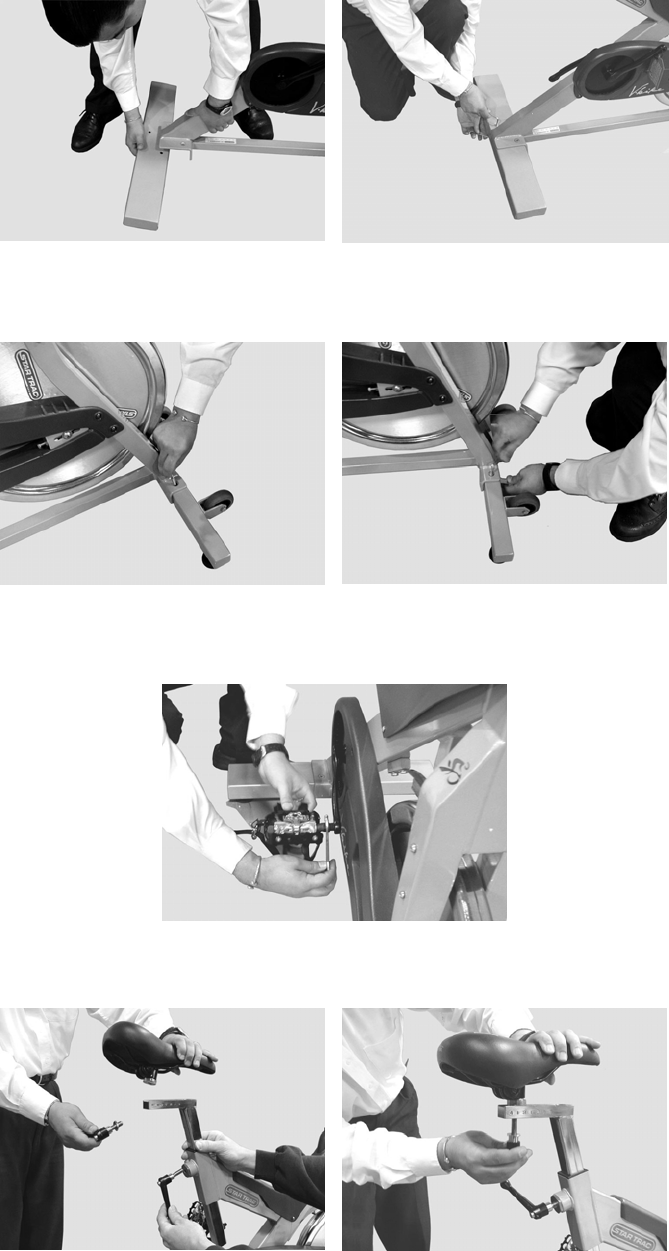
1. Install the Back Leg
Place the back leg in position at the rear
of the cycle, aligning the two holes in the
leg with the mating holes in the frame
bracket.
Insert two 8mm x 70mm bolts through
the frame bracket and back leg, and
install a flat washer and nut on each
bolt. Using the #5 Allen Wrench and
Multi-Purpose Wrench, tighten the nuts
securely.
Step 1
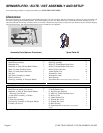
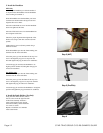
2. Installing the Front Leg
Place the front leg in position at the
front of the cycle, with the casters facing
forward, aligning the two holes in
the leg with the mating holes in the
frame bracket.
Insert the two 8mm x 60mm bolts
through the frame bracket and front
leg, and install a flat washer and nut
on each bolt. Using the #5 Allen
Wrench and Multi-Purpose Wrench,
tighten the nuts securely.
Step 2
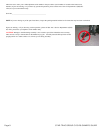
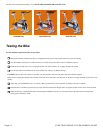
3. Install the Pedals
Install the pedals on the pedal cranks
using the Multi-Purpose Wrench. The
closed end of the pedal cage must point
forward, toward the front of the cycle.
NOTE: Turn the left pedal spindle
counterclockwise when threading into
the crank arm; turn the right pedal
spindle clockwise when threading into
the crank arm.
Step 3
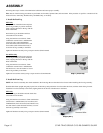
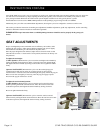
4. Install the Seat
Insert the seat post into the frame
assembly and secure in place using a
tension handle.
Position the seat on top of the seat post
and secure in place using a tension
handle and washer.
NOTE: Tighten the tension handles
firmly.
Step 4


