


7-1/4"
3/4" x 5" (x5)
2-1/2"
1-1/2"
2-1/2"
5-1/2"
5-1/2"
7-1/4"
8-1/2"
16"
2-1/2"
5-1/2"
2-1/2"
5-1/2"
7-1/4"
3/4" x 5" (x5)
2-1/2"
1-1/2"
2-1/2"
5-1/2"
5-1/2"
7-1/4"
8-1/2"
16"
2-1/2"
5-1/2"
2-1/2"
5-1/2"
7-1/4"
3/4" x 5" (x5)
2-1/2"
1-1/2"
2-1/2"
5-1/2"
5-1/2"
7-1/4"
8-1/2"
16"
2-1/2"
5-1/2"
2-1/2"
5-1/2"
7-1/4"
3/4" x 5" (x5)
2-1/2"
1-1/2"
2-1/2"
5-1/2"
5-1/2"
7-1/4"
8-1/2"
16"
2-1/2"
5-1/2"
2-1/2"
5-1/2"
7-1/4"
3/4" x 5" (x5)
2-1/2"
1-1/2"
2-1/2"
5-1/2"
5-1/2"
7-1/4"
8-1/2"
16"
2-1/2"
5-1/2"
2-1/2"
5-1/2"
2
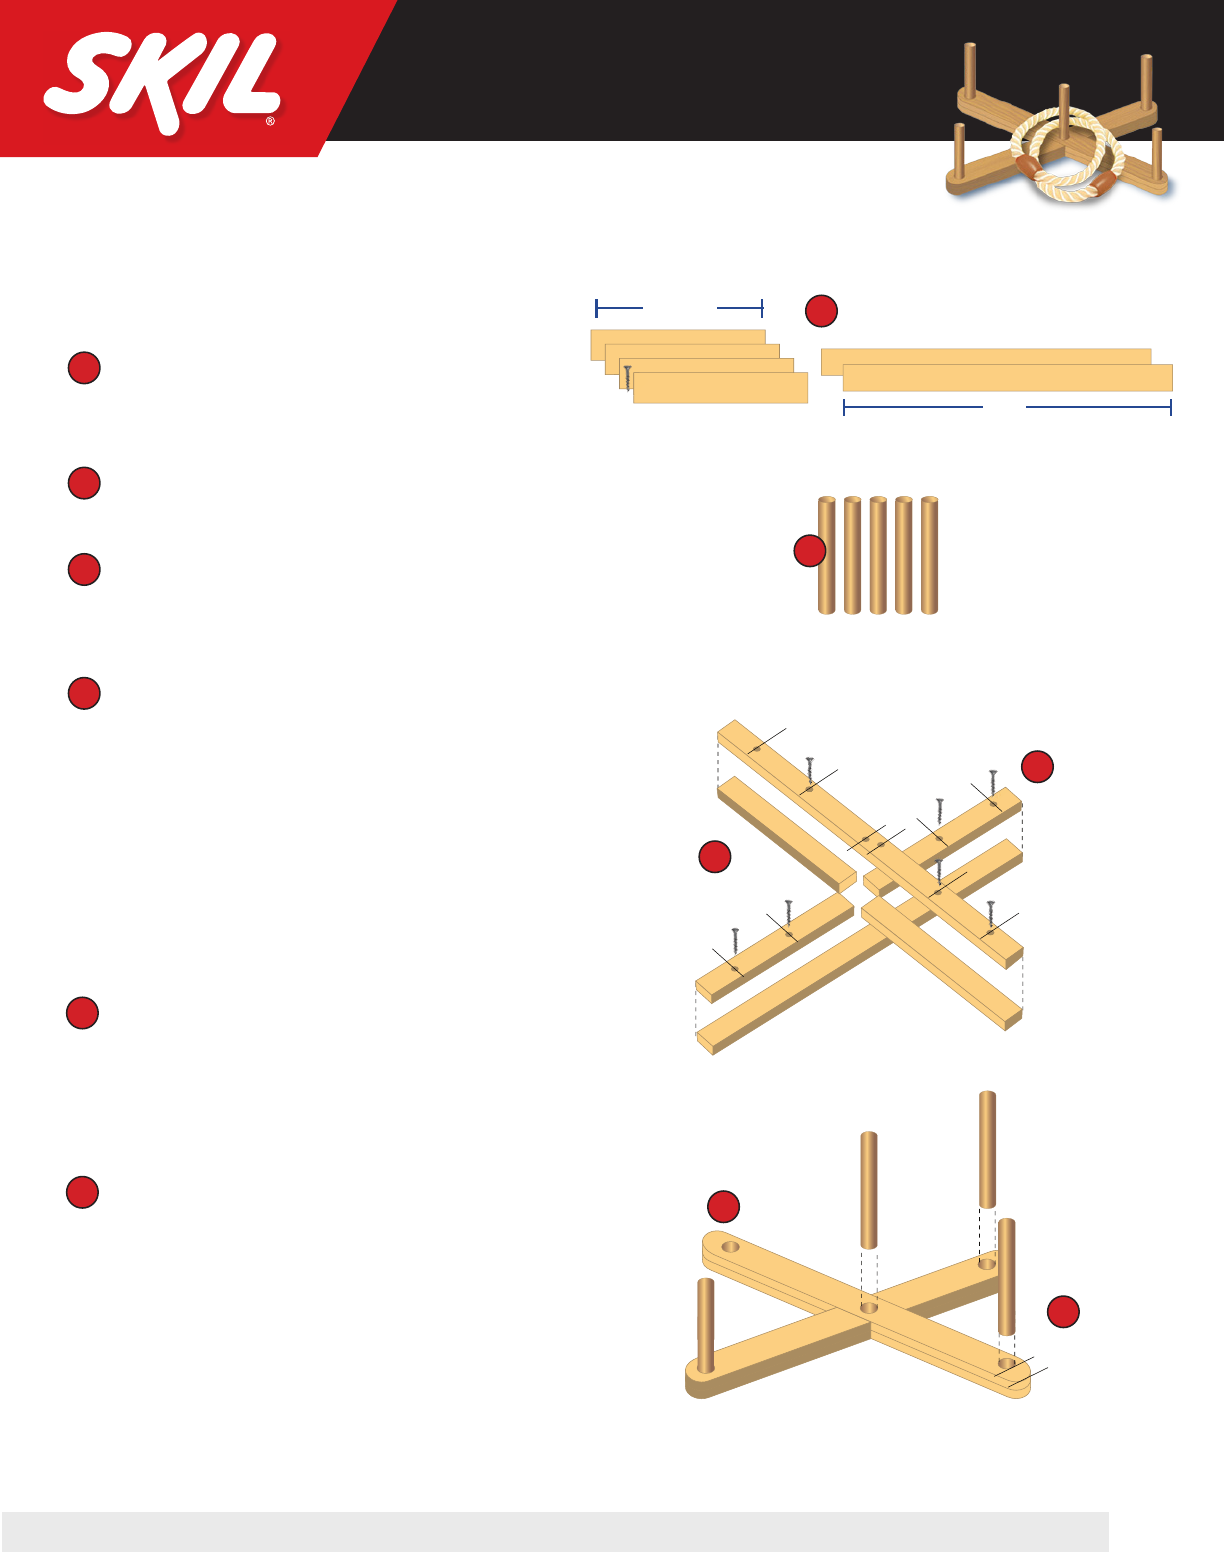
INSTRUCTIONS:
Cut pine into two 16” long stripsand four
7-1/4” long strips.
Cut ve 5” lengths of the dowel.
Using diagram at right, set up the pieces
of the base on your workbench.
Measure and mark where the 10 screws will
be used to fasten all pieces together,using
the diagram at right for placement.Add a thin
strip of wood glue between each section,
realign pieces, clamp down securely
and then fasten together using drywall
screws.You now have the X-shaped base
of the game.
1
1
2
3
4
2
3
4
5
6
Sanding: Round off each of the four arms of
your base using a sander. Then clamp down
each dowel and round off one edge of each
piece, making it smooth.
5
Measure and mark for holes 1-1/2” in from
the tip of each arm, and an additional hole
centered where the arms come together.
With a 3/4” forstner bit in the chuck, set the
depth of your drill press to drill a maximum
of 3/4 of the way down into the material.
Then drill all ve holes.
6
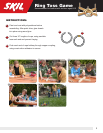
Ring Toss Game
Recommended for families with children ages 8-10
STEP-BY-STEP PROJECT PLANS