


MAINTENANCE
MAINTENANCE OF YOUR SCHWINN
EXERCISE BIKE
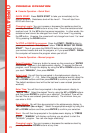
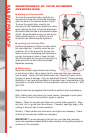
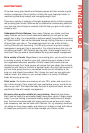
■ Moving your Exercise Bike
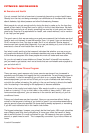
To move the recumbent bike, carefully but
securely lift the rear end of the bike and slowly
steer the bike to the desired location (Fig A).
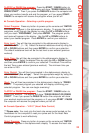
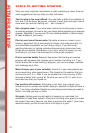
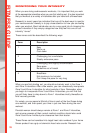
To move the upright bike, carefully but
securely pull the handlebars toward you while
gently leaning the front of the bike downward
and slowly steer the bike to the desired location
(Fig B). Be gentle while moving the unit as any
sharp impact directly or indirectly to the
computer can affect computer operation.
■ Leveling your Exercise Bike
Levelers are located on bottom of each side of
the rear stabilizer. Carefully raise the rear
stabilizer off of the ground to access the
levelers and turn the leveling feet clockwise or
counter-clockwise to raise or lower the feet.
Set the bike back on the ground and check to
make sure that the bike is level and stable.
Repeat as necessary.
■ Maintenance
Disconnect power supply before maintaining
or servicing the bike. Use a damp cloth to wipe your bike and computer
free of sweat. Inspect the bike before each use. Replace all parts at the
first sign of wear or damage. Call your authorized Schwinn
®
Fitness products
distributor if you have any questions on the proper use or maintenance of this
equipment or contact Schwinn
®
Fitness products customer service at 1-800-
864-1270.
Keep all tools that are supplied with the bike to perform future maintenance.
Daily: Before each use inspect for loose, broken, damaged or worn parts.
Do not use if found in this condition; repair or replace.
Weekly: Check for smooth seat slider and console slider operation. Wipe
any dust, dirt, or grime from the surfaces. If needed, sparingly apply a thin
coating of silicone lube to ease operation.
Monthly: Check pedals and crank arms and tighten as necessary. Check
all bolts and screws and tighten as necessary.
IMPORTANT: To avoid damaging the finish on your bike and computer,
never use a petroleum-based solvent when cleaning. Avoid getting excessive
moisture on the computer.
29
Fig. A
Fig. B