29
PROBLEM: The walking belt is off-center or slips when walked on
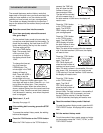
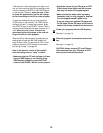
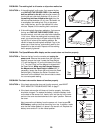
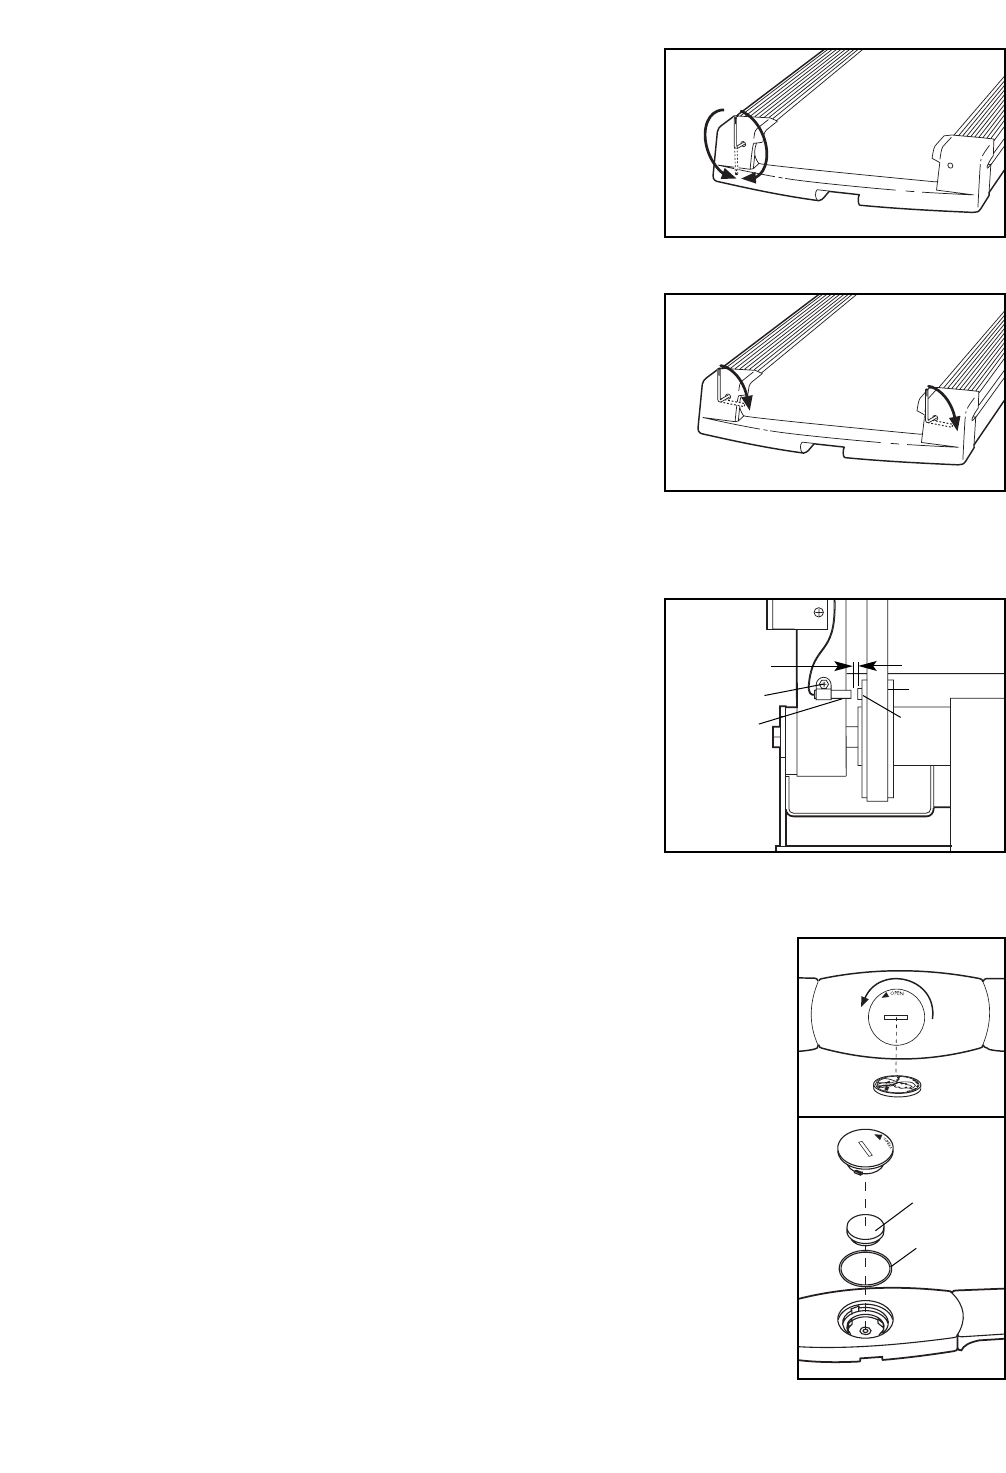
SOLUTION: a. If the walking belt is off-center, first remove the key
and UNPLUG THE POWER CORD. If the walking
belt has shifted to the left, use the allen wrench to
turn the left rear roller bolt clockwise 1/2 of a turn; if
the walking belt has shifted to the right, turn the
left bolt counterclockwise 1/2 of a turn. Be careful not
to overtighten the walking belt. Plug in the power
cord, insert the key, and run the treadmill for a few
minutes. Repeat until the walking belt is centered.
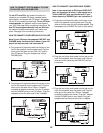
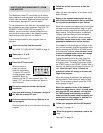
b. If the walking belt slips when walked on, first remove
the key and UNPLUG THE POWER CORD. Using
the allen wrench, turn both rear roller bolts clockwise,
1/4 of a turn. When the walking belt is correctly tight-
ened, you should be able to lift each side of the walk-
ing belt 3 to 4 inches off the walking platform. Be
careful to keep the walking belt centered. Plug in the
power cord, insert the key, and carefully walk on the
treadmill for a few minutes. Repeat until the walking
belt is properly tightened.
PROBLEM: The Speed/Minutes-Mile display on the console does not function properly
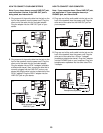
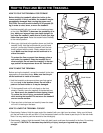
SOLUTION: a. Remove the key from the console and unplug the
power cord. Remove the screws from the hood and
carefully remove the hood. Locate the Reed Switch
(17) and the Magnet (12) on the left side of the Pulley
(11). Turn the Pulley until the Magnet is aligned with
the Reed Switch. Make sure that the gap between
the Magnet and the Reed Switch is about 1/8”. If
necessary, loosen the Screw (66) and move the Reed
Switch slightly. Retighten the Screw. Re-attach the
hood and run the treadmill for a few minutes to check
for a correct speed reading.
PROBLEM: The heart rate monitor does not function properly
SOLUTION: a. If the heart rate monitor does not function properly, see HEART
RATE MONITOR TROUBLESHOOTING on page 7.
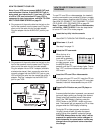
b. If the heart rate monitor still does not function properly, the battery
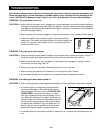
should be changed. To replace the battery, locate the battery cover
on the back of the sensor unit. Insert a coin into the slot in the cover
and turn the cover counterclockwise to the “open” position. Remove
the cover.
Next, remove the old battery from the sensor unit. Insert a new CR
2032 battery, making sure that the writing is on top. In addition, make
sure that the rubber gasket is in place in the sensor unit. Replace the
battery cover and turn it to the closed position.
CR2032
Battery
Rubber
Gasket
b
b
a
12
17
66
Top
View
1/8”
11
a


