


5
ASSEMBLY
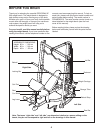
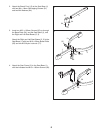
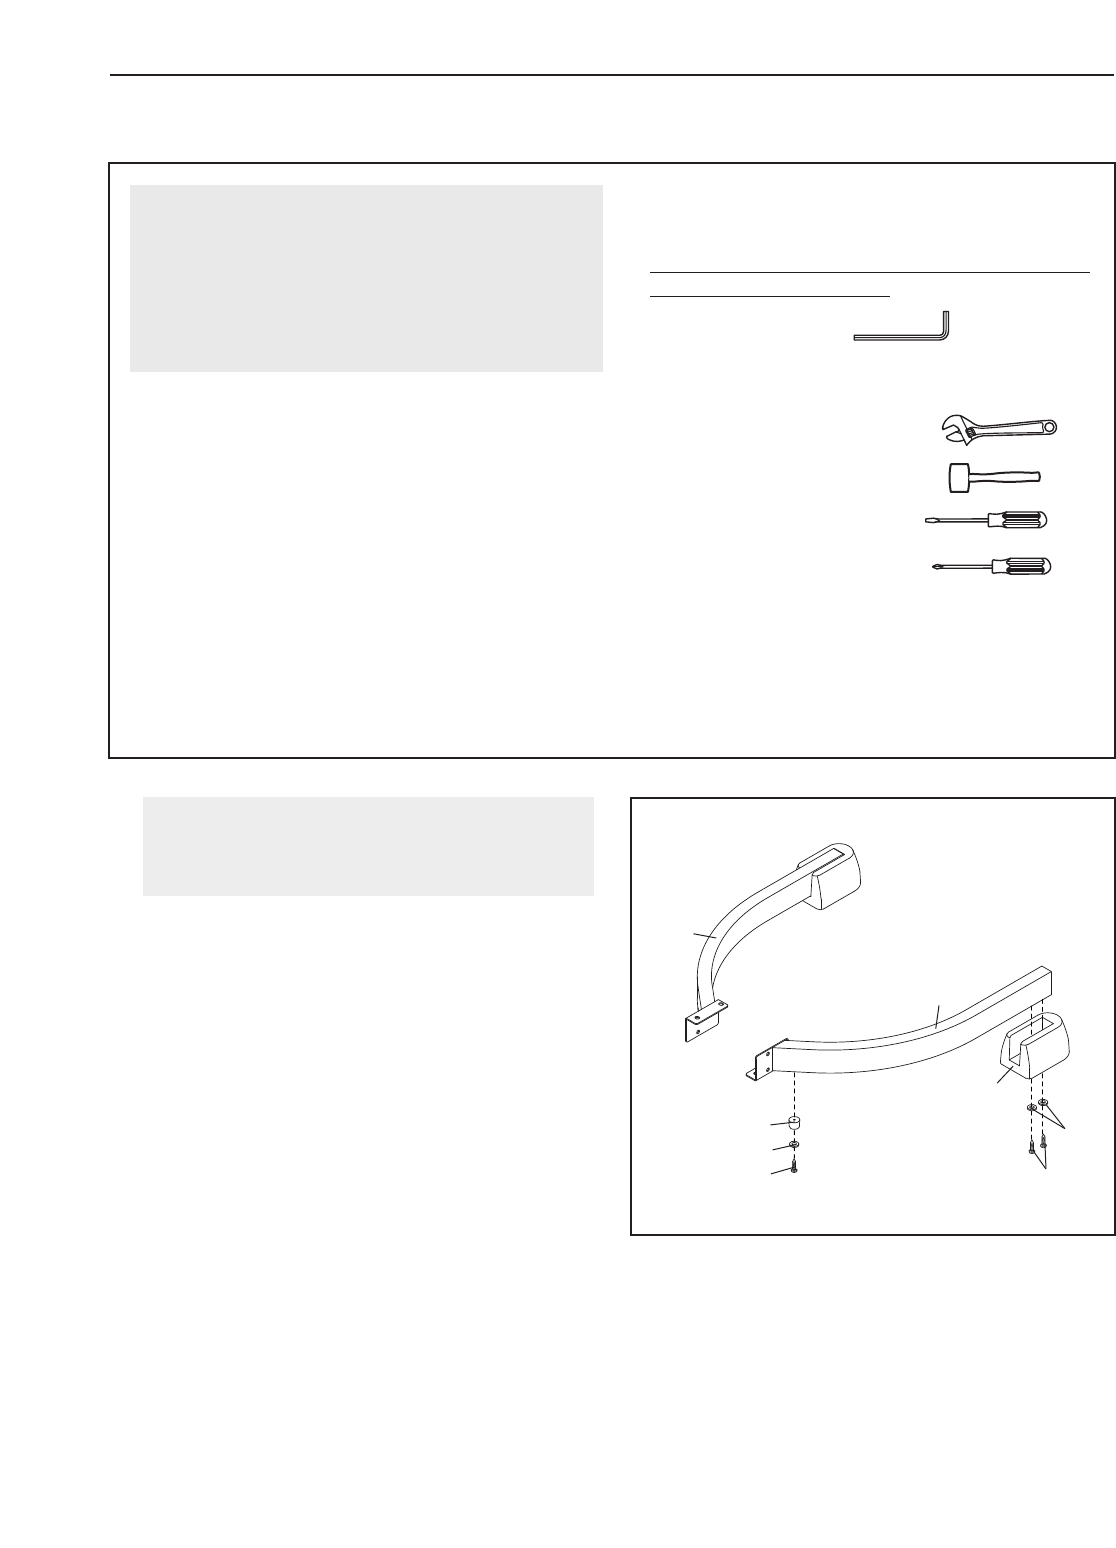
1.
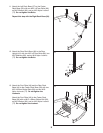
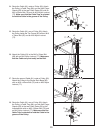
Make sure that the Left Seat Base (3) is oriented
as shown. Attach a Seat Base Bumper (31) to the
Left Seat Base with an M4 x 16mm Self-tapping
Screw (91) and an M4 Washer (84).
Attach a Bench Foot (15) to the Left Seat Base
(3) with two M4 x 16mm Self-tapping Screws (91)
and two M4 Washers (84).
Repeat this step with the Right Seat Base (2).
Make sure that the Right Seat Base is oriented
as shown.
1
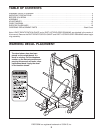
Before beginning assembly, make sure you
understand the information presented in
the box above.
2
3
31
84
91
15
91
84
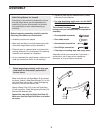
Before beginning assembly, carefully read the
following information and instructions:
•
Assembly requires two people.
• Make sure that there is enough clearance to walk
around the weight bench as you assemble it.
• Place all parts in a cleared area and remove the
packing materials. Do not dispose of the packing
materials until assembly is completed.
• As you assemble the weight bench, make sure all
parts are oriented as shown in the drawings.
• Tighten all parts as you assemble them, unless
i
nstructed to do otherwise.
• For help identifying small parts, use the PART
IDENTIFICATION CHART.
The included hex keys and the fol-
lowing tools (not included) may be required for
assembly:
• Two adjustable wrenches
• One rubber mallet
• One standard screwdriver
• One Phillips screwdriver
• Clear tape or masking tape, and soapy water
Assembly will be more convenient if you have a
socket set, a set of open-end or closed-end
wrenches, or a set of ratchet wrenches.
M
ake Things Easier for Yourself
Everything in this manual is designed to ensure
t
hat the weight bench can be assembled suc-
cessfully by anyone. Most people find that set-
ting aside plenty of time helps assembly go
smoothly.