


28
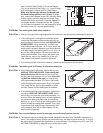
PROBLEM: The incline of the treadmill does not change correctly
S
OLUTION: a
. With the key in the console, press one of the Incline buttons.
W
hile the incline is changing, re-
move the key. After a few seconds, re-insert the key. The treadmill will automatically rise to the
m
aximum incline level and then return to the minimum level. This will recalibrate the incline system.
PROBLEM: Television reception is poor
SOLUTION: a. For the television to operate properly, good reception is necessary. If you are using an antenna,
make sure that it is properly connected and adjusted for optimal reception. (See HOW TO CON-
NECT AN ANTENNA on page 11.)
b. Check for the problems listed below and follow the applicable instructions.
• Ignition (black spots or horizontal streaks that appear or a picture that flutters or drifts)—Usually
this is caused by interference from automobile ignition systems, neon lamps, electric drifts, or
other electric appliances. Try changing the position of the treadmill or other electric appliances to
correct the problem.
• Ghosts—Ghosts are caused by the television signal following two paths—one is the direct path
and the other is reflected from tall buildings, hills, or other objects. Change the direction or posi-
tion of the antenna to improve reception.
• Blue Screen—If the treadmill is located in the fringe area of a television station where the signal is
weak, the picture may be of poor quality or a blue screen may appear. If the signal is weak, it may
be necessary to install an external antenna to improve the picture.
Note: If one of these symptoms appears when the cable from a CATV company is connected, the
symptom may be caused by the local company broadcast.
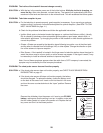
PROBLEM: The chest pulse sensor does not function properly
SOLUTION: a. If the chest pulse sensor does not function properly, see CHEST PULSE SENSOR TROU-
BLESHOOTING on page 12.
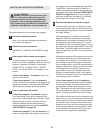
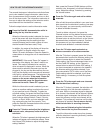
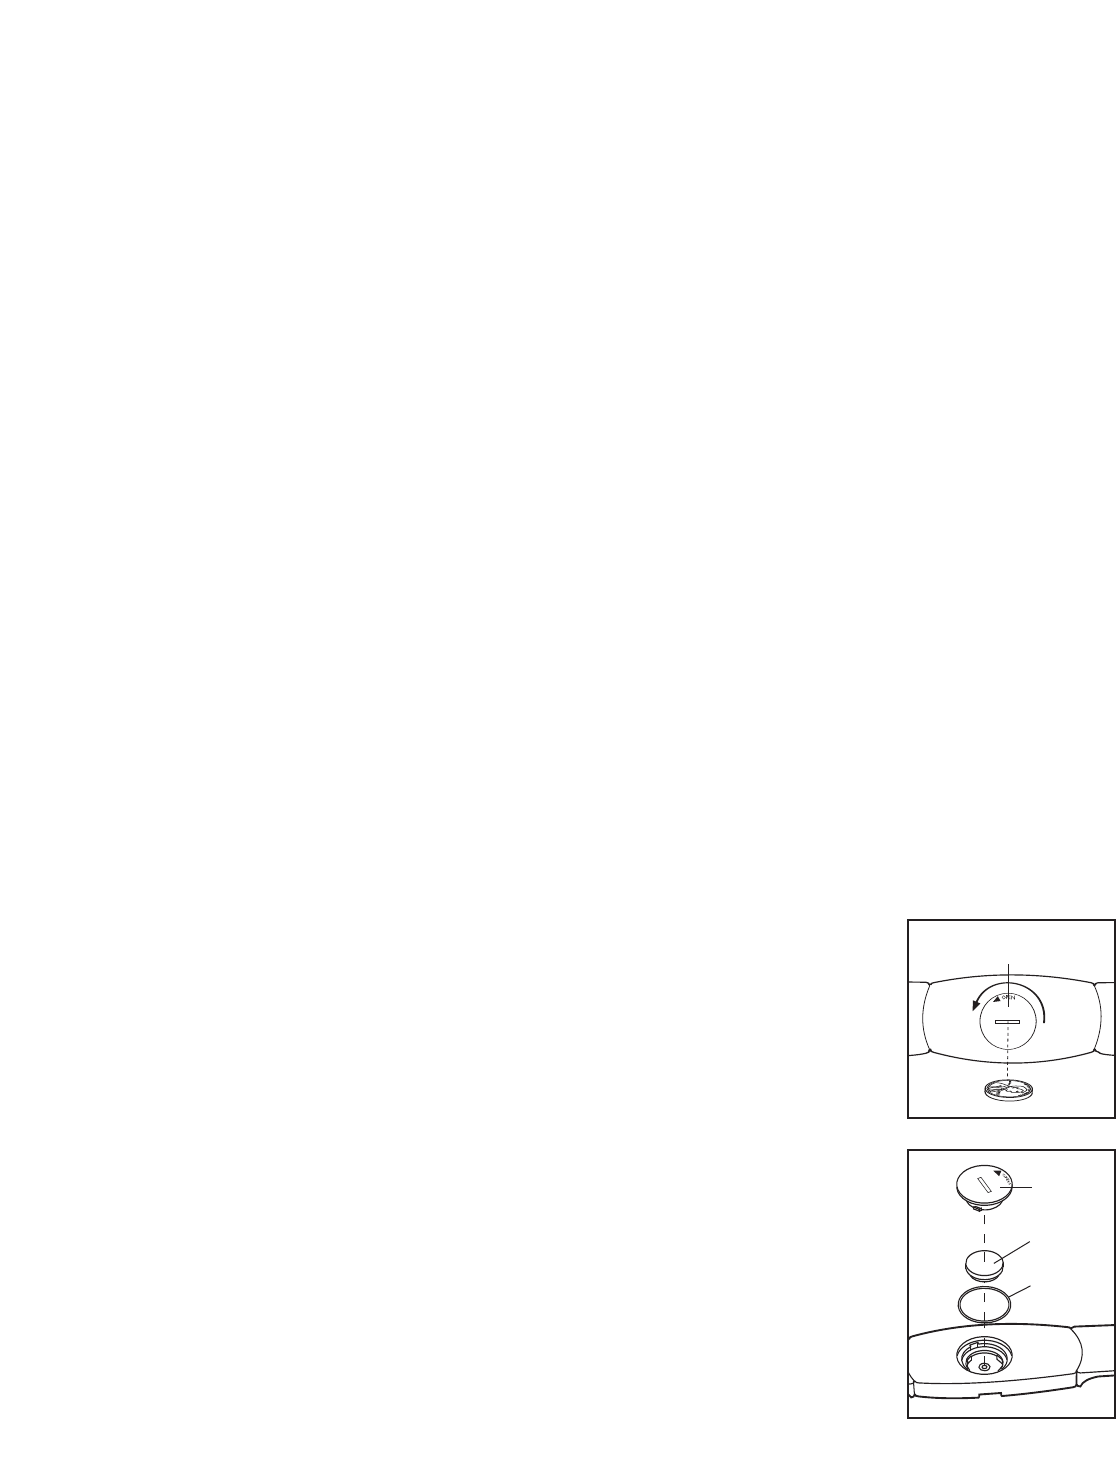
b. If the chest pulse sensor still does not function properly, the battery
should be changed. To replace the battery, locate the battery cover
on the back of the sensor unit. Insert a coin into the slot in the cover
and turn the cover counterclockwise to the “open” position. Remove
the cover.
Remove the old battery from the sensor unit. Insert a new CR 2032
battery, making sure that the writing is on top. In addition, make sure
that the rubber gasket is in place in the sensor unit. Replace the bat-
tery cover and turn it to the closed position.
Battery
Rubber
Gasket
Battery Cover
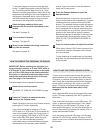
b
Battery
Cover