21
To stop a CUSTOM program momentarily, press the
STOP button. The displays will pause and the TIME/
PACE display will begin to flash. To restart the
program, press the START/ENTER button or the
SPEED Ò+Ó button. To end the program and reset
the displays, hold down the STOP button for two
seconds.
Note: While a CUSTOM program is in progress, the
speed or incline setting of the current period can be
adjusted with the SPEED or INCLINE buttons.
However, adjustments will not be stored in memory.
To reprogram the speed or incline setting of the
current period, hold down the CUSTOM 1 or 2
button for two seconds. The CUSTOM PROGRAM
RECORD indicator will light. Speed and incline
settings can be reprogrammed only when the
indicator is lit. Adjust the speed or incline setting of
the current period by pressing the SPEED or
INCLINE buttons. After the current period is
completed, hold down the CUSTOM 1 or 2 button
for two seconds. The CUSTOM PROGRAM
RECORD indicator will darken. The new settings will
then be stored in the consoleÕs memory.
Follow your progress with the six displays.
See step 8 on page 13.
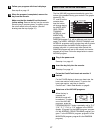
When the program is completed, remove the key
from the console.
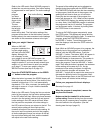
Make sure that the treadmill is at the lowest
incline setting. Remove the key from the console.
Store the key in a secure place. In addition, press
the on/off switch to the off position. (See the
drawing near the top of page 12.)
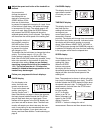
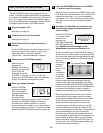
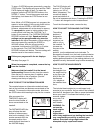
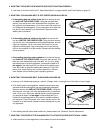
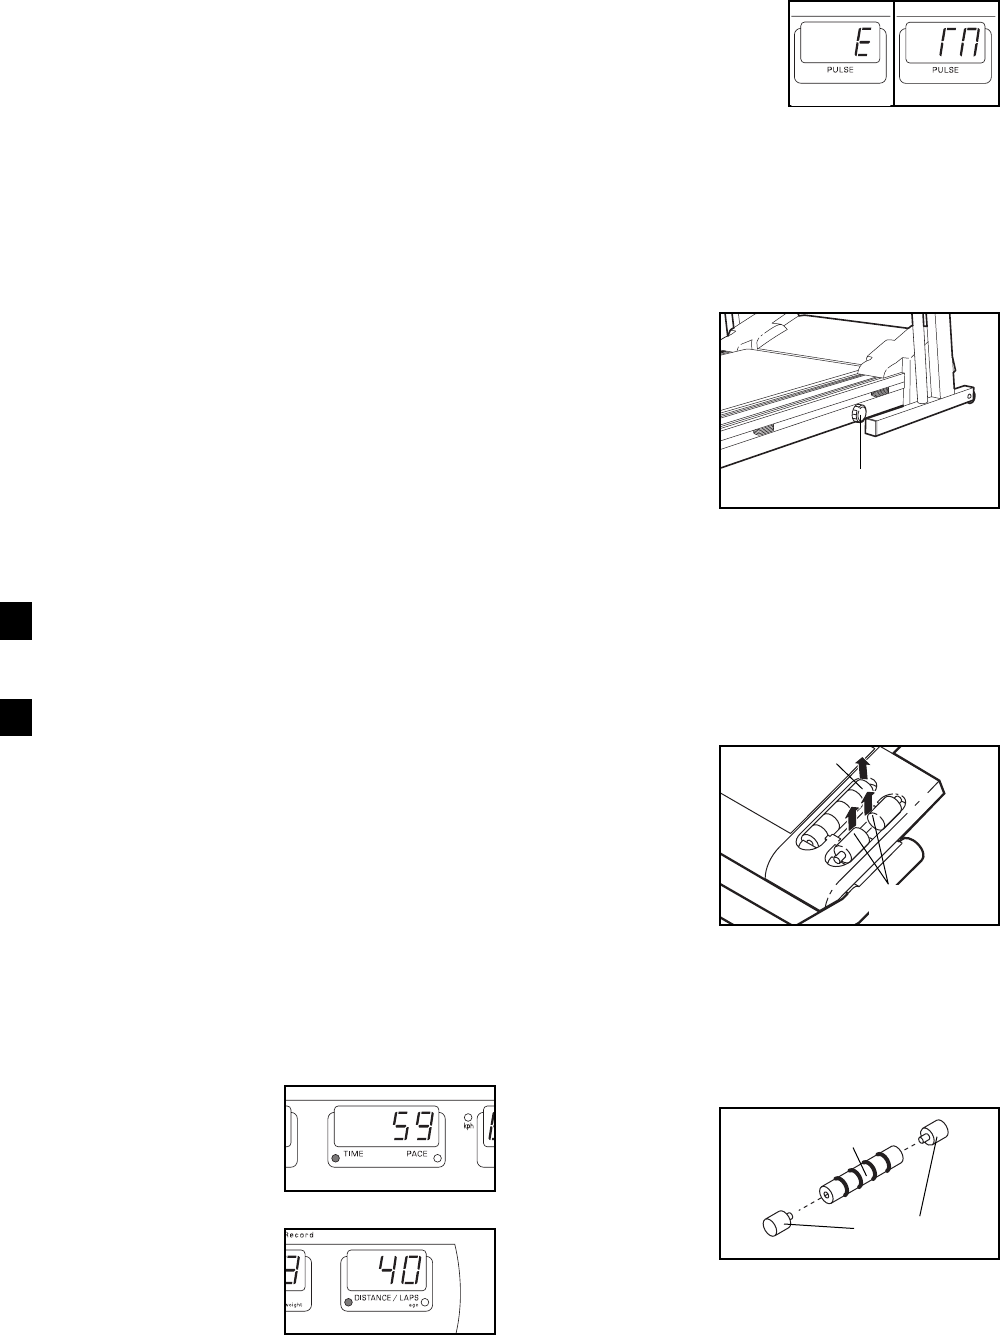
HOW TO SELECT THE INFORMATION MODE
The console features an information mode that keeps
track of the total time and distance accumulated on the
treadmill. To access the information mode, hold down
the STOP button while inserting the key into the console.
After a moment, the
TIME/PACE display will
show the total number of
hours accumulated on the
treadmill.
The DISTANCE/LAPS dis-
play will show the total
number of miles accumu-
lated on the treadmill. If the
number exceeds 999, the
thousands and ten thou-
sands digits will be shown in
the INCLINE display.
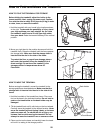
The PULSE display will
show an ÒEÓ for English
(miles) or an ÒMÓ for
Metric (kilometers). The
console will display
speed and distance in
the unit of measurement shown. Pressing the SPEED
Ò+Ó button will change the unit of measurement.
To exit the information mode, remove the key.
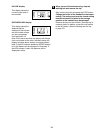
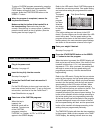
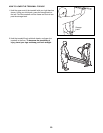
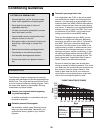
HOW TO ADJUST THE WALKING PLATFORM
The walking
platform is
designed to
cushion the
impact as you
walk or run on
the treadmill. To
increase the
firmness of the
walking
platform, turn the adjustment knob clockwise. To
decrease the firmness, turn the knob counterclockwise.
Note: The faster you run on the treadmill, the firmer the
walking platform should be. If the walking platform is not
adjusted correctly, the treadmill may bounce excessively.
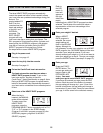
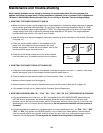
HOW TO USE THE HAND WEIGHTS
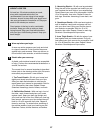
Remove the
handweights from
the weight rack by
prying up on the
ends of the 2-lb.
handles and
1-lb. weights at
the indicated loca-
tions.
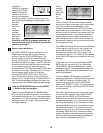
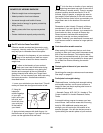
The included hand weights let you add upper body
exercise to your workouts. As you walk on the treadmill,
hold the 2-lb. handles at your sides or press the handles
above your head. To increase the intensity of your
exercise, tighten
one or two 1-lb.
weights into
each handle.
WARNING: Do
not use the
hand weights
at speeds
higher than a
walk. Using weights and not holding the handrails
may compromise your ability to maintain your
balance. Exercises using weights should be
attempted only by experienced users.
7
8
Adjustment Knob
2-lb. Handle
1-lb. Weight
2-lb. Handle
1-lb. Weight


