18
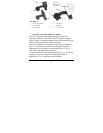
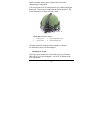
FIGURE 6. Helmet mount
1. Locking screw
2. Flip-up button
3. Flip-up adjusting screws
4. Mount binding screw
1
2 3
4
find the suitable starting point. Tighten the screws after
completing the adjustment.
You can raise the Unit for unobstructed view without taking the
helmet off. To do so press (and hold) the flip-up button (2, Fig.
6) and rotate the Unit until you hear a click.
All other operations with the Unit mounted on a helmet
are identical to those with the headgear.
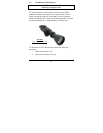
Mounting on a rifle
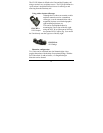
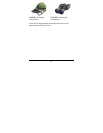
The Unit can be mounted on a rifle with one of two Picatinny
(MIL-STD-1913) mount adapters—the NVS W Mount or the
NVS QR Mount.


