1 2
OPERATION
OPERATION
HOW TO USE YOUR NAUTILUS BIKE
> Seat Adjustment
Proper seat height helps ensure maximum exercise effi-
ciency and comfort, while reducing the risk of injury.
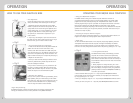
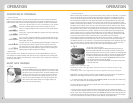
1. Seated on the bike, place both feet in the pedals.
Rotate one pedal to the furthest most position. On the
upright bike this will mean having then pedal at the 6
o’clock position (Fig. 1), on the recumbent it will mean
having the pedal at the 4 o’clock position (Fig. 2). In
this position you should have a slight bend in your
knee as shown.
2. If your leg is too straight or your foot cannot touch
the pedal, you will need to lower the seat. If your leg is
bent too much, you will need to raise the seat.
> Foot positioning/pedal strap adjustment
1. Place the ball of each foot on the pedals. Rotate the
pedals until one foot is within arm’s reach. Then,
carefully reach down and fasten the rubber strap over
your shoe and secure it to the pedal by slipping the nub
at the end of the pedal through one of the slots in the
strap. Pull down the strap until it snaps into place. (Fig. 3)
2. Repeat for the other foot.
3. Point your toes and knees directly forward to ensure
maximum pedal efficiency. Pedal straps can be left in
place for subsequent workouts.
4. If you have a narrow foot, you can position the rub-
ber strap in a tighter location. With your feet off the
pedals, slide the rubber strap into the slot in the pedal.
Secure the strap to the nub underneath the pedal.
> Beginning Your Workout
Once you are in position and sitting comfortably, slowly
begin pedaling with your hands resting on the handle-
bars. Pedal at an easy pace and low resistance until you
feel secure and comfortable. Then try experimenting
with the range of resistance levels available.
> Upper Body Positioning
For added enjoyment, comfort and variety during your workout, experiment with
moving your hands and arms to various positions on the padded handlebars.
> fig.1
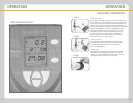
OPERATING YOUR NB/NR 2000 COMPUTER
> Using your NB/NR 2000 Computer
For added workout variety, the on-board computer features a selection of
pre-programmed workouts as well as a manual mode program. The manual mode
program can be easily accessed pressing the “Enter/Quick Start” button. All other
workout programs require you to input data. The computer also features multi-feed-
back functions and easy-to-read LED displays to keep track of your workout
performance and progress. By taking a few moments to fully understand the computer
operation and functions, you will get more pleasure, motivation and value from your
workouts. It’s really very easy.
> Accessing the Computer Workout Programs
You have two options of accessing programs: 1. Utilize the “Quick Start” feature or 2.
Program the computer by entering specific data as explained below.
> Quick Start
To utilize the Quick Start feature on the computer, simply begin pedaling. Press the
“Enter/Quick Start” button and the computer will begin immediately. The default
setting for the Quick Start program is a manual program with a resistance level of
three. You can easily change the resistance level at any time by pushing the + or - keys.
> Pre-Programmed Workouts
For added workout variety and challenge, the 2000
computer has 6 workout courses each specifically
designed to help your achieve maximum results from
each workout. Your bike offers 16 levels of intensity to
accommodate all fitness levels from first time exerciser
to elite athlete.
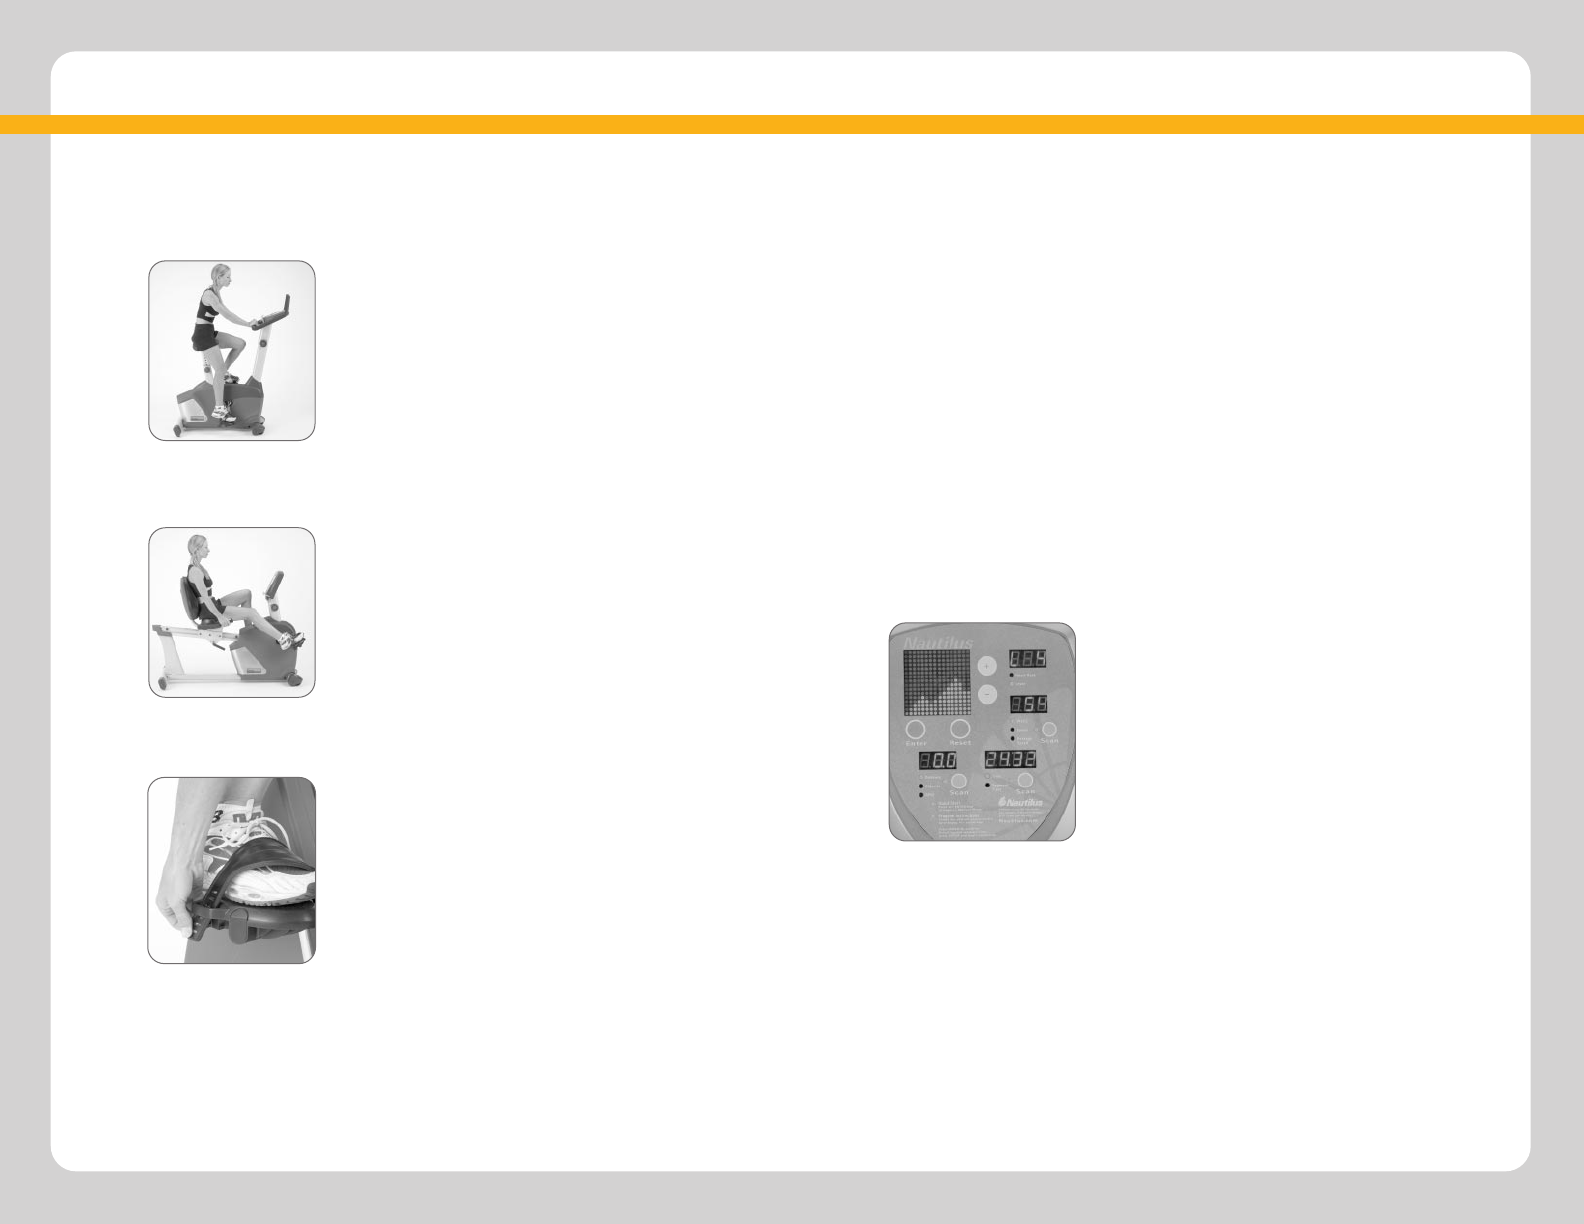
1. Select programs P1 through P6 using the + and –
keys. The program hill profile will appear in the large
dot-matrix display. The higher the hill, the greater the
pedaling resistance. Press the ENTER/QUICK START key
to confirm your selection.
2. Select workout LEVEL using the + or – keys and press ENTER/QUICK START to
confirm. Note: at any time during your workout you may adjust your workout level
by simply pressing the + or – keys.
3. Enter your weight by using the + or – keys and press ENTER/QUICK START to confirm.
4. Enter your time using the + or – keys and press ENTER/QUICK START to confirm.
> fig.2
> fig.3
> fig.4


