2
3
Selecting A Site
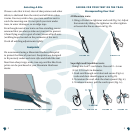
Choose a site that is level, clear of sharp stones and other
debris, is sheltered from the wind, and will drain when
it rains. You may wish to face your tent south or east to
catch the morning sun. Do not pitch your tent under
trees, in water drainages, or on ridge tops.
Even though most of our tents are free-standing, we rec
-
ommend that you always stake out your tent to prevent
it from flying away in a gust of wind. Secure all pull-outs
(webbing loops located on the perimeter of the tent).
Cinch all webbing adjustments tightly.
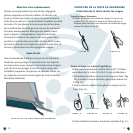
Footprints
We recommend using a Mountain Hardwear footprint
to protect the floor of your tent. Footprints are designed
to fit precisely under each tent style and shield the tent
floor from sharp twigs, rocks, tree sap, and the like. Foot
-
prints can be purchased at your Mountain Hardwear
dealer.
CARING FOR YOUR TENT ON THE TRAIL
Stormproofing Your Tent
All Mountain tents:
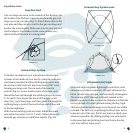
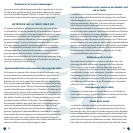
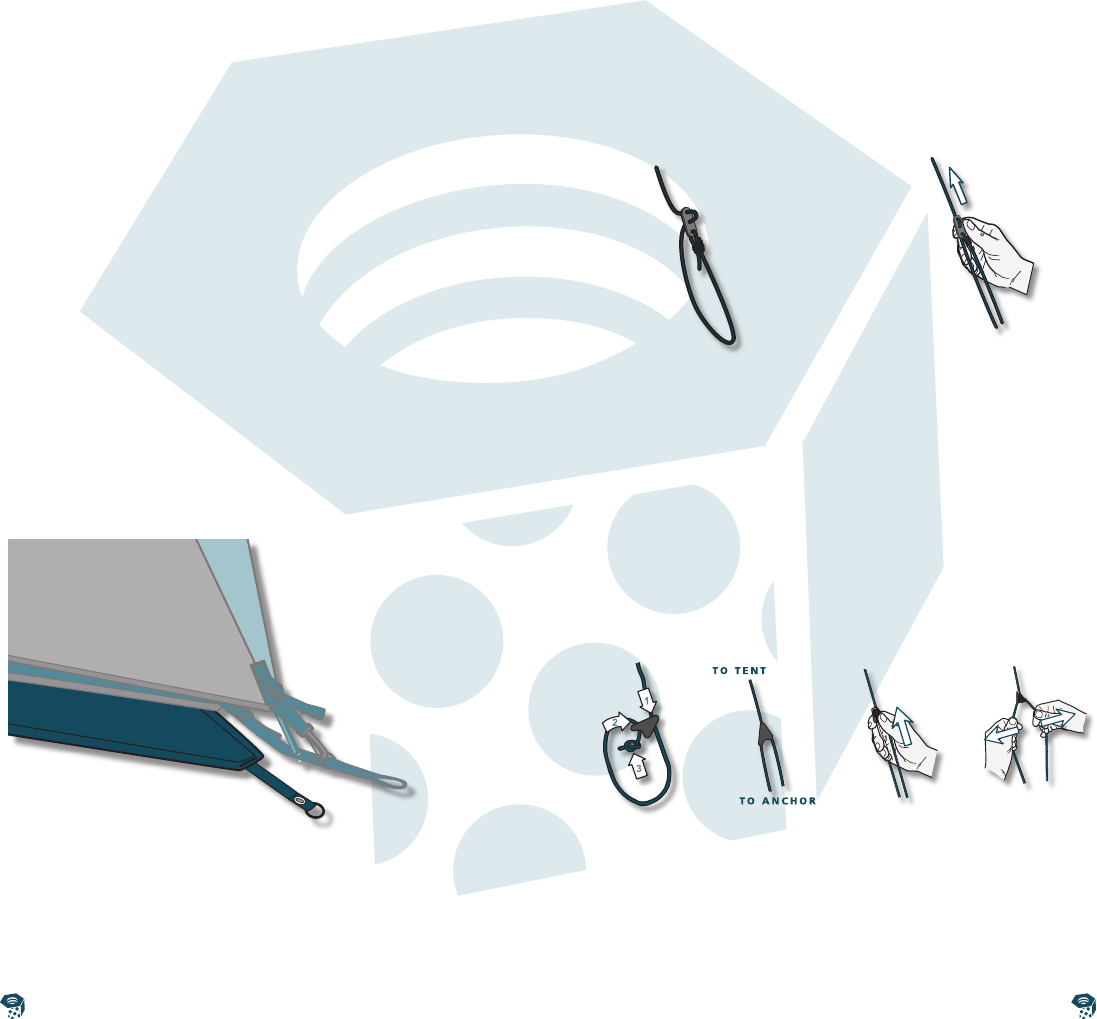
1.Using a 3 hole line tightener and cord (Fig. 2a). Adjust
the tension by sliding the tightener to either tighten
or loosen the line as shown in Fig. 2b.
Superlight and Expedition tents:
Using Line-Lok™ cord cleats. Use cord 2 – 5 mm
(5/64 3/16 inch) in diameter.
1. Feed cord through cord cleat and secure (Fig.1a).
(code and cleat should appear as in Fig.1b)
2. To tension the cord, slide the cleat upward (Fig.1c).
3. To release tension, pull the cords apart (Fig. 1c).
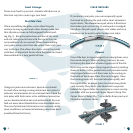
MOUNTAIN HARDWEAR TENT FOO TPRINT
FIGURE 1A FIGURE 1B FIGURE 1C FIGURE 1D
FIGURE 2A FIGURE 2B


