


TR3000i / TR4000i
Folding Treadmill
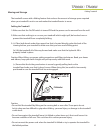
Belt Tensioning
If the belt begins to slip during use, it will need to be tensioned. Your treadmill is equipped with
tension bolts that are accessible from the back of the treadmill. Before tensioning the belt,
start the treadmill and set the speed to 3 MPH. Using a 6 mm Allen Wrench, included in your
hardware bag, turn the right and left tension bolts 1/2 turn, alternating back and forth until the
belt slipping stops. After you adjust each side 1/2 turn, test to see if the slipping is eliminated. If
the belt still slips repeat this step and test again.
If you turn one side more than the other, the belt will start to drift to the side of the
treadmill and need to be aligned. Do Not tighten more that 2 full turns on each side.
If slippage still occurs, contact LifeSpan Customer Service.
Note: Over tensioning the belt can cause unnecessary friction
and wear and tear on the belt, motor and electronics.
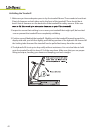
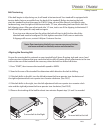
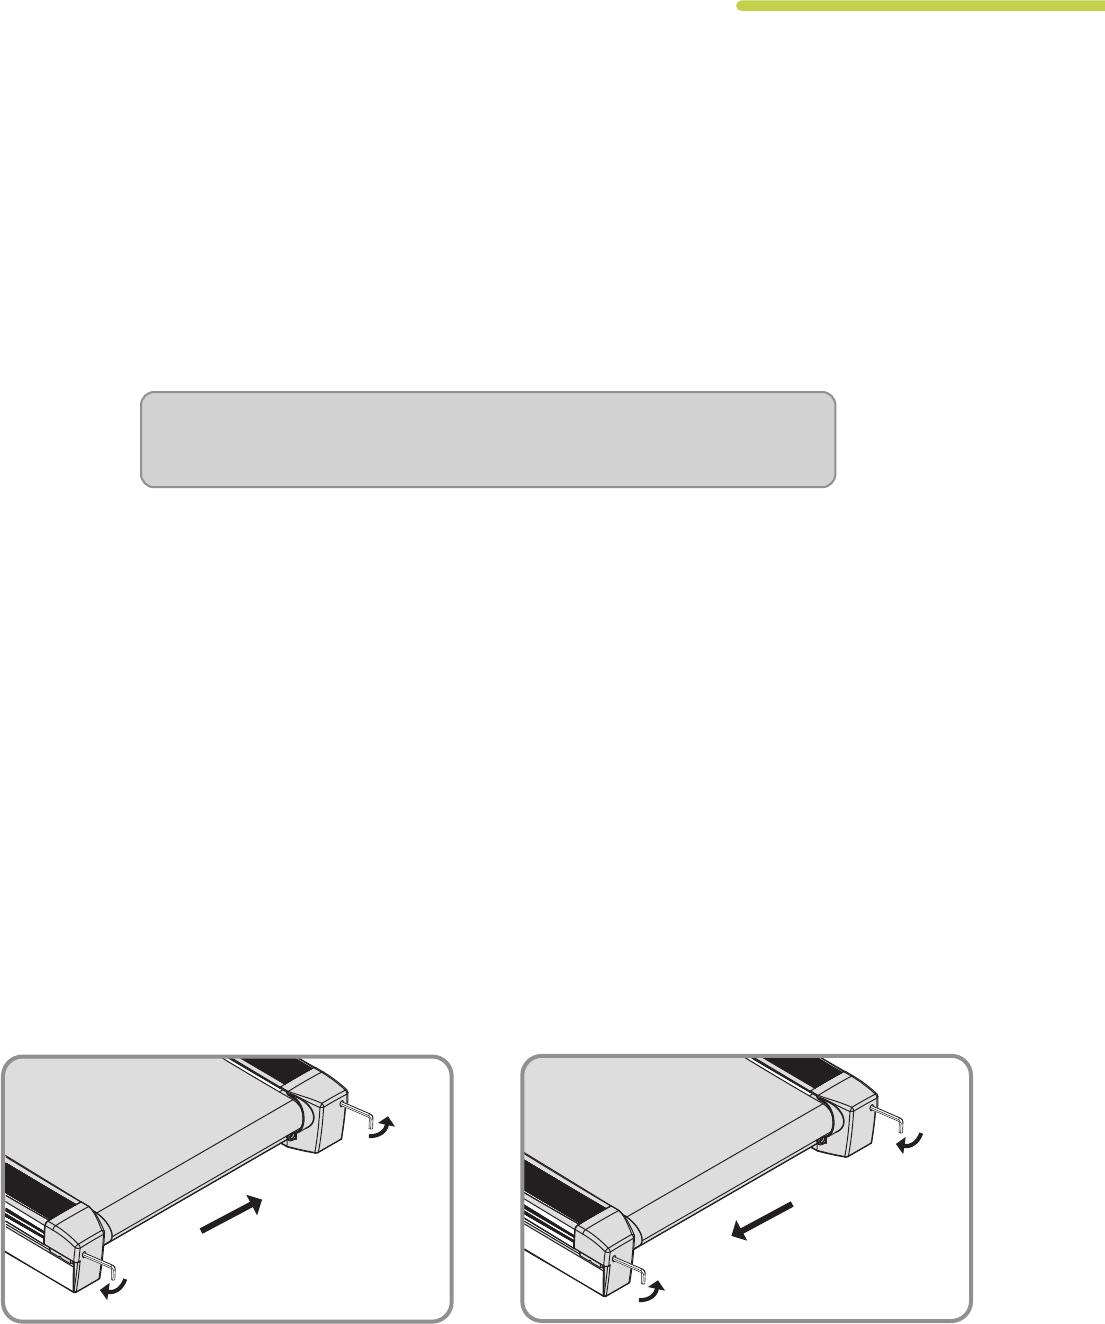
Aligning the Running Belt
Ensure the running belt is centered on your treadmill at all times. Running style and a non- level
surface are two instances that may cause the belt to drift o center. Minor adjustments to the two
bolts at the rear of the treadmill are necessary when the belt has drifted o center.
1. Press "START", then increase the treadmills speed to 3MPH.
2. Stand at the rear of the treadmill to determine which direction the belt is drifting.
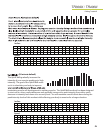
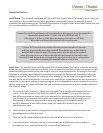
3. If the belt drifts to the left, turn the left adjustment bolt one-quarter turn clockwise and
the right adjustment bolt one-quarter turn counter-clockwise. (See FIG.C)
4. If the belt drifts to the right, turn the left adjustment bolt one-quarter turn counter-clock
wise and the right adjustment bolt one-quarter turn clockwise. (See FIG.D)
5. Observe the tracking of the belt for about two minutes. Repeat step 3, 4 and 5 as needed.
45
To move belt to the Right
FIG C.
To move belt to the Left
FIG D.