SM40 Unpacking & Assembly Instructions
7
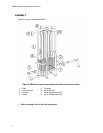
4. Install the weight stacks. To do this:
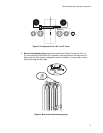
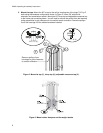
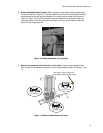
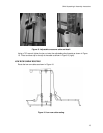
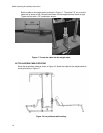
A. Using a 9/16” socket and combination wrench, remove the tricep back rest bolts
(see Figure 10).
B. Using a 9/16” socket and combination wrench, unbolt the top plate and remove
the guide rods (see Figure 10).
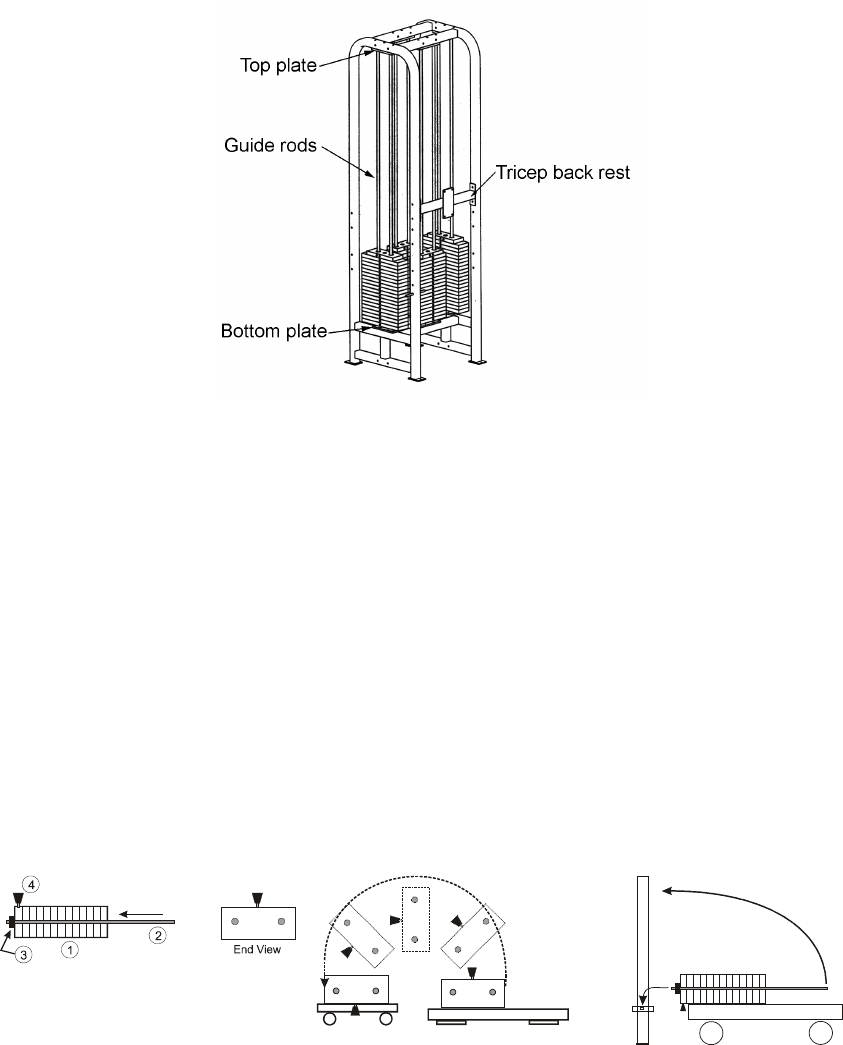
Figure 7. Remove the tricep back rest, the top plate and the guide rods.
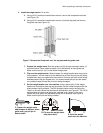
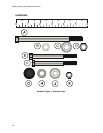
C. Prepare the weight stack. Slide the guide rods (2) through the weight stacks (1)
as shown below. Place rubber bumpers (3) on the bottoms of each guide rod.
Make sure the pull pin (4) is in the bottom weight plate.
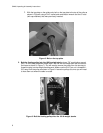
D. Flip over the weight stacks. When shipped, the weight stacks have the pull pins
facing upward. You will need to flip the stacks over so that the pull pins are facing
outward when they are loaded onto the machine. Since the pull pins will be facing
downward when they are flipped over, it is recommended that you put the stacks
on a padded carpet to keep the pins from being damaged.
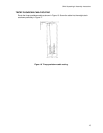
E. Set the weight stacks onto the machine. Using a piano dolly, lift the weight
stacks over the bottom plate and set the stacks onto the rubber bumpers with the
plate numbers facing outward. The 300 lb weight stacks need to be facing the
“sides” of the cells (where the benches will be attached- see Figure 6). The 190 lb
weight stacks will need to be facing the “outsides” and “insides” of the cells
(where the tricep pulley and adjustable pulley will be attached- see Figure 6).
Make sure the pull pins are facing outward.
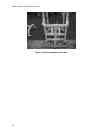
C. Prepare the weight stack-
add bumpers to bottom, insert
guide rods, put pull pin in
bottom stack.
D. Flip over the weight stack
onto piano dolly.
E. Hoist the weight
stack onto the machine.


