


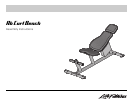
Ab Curl Bench
Assembly Instructions
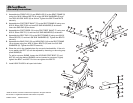
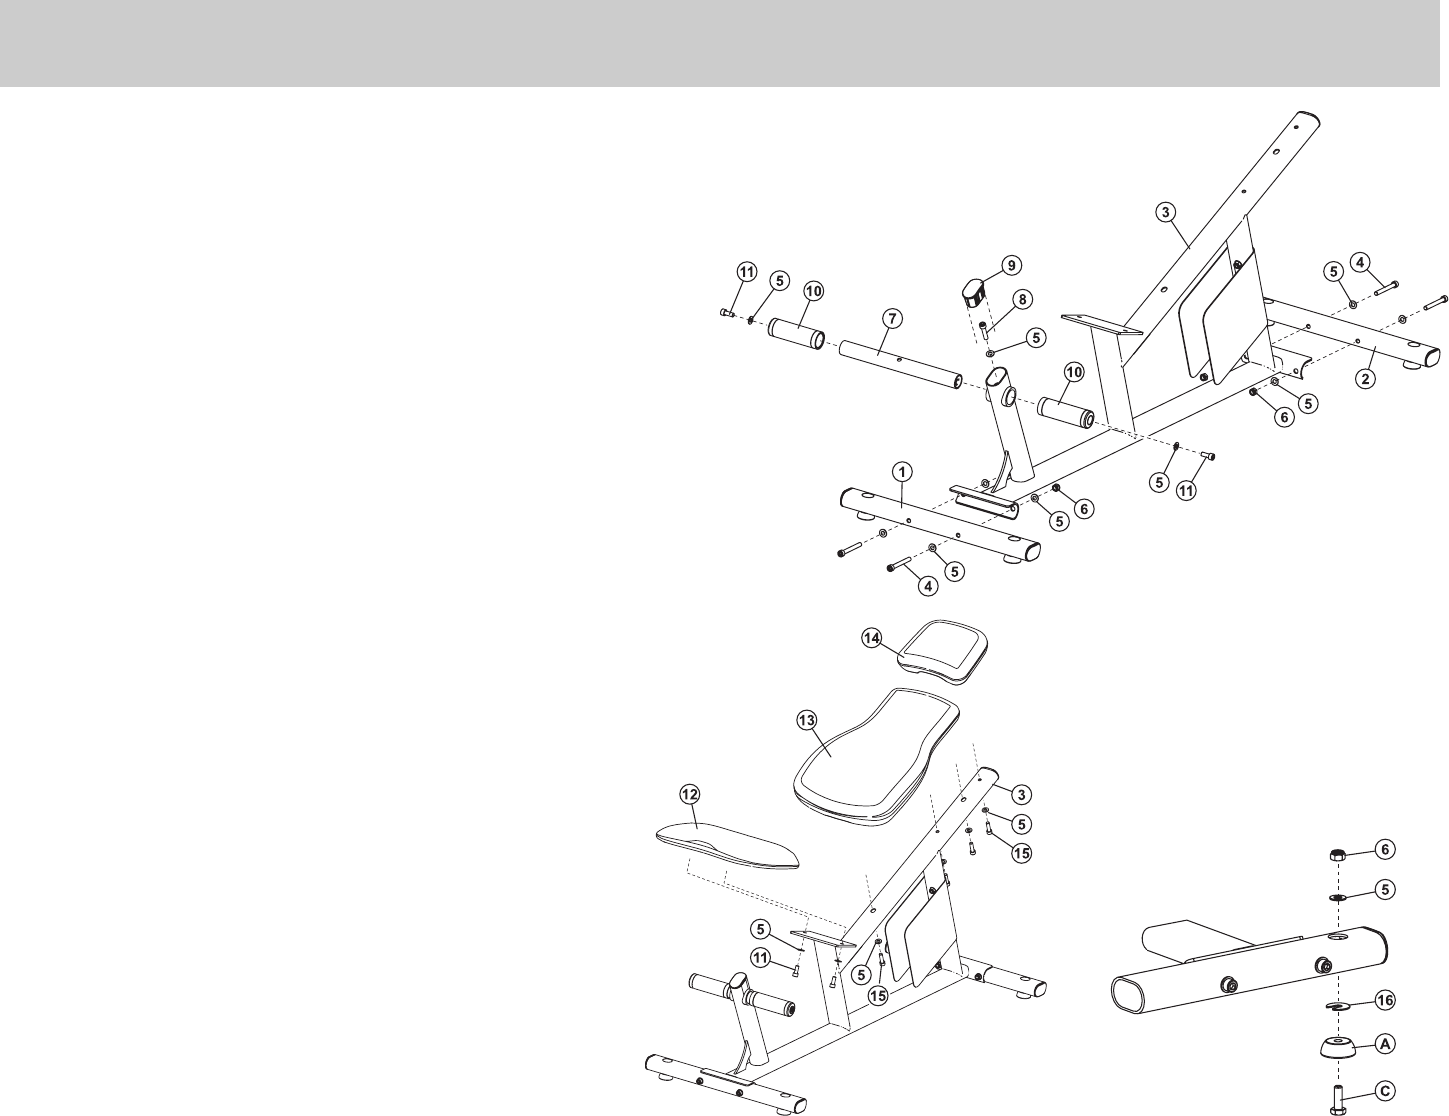
1. Assemble the FRONT LEG (1) and REAR LEG (2) to the SEAT FRAME (3)
using four M10 X 90mm BOLTS (4), eight 3/8" SAE WASHERS (5) and
four M10 NYLOCK NUTS (6) as shown. Tighten the BOLTS and NUTS
securely.
2. Assemble the FOOT REST SHAFT (7) to the SEAT FRAME (3) using one
M10 X 45mm BOLTS (8) and one 3/8" SAE WASHERS (5) as shown.
Insert the END CAP (9) as shown.
3. Assemble the FOOT GRIPS (10) to the FOOT REST SHAFT (7) using two
M10 X 25mm BOLTS (11) and two 3/8" SAE WASHERS (5) as shown.
4. Assemble the SEAT PAD (12) to the SEAT FRAME (3) using two M10 X
25mm BOLTS (11) and two 3/8" SAE WASHERS (5). Tighten the BOLTS
securely.
5. Assemble the BACK PAD (13) and HEAD PAD (14) to the SEAT FRAME
(3) as shown using four M10 X 35mm BOLTS (15) and four 3/8" SAE
WASHERS (5). Tighten the BOLTS securely.
6. Place the unit in the inteded place for use and check stability. If the unit
is not stable, the FEET (A) can be adjusted by inserting or removing sup-
plied SHIMS (B).
To add or remove SHIMS, loosen the LEVELING FOOT BOLT (C) and
NUT (6) until the desired SHIM(S) can be inserted or removed. Lightly
tighten the BOLT and NUT. Do not over-tighten the BOLTS.
7. Install HOLE PLUGS in all open bolt holes.
©
2006 Life Fitness, a division of Brunswick Corporation. All rights reserved.
Life Fitness is a registered trademark of Brunswick Corporation.
TCABB 5.25.06 8060301 RevA-2