


Position the HR Monitor
2
1 3
The heart rate (HR) monitor should be worn directly
on your skin, just below the breastplate. It should be
snug enough to stay in place during your workout.
When positioned correctly, the Forerunner begins
receiving heart rate data automatically, and the heart
rate icon changes from flashing to constant .
Be sure to stand at least six feet away from another
heart rate monitor until the Forerunner begins
receiving heart rate data.
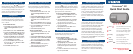
To position the heart rate monitor:
1. Push one tab on the strap through the slot
in the heart rate monitor. Press the tab
down.
Coded
Coded
2. Wet both sensors on the back of the heart
rate monitor to create a strong connection
between your pulse and the transmitter.
Sensors
3. Attach the strap to the other side of the
heart rate monitor around your chest.
4. Tighten or loosen the strap as necessary.
NOTE: Be sure to position the heart rate monitor so
that the lettering on the front is right-side up.
Charge the Battery
1
2 3
Before you can use your new Forerunner, you must
charge the battery for three full hours.
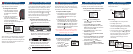
To charge the Forerunner:
1. Turn the Forerunner over and
remove the weather cap from
the USB port on the back of
the unit.
2. Locate the A/C Charger that
came in the product box.
Plug the mini USB end of the
charger into the USB port on
the unit. Then plug the A/C charger into a
standard wall outlet.
When the battery is finished charging, the Battery
Charging Complete message appears.
When the battery is finished charging, you should be
able to use it for about 14 hours before recharging.
You can also recharge the Forerunner using the USB
cable and your personal computer. See the Owner’s
Manual for more information.
Enter User Information
Set your time zone and user profile so that the
Forerunner 301 can record accurate workout data.
To set your time zone and user profile:
1. Press mode to access Menu mode.
Menu Mode
2. Press to highlight Settings and
press enter. Then highlight General
and press enter.
3. Highlight Set Time
and press enter.
4. Highlight the Time Zone field and press
enter. Choose the correct time zone from
the menu and press enter.
5. Press
mode one time to return to the
General settings page.
6. Scroll down to highlight Set User Profile
and press enter.
7. Highlight the
Gender field and press enter.
Then choose your gender from the menu
that appears and press enter.
8. Continue to press , , and enter to
change the Date of Birth and Weight
fields. When you are finished, press mode
repeatedly to exit.
Weather Cap
Acquire Satellites
3
21
Acquiring satellite signals may take as long as 15
minutes the first time you use the Forerunner (or if
stored for more than 3 months). For troubleshooting
information, refer to the Owner’s Manual.
To acquire satellite signals:
1. Go outdoors to an open area, away from
tall buildings and trees. Then press and
hold the Power button to turn on your
Forerunner 301.
2. Wait while the Forerunner 301 searches
for satellite signals. As the unit acquires sig
-
nals, the bar fills from left to right, and the
Satellite icon flashes. When the Forerun-
ner 301 has acquired enough signals, the
bar fills completely and disappears, and the
Satellite icon stops flashing.
After you charge the battery and acquire satellites,
you can take your Forerunner 301 outside and
immediately begin your workout!
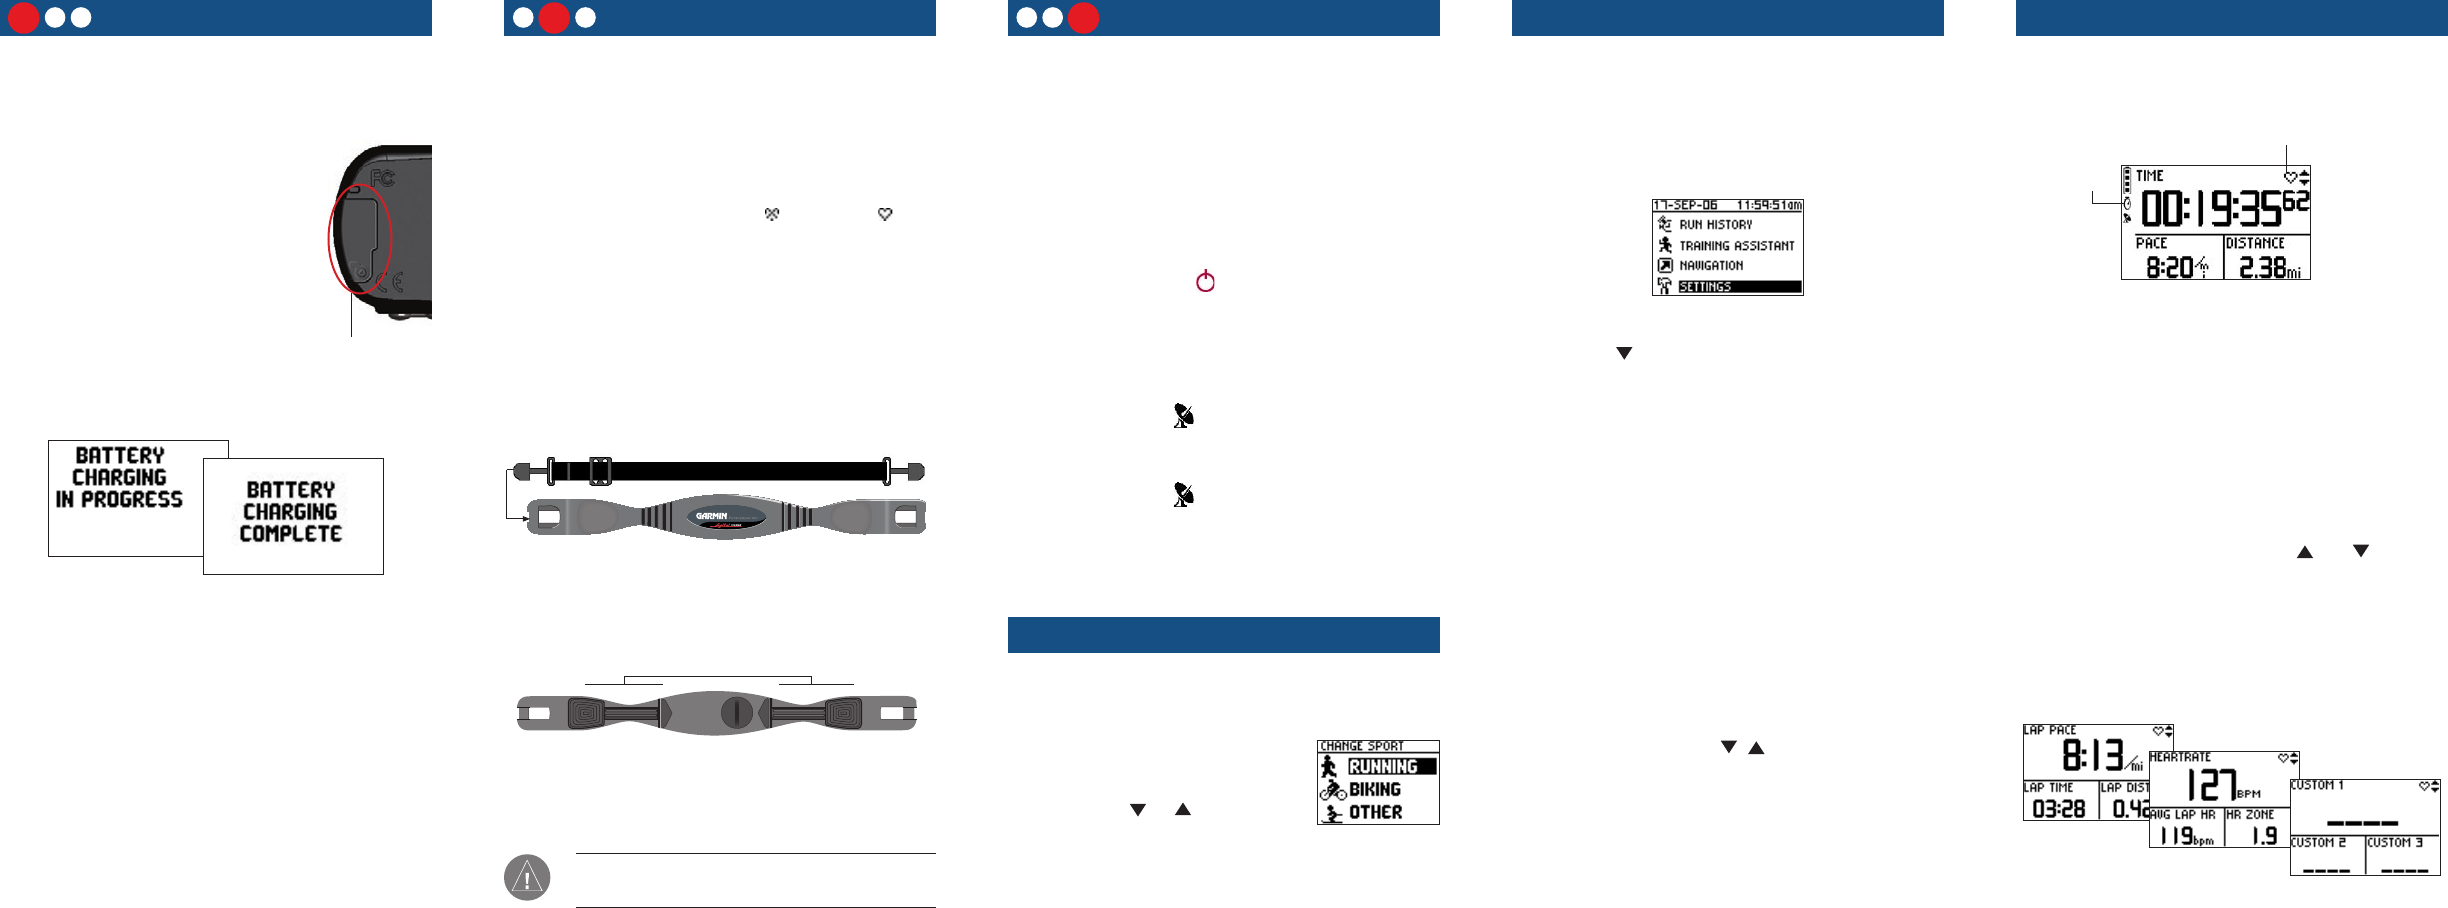
Choose Your Sport
To change your sport mode:
1. Press and hold the mode
button. The Change Sport
menu appears.
2. Use the
or arrows
to highlight a sport. Then
press enter to select.
Start Your Workout
To begin your workout, press the mode button to
view the Timer mode.
Heart rate detected
(solid icon)
Timer Mode
Timer
started
While training:
• Press start/stop to start or stop the timer.
• Press lap to lap the timer.
• With the timer stopped, press and hold reset
until the message disappears to reset the timer.
• Press and hold mode to change sports.
• From Timer mode, press the and arrows
to view other data pages: the Lap page, Heart
Rate page (appears when receiving heart rate
data), and Custom page. See the Owner’s
Manual to set these data pages to scroll
automatically.
Lap Page
Heart Rate Page
Custom Page
© Copyright 2004–2006 Garmin Ltd. or its subsidiaries
190-00370-01 Rev. C Printed in Taiwan