


Operation Guide DQR-300
3
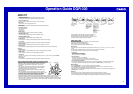
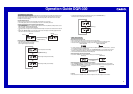
Alarm Mode selector
SNZ
()
ALM ON
()
ALM OFF
Description
The alarm sounds at the preset time for one minute, and seven
more times every five minutes thereafter. Even if you stop the
alarm sound by pressing the SNOOZE/LIGHT button (1), the
alarm operation is performed again five minutes later.
• The indicator
flashes on the display to indicate that the
snooze feature is activated.
The alarm sounds at the preset time for one minute.
The alarm does not sound.
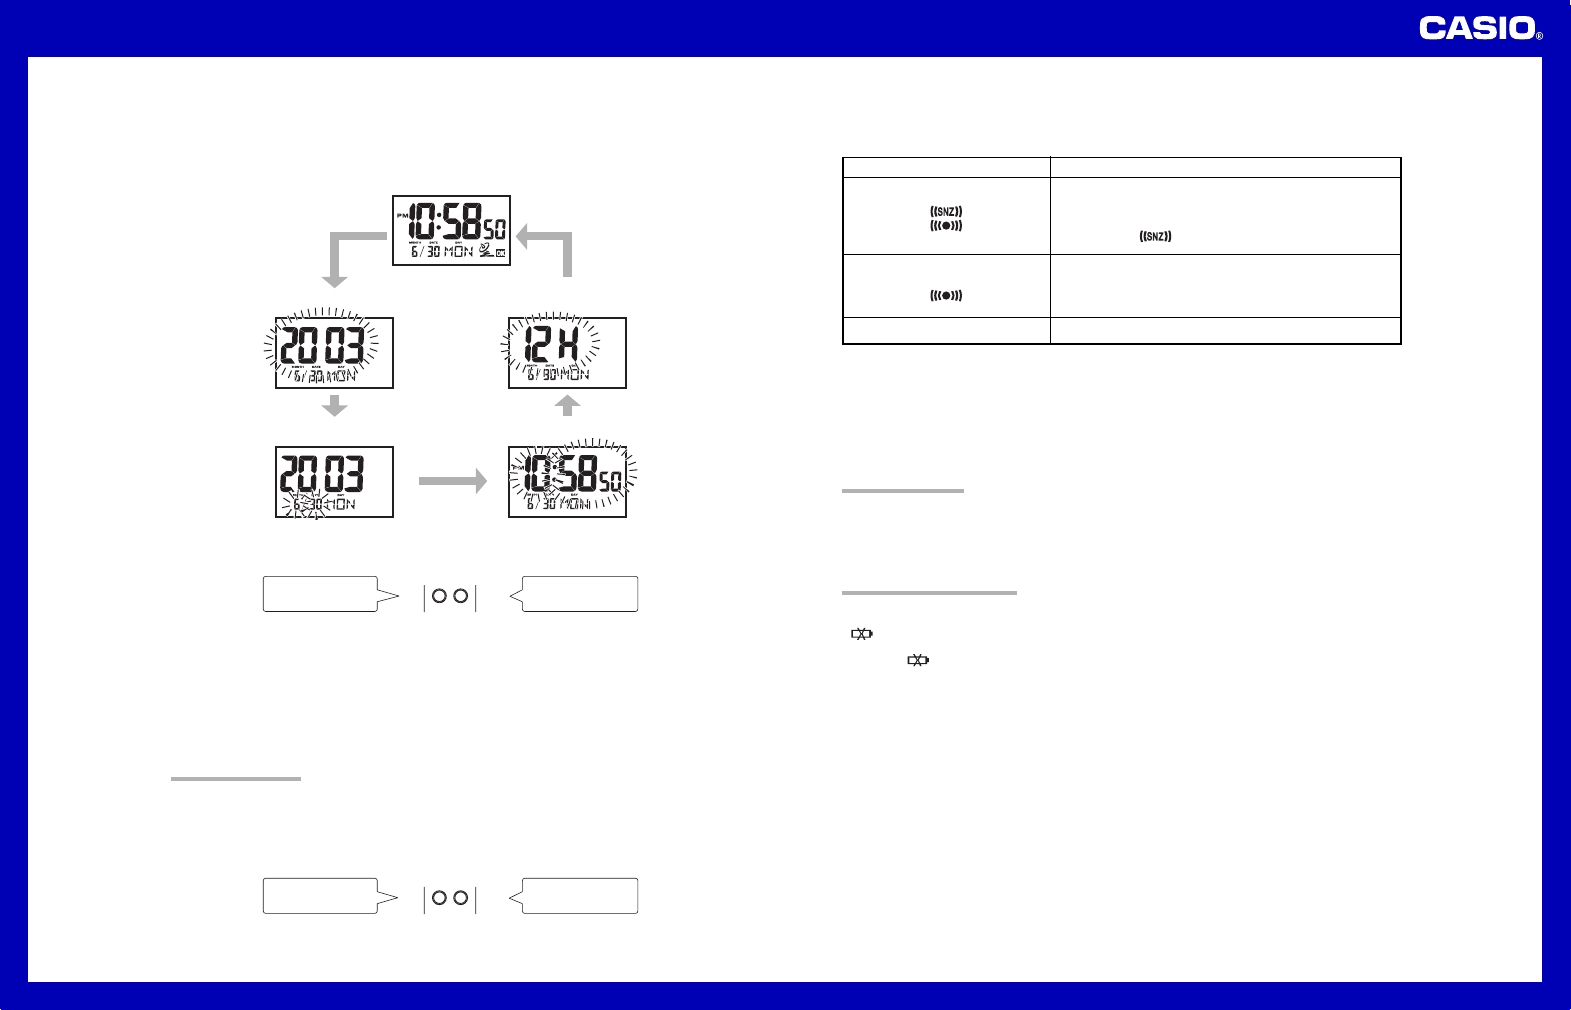
Setting the Time and Date Manually
• When using the clock in an area that is outside of the range of the transmitter in Mainflingen or in an area where
signal reception is impossible for some reason, you need to manually adjust the time as required.
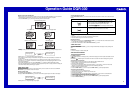
1. Press the SET button (3) to cycle through the setting screens as shown below.
2. While the screen you want is on the display, use the Alarm Time Set buttons (2) to change the digits that are
flashing.
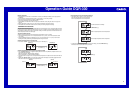
DOWN(—)
UP(
+
)
Press
—
to decrease
the flashing digits.
Press + to increase
the flashing digits.
• Holding down + or
–
changes the flashing digits at high speed.
• You can set the year in the range of 2000 to 2039. The day of the week is set automatically in accordance with
the date setting.
• Pressing + or – while the Time Setting Screen is on the display causes the seconds count to be reset to 00.
• Each press of + or – while the 12-hour/24-hour Timekeeping Screen is on the display toggles between 12-hour
and 24-hour timekeeping.
3. After making the settings you want, use the SET button (3) to display the Normal Timekeeping Screen.
• The clock automatically returns to the Normal Timekeeping Screen if you leave a setting screen on the display for
about three minutes without performing any operation.
USING THE ALARM
The alarm sounds and the light turns on when the alarm time you set is reached. You can also use the Alarm
Mode selector (5) to select the snooze alarm feature.
Setting the Alarm Time
Use the Alarm Time Set buttons (2) to set the alarm time.
Pressing the Alarm Time Set buttons (2) causes the alarm time to appear in place of the date on the display.
DOWN(—)
UP(
+
)
Press to change the
alarm time setting (
—
)
Press to change the
alarm time setting (+)
• Holding down + or – changes the digits at high speed.
Turning the Alarm On and Off
Use the Alarm Mode selector (5) on the side of the clock to turn the alarm on and off, and to select the snooze
feature.
• The alarm time appears in place of the date on the display whenever the Alarm Mode selector (5) is set to ON
or SNZ.
• The light also turns on for the first four seconds that the alarm sounds.
• The alarm sound changes over four levels as it sounds.
Stopping the Alarm
• When alarm is sounding, press the SNOOZE/LIGHT button (1) to stop it. When the snooze feature is turned
on, the alarm will sound again in about five minutes.
• To turn off the snooze feature, slide the Alarm Mode selector (5) to OFF.
USING THE LIGHT
Pressing the SNOOZE/LIGHT button (1) turns on the light and illuminates the display for easy reading in the
dark.
Important!
• Overuse of the light can shorten battery life.
BATTERY REPLACEMENT
Low Battery Warning
A indicator appears on the display to let you know when battery power is low. Replace the batteries as soon
as possible.
Note that the indicator appears on both the main unit and sub-unit when sub-unit battery power goes low.
To replace main unit batteries
Replace batteries whenever the display of the clock becomes dim and difficult to read.
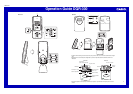
1. Open the battery compartment cover as shown in the illustration.
2. Remove all of the old batteries.
3. Load a full set of new batteries. Make sure that their positive (+) and negative (–) ends face in the correct
directions. If you load batteries incorrectly, they can burst and damage the clock.
4. Replace the battery compartment cover.
5. Press the RESET button (6). Be sure to press the RESET button (6) after replacing batteries.
To replace sub-unit batteries
1. Open the stand so you can see the back cover.
2. Remove the back cover screw, and then open the back cover.
3. Remove both old batteries.
4. Load new batteries. Make sure that their positive (+) and negative (–) ends face in the correct directions.
If you load batteries incorrectly, they can burst and damage the product.
5. Replace the back cover and secure it in place with the screw.
6. Press the RESET button (D). Be sure to press the RESET button (D) after replacing batteries.
7. Press the RE-SYNC button (A).
Normal Timekeeping Screen
Year Setting Screen 12-hour/24-hour Timekeeping Screen
Month and Day Setting Screen Time Setting Screen