


Operation Guide 2888
2
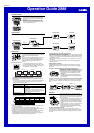
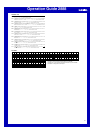
To input the name and then the phone number of new Data Bank record
1.In the Data Bank Mode, press C to display the new
record screen.
• The new record screen is the one that is blank
(contains no name and telephone number).
• If the new record screen does not appear when you
press C, it means that memory is full. To store
another record, you will first have to delete some of
the records stored in memory.
2.Hold down A until the flashing cursor (_) appears in
the name area of the display. This is the record input
screen.
|
|
|
|
|
|
|
|
|
Name area
Number area
New Record Screen
3. In the name area, use [+] and [÷] to cycle through characters at the cursor
position. The characters cycle in the sequence shown below.
A to Z
(alphabet)
@
to -
(symbol)
0 to 9
(number)
(space)
• The above character sequence is for English input. See “Character List” for the
character sequences of other languages.
4. When the character you want is at the cursor position, press C to move the cursor
to the right.
5. Repeat steps 3 and 4 until the name is complete.
• You can input up to eight characters for the name.
6. After you input the name, press C as many times as necessary to move the cursor
to the number area.
• When the cursor is located at the eighth space of the name area, moving the
cursor to the right causes it to jump to the first digit of the number. When the
cursor is at the 15th digit of the number, moving it to the right (by pressing C)
causes it to jump to the first character in the name.
[+]
[÷]
• Pressing C moves the cursor the right, while B moves it to the left.
7. In the number area, use the keypad to input the telephone number.
• Each time you input a digit, the cursor automatically moves to the right.
• The number area initially contains all hyphens. You can leave the hyphens or
replace them with numbers or spaces.
• Use [.SPC] to input a space and [–] to input a hyphen.
• If you make a mistake while inputting numbers, use C and B to move the cursor
to the location of the error and input the correct data.
• You can input up to 15 digits for the number.
8. Press A to store your data and exit the Data Bank record input screen.
• When you press A to store data, the name and number you input flash for about
one second as Data Bank records are sorted. After the sort operation is complete,
the Data Bank record screen appears.
• The name can show only three characters at a time, so longer text scrolls
continuously from right to left. The last character is indicated by the symbol
s after it.
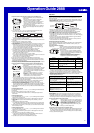
To input the telephone number and then the name of new Data Bank record
1.In the Data Bank Mode, press C to display the new
record screen.
2.Use the keypad to input the telephone number.
• Pressing a number key as the first input in a new Data
Bank record will input the number at the first position
of the number area, and automatically move the
cursor to the next position to the right. Input the rest of
the phone number.
• Use [.SPC] to input a space and [–] to input a
hyphen.
• If you make a mistake while inputting the phone
number, press C. This will return to the blank new
record screen, so you can restart your input.
• If you do not input anything for about two or three minutes, or if you press B, the
watch will exit the input screen and change to the Timekeeping Mode. Anything
you have input up to that point will be cleared.
l
l
l
l
l
l
l
l
l
l
l
l
Name area
Number area
New Record Screen
3. After inputting the telephone number, hold down A until the flashing cursor (_)
appears in the name area of the display. This is the record input screen.
4. Input the name that goes with the number.
• Use [+] and [÷] to cycle through the characters at the cursor position. Use C
and B to move the cursor. For details about character input, see steps 3 through 5
under “To input the name and then the phone number of new Data Bank record”.
5. After inputting the name, press A to store your data and exit the Data Bank record
input screen.
To recall Data Bank records
In the Data Bank Mode, use [+] (+) and [÷] (–) to scroll through Data Bank records
on the display.
• See “Sort Table” for details on how the watch sorts records.
• Pressing [+] while the last Data Bank record is on the display displays the new
record screen.
To edit a Data Bank record
1. In the Data Bank Mode, use [+] (+) and [÷] (–) to scroll through the records and
display the one you want to edit.
2. Hold down A until the flashing cursor appears on the display. This is the record
input screen.
3. Use C (right) and B (left) to move the flashing to the character you want to
change.
4. Use the keypad to change the character.
• For details about character input, see steps 3 (name input) and 7 (number input)
under “To input the name and then the phone number of new Data Bank record”.
5. After making the changes that you want, press A to store them and exit the Data
Bank record input screen.
To delete a Data Bank record
1. In the Data Bank Mode, use [+] (+) and [÷] (–) to scroll through the records and
display the one you want to delete.
2. Hold down A until the flashing cursor appears on the display. This is the record
input screen.
3. Press B and C at the same time to delete the record.
•
CLR appears to indicate that the record is being deleted. After the record is
deleted, the cursor appears on the display, ready for input.
4. Input data or press A to return to the Data Bank record screen.
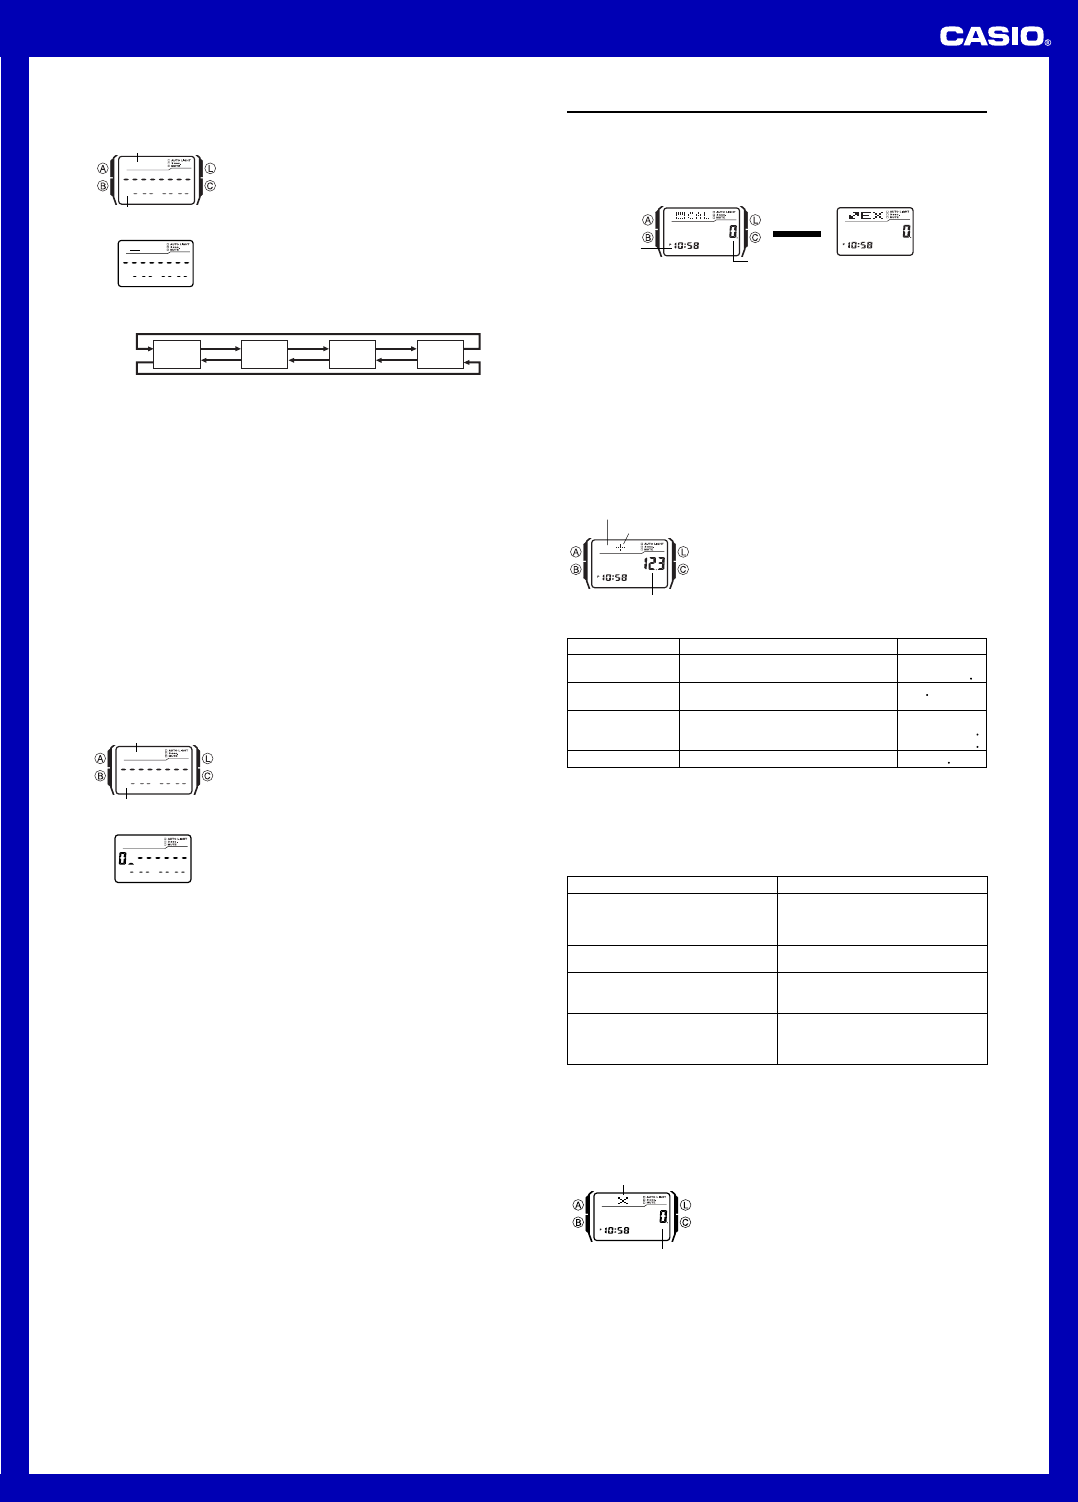
Calculator
You can use the Calculator Mode to perform arithmetic calculations, as well as
currency conversion calculations. You can also use the Calculator Mode to turn the
input tone on and off.
• All of the operations in this section are performed in the Calculator Mode, which you
enter by pressing B.
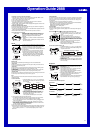
• Before starting a new calculation or currency conversion operation in the Calculator
Mode, first use C to display one of the screens shown below.
• Arithmetic and currency conversion calculation input and result values can be up to
eight digits for positive values, and seven digits for negative values.
• Exiting the Calculator Mode causes all currently displayed values to be cleared.
Timekeeping
Mode time
Calculator Screen
Value input area
Press C.
▲
▲
Currency Converter Screen
How the
CC
CC
C button affects the current screen in the Calculator Mode
• Pressing C while the current screen (arithmetic calculator or currency converter
screen) shows a value other than zero will clear the screen to zero, without changing
to the other screen.
• Pressing C while an
E (error) indicator is displayed clears the E (error) indicator,
but does not clear the current calculation to zero.
• Pressing C while the current screen (arithmetic calculator or currency converter
screen) is cleared to zero, will switch to the other screen.
Performing Arithmetic Calculations
You can perform the following types of arithmetic calculations in the Calculator Mode:
addition, subtraction, multiplication, division, arithmetic constants, powers, and
approximate values.
To perform arithmetic calculations
When the calculator screen is displayed in the Calculator
Mode, you can use the keypad to input calculations just as
you do with any standard calculator. See the examples
below for details.
• Be sure to press C to clear the arithmetic calculator
screen to zero before beginning each calculation. If the
screen is already cleared, pressing C will switch to the
currency converter screen.
• While you are inputting a calculation, values are
displayed in the value input area, and operators are
displayed in the operator area of the display.
Operator area
Operator symbol
Value input area
• To perform a constant calculation, input the value you want to use as a constant and
then press one of the arithmetic operator keys twice. This makes the value you input
a constant, which is indicated by the
n indicator next to the operator symbol.
• An
E (error) indicator will appear whenever the result of a calculation exceeds 8
digits. Press C to clear the error indicator. After that, you will be able to continue the
calculation using an approximate result.
Example
(Basic Calculation)
12.3 + 74 - 90 = -3.7
(12 - 0.5) × 3 ÷ 7
=4.9285714
(Constant Calculation)
10 + 7 = 17
12 + 7 = 19
(2.3)
4
= 27.9841
Operation
[1] [2] [.SPC] [3] [+] [7] [4][–] [9] [0]
[=PM]
[1] [2] [–] [.SPC] [5] [
××
××
×] [3] [÷] [7] [=PM]
[7] [+] [+] [1] [0] [=PM]
[1] [2] [=PM]
[2] [.SPC] [3] [
××
××
×] [
××
××
×] [=PM] [=PM] [=PM]
x3 &
4 9285&14
+K 1&
+K 19
XK 2& 9841
Display
• The following table describes how to correct input errors and how to clear the
calculator after you finish using it.
When you need to do this:
Correct or change the value you are
currently inputting, without deleting the
part of the calculation you have input up
to the current value
Correct or change the arithmetic operator
(+, –, ×, ÷) you have just input
Completely clear the calculation you are
inputting
Clear a displayed calculation result
(produced by pressing the [+], [–],
[
××
××
×], [÷], or [=PM] key) and its
calculation
Perform this key operation:
Press C to clear the displayed value
and return to the
0 display. Next, input
the value you want.
Without pressing C, press the key for
the correct arithmetic operator.
Press C to clear the displayed value
and return to the
0 display. Next, press
C again.
Press C.
Currency Conversion Calculations
You can register a single currency exchange rate for quick and easy conversion to
another currency.
• The default conversion rate is
× 0 (multiply the input value by 0). × represents the
multiplication operator and 0 is the exchange rate. Be sure to change the value to
the exchange rate value and the operator (multiplication or division) you want to use.
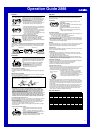
To change the exchange rate and the operator
1.While the currency converter screen is displayed in the
Calculator Mode, hold down A until the exchange rate
starts to flash on the display. This is the setting screen.
2.Use the keypad to input the exchange rate and the
operator ([
××
××
×]or [÷]) you want to use.
• To clear the displayed exchange rate to zero, press
C.
3.Press A to exit the setting screen.
l
l
l
l
l
l
l
l
l
l
l
l
l
l
l
Operator symbol
Exchange rate
To check the current exchange rate and operator setting
1. While the currency converter screen is displayed in the Calculator Mode, hold down
A until the exchange rate starts to flash on the display. This is the setting screen.
• The setting screen will also show the current exchange rate and operator setting.
2. Press A to exit the setting screen.