


Operation Guide 2696/2832
(
B
)
4
❚
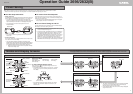
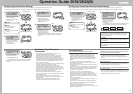
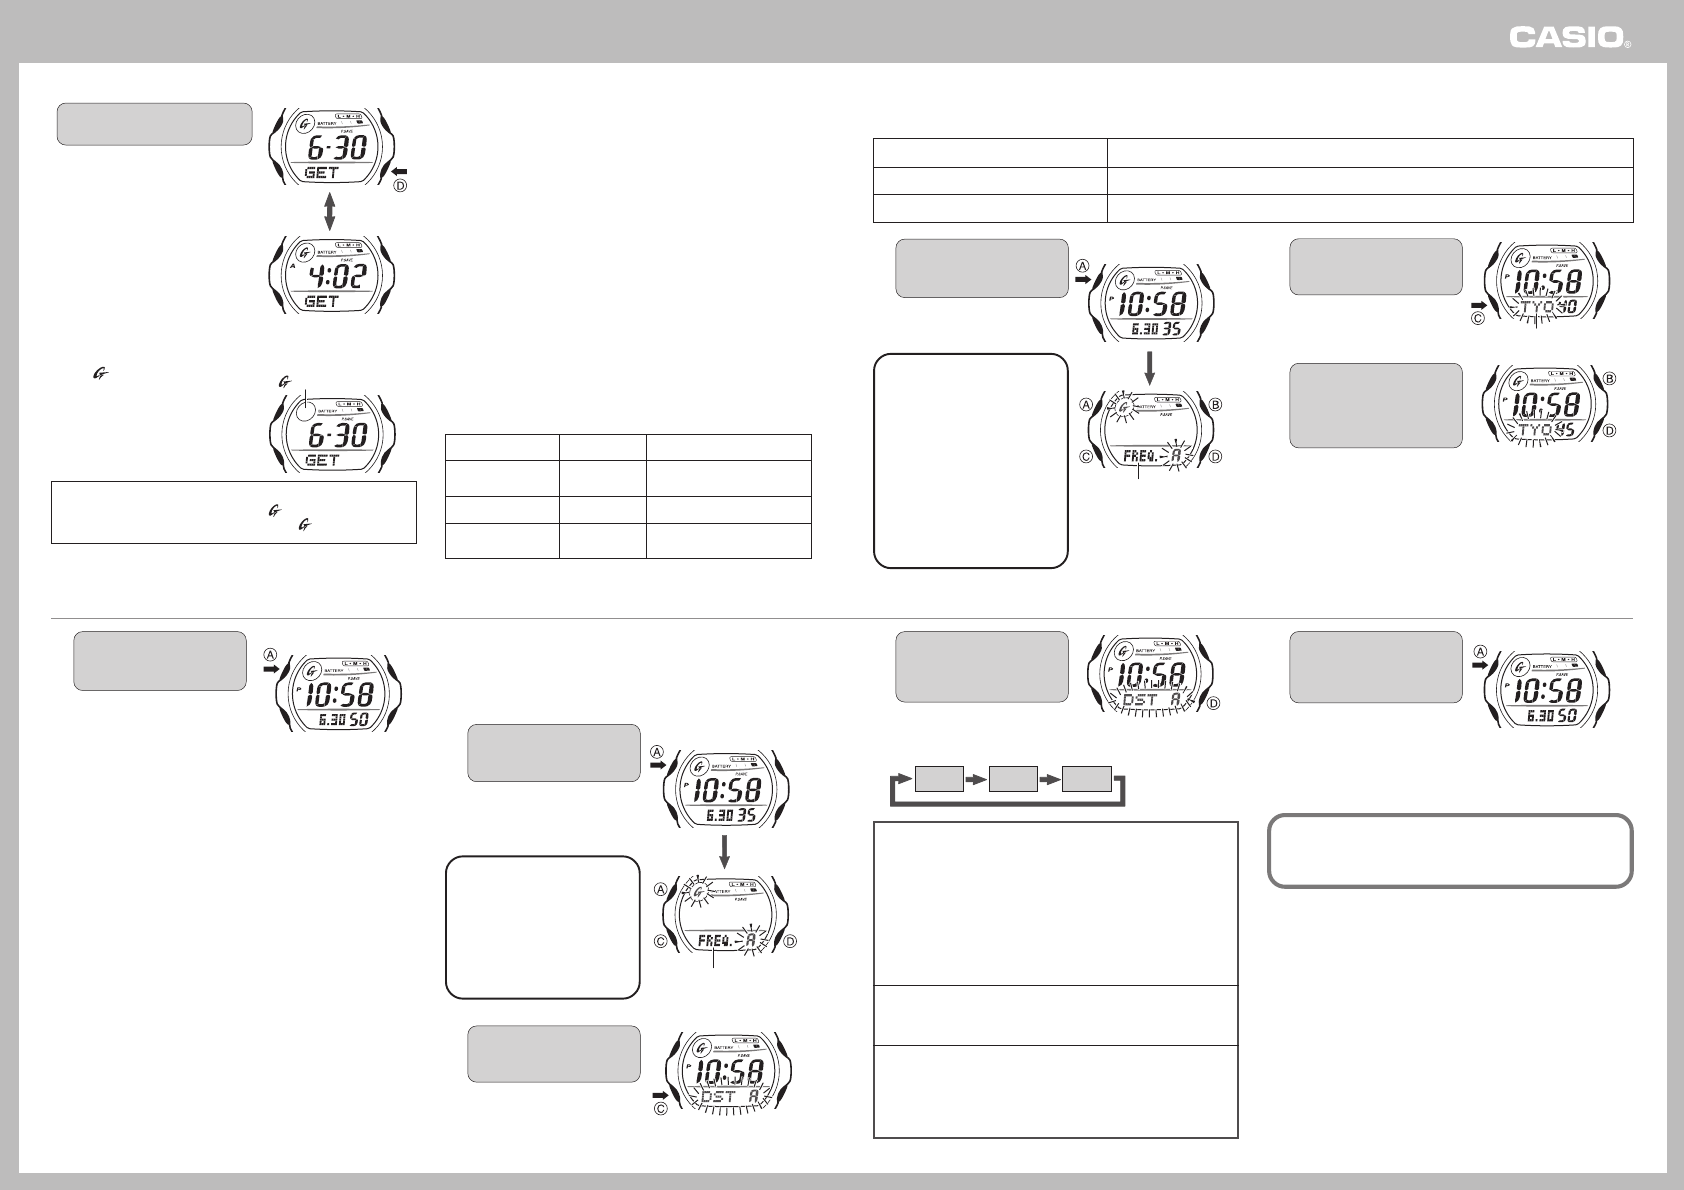
To view the last reception date and time
In the Timekeeping Mode,
press the
DD
DD
D button.
• This displays the date and time
when signal reception was last
successful, and the current time
and date were adjusted.
•
To return to the timekeeping
screen, press the
D
button again.
• The display will return to the
normal timekeeping screen
automatically if you do not
perform any operation for about
one or two minutes.
Important!
• The calibration signals received by this watch include two data
groups: an hour-minute-second group and a year-month-day group.
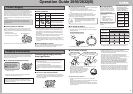
• The “ ” icon is displayed only
when both the hour-minute-
second group and year-month-
day group were received. It will
not remain on the display if only
the hour-minute-second group
was received.
Hour-minute-second group
and year-month-day group received: “ ” displayed
Hour-minute-second group only received: “ ” not displayed
• If only hour, minute, and second data (no date data) is received,
the last reception date shows the date that the receive operation
was performed (as kept in the Timekeeping Mode).
Signal Reception Settings
• Home City
Specify the city code of your “Home City”, which is the location
where you will normally use the watch.
• Summer Time (Daylight Saving Time)
Use this setting to specify whether summer time (Daylight Saving
Time) settings should be made automatically by the watch.
• Auto Receive
This settings is used to select either auto receive or manual
receive.
• Transmitter Selection Mode
This setting is used to specify which transmitter's signal should be
used for time calibration in Japan.
• Auto receive can be selected only when TYO, LAX, DEN, CHI, or
NYC is currently selected as the Home City.
• The transmitter selection mode setting can be changed only when
TYO is currently selected as the Home City.
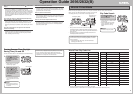
The initial factory default configuration of signal reception settings
are shown below. You do not need to change these settings if you
use the watch in Japan.
• Check the signal reception settings whenever you have problems
with signal reception or when the time setting produced by signal
reception is incorrect.
Home City
Summer Time
Auto Receive
Transmitter
Tokyo
ON
TYO
DST A
AUTO On
FREQ.A
Auto switching in
accordance with signal data
Auto Japan transmitter
select (40kHz/ 60kHz)
❚
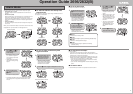
Selecting Your Home City
Note that time calibration signal reception is performed only when one of the city codes shown below is selected as the Home City.
• Select TYO (Tokyo) as you Home City if you plan to use the watch in Japan.
Home City
TYO
LAX, DEN, CHI, NYC
Transmitter
Either the Mt. Otakadoya signal (40kHz) or the Mt. Hagane signal (60kHz)
Fort Collins, Colorado signal
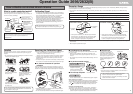
1. In the Timekeeping Mode,
hold down the
AA
AA
A button
for about two seconds.
•
This will cause the watch to
beep and display the transmitter
selection mode setting screen.
AA
AA
A Button
•
Enters/exits the setting mode.
BB
BB
B Button
• Scrolls back through the
options at the flashing
(selected) setting.
CC
CC
C Button
• Moves the flashing between
settings.
DD
DD
D Button
• Scrolls forward through the
options at the flashing
(selected) setting.
2. Press the
CC
CC
C button once
to select the Home City
setting.
• The currently selected city
code will be flashing on the
screen.
3. Use the
DD
DD
D (+) and
BB
BB
B (–)
buttons to scroll through
the city codes until the
one you want to select is
displayed.
• Holding down either button scrolls at high speed.
• See the “World Time City Code List” for information about city
codes.
4. When the city code you
want is displayed, press
the
AA
AA
A button twice.
• This will exit the setting screen and
return to the Timekeeping Mode
screen.
• The display also will exit the setting screen automatically if you do
not perform any operation for about two or three minutes.
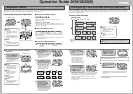
Configuring Summer Time
(Daylight Saving Time) Settings
• When using this watch in Japan, it is recommended that you use
the “DST A” (Auto) summer time setting.
1. In the Timekeeping Mode,
hold down the
AA
AA
A button
for about two seconds.
• This will cause the watch to
beep and display the
transmitter selection mode
setting screen.
AA
AA
A Button
• Enters/exits the setting mode.
CC
CC
C Button
• Moves the flashing
between settings.
DD
DD
D Button
• Scrolls through the available
settings.
2. Press the
CC
CC
C button twice
to select the Summer Time
setting.
• The current DST setting will
be flashing on the display.
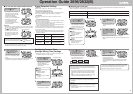
3. Press the
DD
DD
D button to
cycle through the summer
time settings in the
sequence shown below.
• Turning on summer time (DST
On) causes the current time
setting to advance one hour.
DST A DST OF DST On
• DST A
This setting enables the auto summer time setting, which
turns summer time on or off in accordance with the received
time calibration signal.
• This setting uses Japan summer time data when TYO is
selected as the Home City, and U.S. summer time data
when NYC, CHI, DEN, or LAX is selected as the Home
City.
• Note that “DST A” can be selected only when TYO, LAX,
DEN, CHI, or NYC is selected as the Home City.
• DST OF
This setting turns off summer time and returns to normal
timekeeping.
• DST On
This setting turns on summer time and advances the current
time by one hour.
• The DST indicator appears on the display while summer
time is turned on.
4. When the summer time
setting is the way you
want, press the
AA
AA
A button
twice.
• This will exit the setting
screen and return to the
Timekeeping Mode screen.
• The display also will exit the setting screen automatically if
you do not perform any operation for about two or three
minutes.
Summer time, or Daylight Saving Time (DST) as is it is called
in some areas, calls for setting clocks ahead one hour during
the summer season. Note that the use of summer time
depends on the country and even the local area.
Timekeeping Mode
FREQUENCY (Frequency)
(Back)
(
Forward
)
City Code
2-second
interval
“ ” not displayed
(Twice)
Timekeeping Mode
FREQUENCY (Frequency)
(Twice)
(Setting
Selection)
(Twice)