


USER’S GUIDE 2495
2
To create a new Day Counter record
1.In the Day Counter Mode, use D to scroll through
the Day Counter records until the one you want is
on the display.
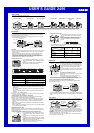
2.Hold down A until the flashing cursor appears in
the text area of the display, which indicates the
setting screen.
3.Press C to move the flashing in the sequence
shown below.
Character 1 Character 8Character 2
Day YearMonth
Text area
Target date
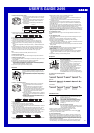
4.While the cursor is in the text area, use D to scroll through characters at the
cursor position. The character changes in the sequence shown below.
to to
(space)
5.After inputting a character, press C to move to the next character position.
6.Repeat steps 4 and 5 until you input the text you want.
•You can input up to eight characters for the text.
7.After you finish inputting the text you want, press C to skip past any
remaining character positions and move the cursor to the target date.
8.While the year, month, or day setting is flashing, use D to change the
setting.
•You can set a target date in the range of January 1, 1940 to December 31,
2039.
9.After everything is the way you want, press A to exit the setting screen.
•The text area display can show only three characters at a time. Longer text
scrolls continuously from right to left. The symbol “s” indicates that the
character to the left is the last, and the character to the right is first.
Note
•Use the above procedure to edit Day Counter records, too.
To recall Day Counter records
In the Day Counter Mode, use D to scroll through the Day Counter records.
To delete a Day Counter record
1.In the Day Counter Mode, scroll through the records and display the one you
want to delete.
2.Hold down A until the flashing cursor appears on the display.
3.Press B and D at the same time to delete the record.
•The message CLR appears to indicate that the record is being deleted.
After the record is deleted, the cursor appears on the display and today’s
date is set as the target date, ready for input.
4.Input data or press A to exit the setting screen.
Telememo
Telememo lets you store up to 20 records, each
containing name and telephone number data. You
can recall records by scrolling through them on the
display.
•All of the operations in this section are performed in
the Telememo Mode, which you enter by pressing
C.
To create a new Telememo record
1.In the Telememo Mode, use D to cycle through
the record screens until the new data screen
appears.
•The new data screen is the one that is blank
(contains no name and telephone number).
•If the new data screen does not appear, it means
that memory is full. To store another record, you
will first have to delete some of the records
stored in memory.
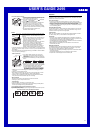
2.Hold down A until the flashing cursor (_) appears
in the name area of the display, which indicates the
setting screen.
3.Use D to change the character at the cursor
position in the name area. The character changes
in the following sequence.
to to
(space)
Name area
Page number
Number area
4.When the character you want is at the cursor position, press C to move the
cursor to the right.
5.Repeat steps 3 and 4 until the name is complete.
•You can input up to eight characters for the name.
6.After you input the name, press C as many times as necessary to move the
cursor to the number area.
•When the cursor is located at the eighth space of the name area, moving
the cursor to the right causes it to jump to the first digit of the number.
When the cursor is at the 12th digit of the number, moving it to the right (by
pressing C) causes it to jump to the first character in the name.
7.Use D to change the character (hyphen, number, or space) at the cursor
position in the number area. The character changes in the following
sequence.
to
(space)
8.When the character you want is at the cursor position, press C to move the
cursor to the right.
9.Repeat steps 7 and 8 until you complete number input.
•You can input up to 12 digits for the number.
•The number initially contains all hyphens. You can leave the hyphens or
replace them with numbers or spaces.
10. Press A to store your data and return to the Telememo record screen
(without the cursor).
•The name area can show only three characters at a time, so longer text
scrolls continuously from right to left. The last character is indicated by the
symbol “s” after it.
•The number area can show up to six digits at a time. If a number has more
than six digits, the display automatically switches between the first six digits
(counting forward from the first digit) and the last six digits (counting
backward from the last digit) of the number. This means that if a number is 12
digits long, the number area switches between the first six digits and the last
six digits. If a number is seven digits long, the number area switches between
digits 1 through 6, and 2 through 7.
To recall Telememo records
In the Telememo Mode, use D to scroll through Telememo records on the
display.
To edit a Telememo record
1.In the Telememo Mode, scroll through the records and display the one you
want to edit.
2.Hold down A until the flashing cursor appears on the display.
3.Use C to move the flashing to the character you want to change.
4.Use D to change the character.
•For details on inputting characters, see “To create a new Telememo record”
(step 3 for name input and 7 for number input).
5.After making the changes that you want, press A to store them and exit the
setting screen.
To delete a Telememo record
1.In the Telememo Mode, scroll through the records and display the one you
want to delete.
2.Hold down A until the flashing cursor appears on the display.
3.Press B and D at the same time to delete the record.
•The message CLR appears to indicate that the record is being deleted.
After the record is deleted, the cursor appears on the display, ready for
input.
4.Input data or press A to exit the setting screen.
Stopwatch
The stopwatch lets you measure elapsed time, split
times, and two finishes.
•The display range of the stopwatch is 23 hours, 59
minutes, 59.99 seconds.
•While the stopwatch is running, it beeps at the top
of each elapsed hour.
•The stopwatch continues to run, restarting from
zero after it reaches its limit, until you stop it.
•The stopwatch measurement operation continues
even if you exit the Stopwatch Mode.
•Exiting the Stopwatch Mode while a split time is
frozen on the display clears the split time and
returns to elapsed time measurement.
•All of the operations in this section are performed in
the Stopwatch Mode, which you enter by pressing C.
To measure times with the stopwatch
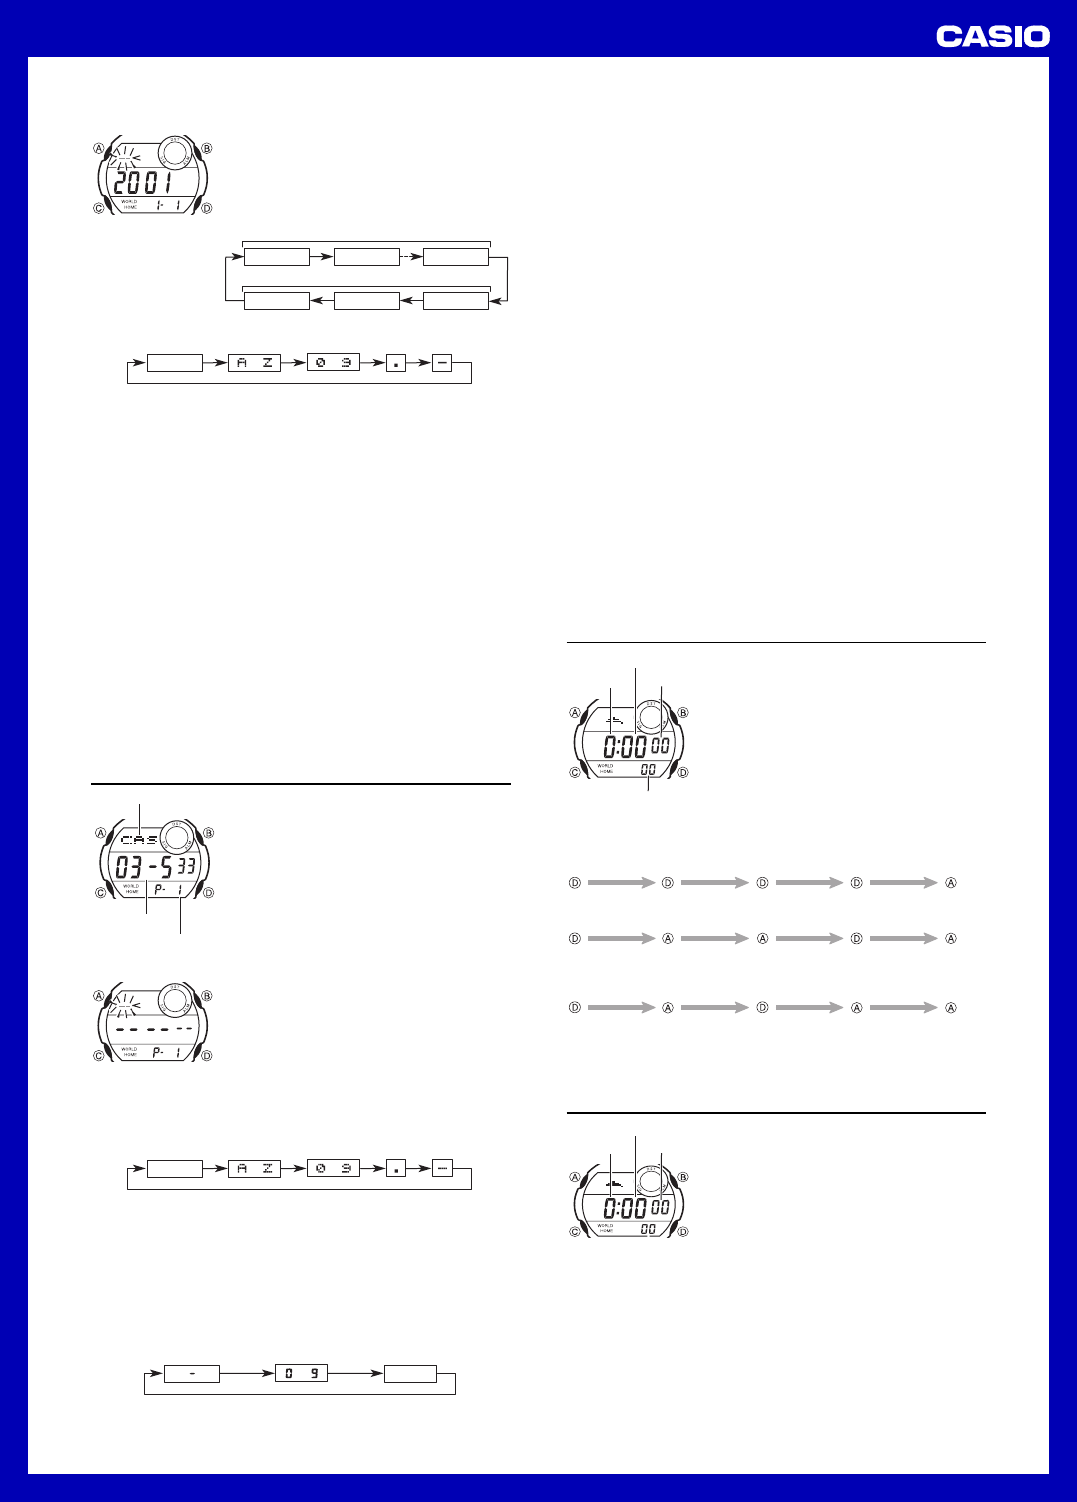
Elapsed Time
Start
Stop Re-start Stop Clear
Start
Split
(SPL displayed)
Split release Stop Clear
Start
Split Stop Split release Clear
Split Time
Two Finishes
First runner
finishes.
Display time of
first runner.
Second runner
finishes.
Display time of
second runner.
1/100 second
Hours
Minutes
Seconds
Countdown Timer
The countdown timer can be set within a range of
1 minute to 24 hours. An alarm sounds when the
countdown reaches zero.
•You can also select auto-repeat, which
automatically restarts the countdown from the
original value you set whenever zero is reached.
•Countdown timer functions are available in the
Countdown Timer Mode, which you enter by
pressing C.
To set the countdown start time
1.In the Countdown Timer Mode, hold down A until
the hours of the countdown start time start to flash,
which indicates the setting screen.
2.Press C to move the flashing between the hours and minutes.
3.While a setting is flashing, use D to increase it.
•To set the starting value of the countdown time to 24 hours, set
0:00
.
4.Press A to exit the setting screen.
To use the countdown timer
Press D while in the Countdown Timer Mode to start the countdown timer.
•When the end of the countdown is reached and auto-repeat is turned off, the
alarm sounds for 10 seconds or until you stop it by pressing any button. The
countdown time automatically resets to its starting value after the alarm stops.
•Press D while a countdown operation is in progress to pause it. Press D
again to resume the countdown.
•To completely stop a countdown operation, first pause it (by pressing D),
and then press A. This returns the countdown time to its starting value.
Hours
Minutes
Seconds