


USER’S GUIDE 2471
8
Precautions about bidirectional calibration
• You can use any two opposing directions for bidirectional calibration. You
must, however, make sure that they are 180 degrees opposite each other.
Remember that if you perform the procedure incorrectly, you will get wrong
bearing sensor readings.
• Do not move the watch during the one or two seconds (from the point you
press B up to the point that OK appears in the upper display area) that the
calibration of each direction is in progress.
• You should perform bidirectional calibration in an environment that is the
same as that where you plan to be taking direction readings. If you plan to
take direction readings in an open field, for example, calibrate in an open
field.
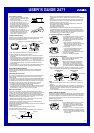
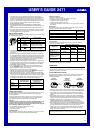
To perform bidirectional calibration
1. Press B to enter the Digital Compass Mode.
2. Hold down A for about one second until the
upper display area changes to show ---1---,
which indicates the setting screen.
• At this time, the magnetic north pointer
flashes at the 12 o’clock position to indicate
that the watch is ready to calibrate the first
direction.
3. Place the watch on a level surface facing any direction you want, and
press B to calibrate the first direction.
• When the calibration procedure is complete, the message OK appears
in the upper display area. This soon changes to ---2--- and the magnetic
north pointer flashes at the 6 o’clock position to indicate that the watch
is ready for the second direction.
4. Rotate the watch 180 degrees.
5. Press B again to calibrate the second direction.
• The message OK
appears and the watch automatically returns to the
Digital Compass Mode screen.
To perform northerly calibration
1. While in the Digital Compass Mode, hold
down A for about one second until the upper
display area changes to show ---1---, which
indicates the setting screen.
2. Press D to start the northerly calibration
procedure.
• At this time, the indicator (direction N)
appears in the upper display area.
3. Place the watch on a level surface, and position it so that its 12 o’clock
position points north (as measured with another compass).
4. Press B to start the calibration operation.
• The message OK appears and the watch automatically returns to the
Digital Compass Mode screen.
Changing the Barometric Pressure and Temperature Units
Changing the barometric pressure units automatically restarts the barometric
pressure graph.
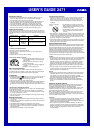
To change the Barometric Pressure and Temperature Units
1. Press C to enter the Barometer/
Thermometer Mode.
2. Hold down A until either
OFF or a
temperature value (if set) starts to flash, which
indicates the setting screen.
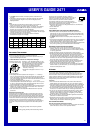
3. Press D to move the flashing in the
sequence shown below.
Temperature
Sensor
Calibration
Pressure
Sensor
Calibration
°C / °F
hPa[mb]/inHg
l
l
l
l
l
l
l
l
l
l
l
l
l
l
l
l
l
l
4. Press D to move the flashing to the unit setting you want to change
(
°C/°F or hPa[mb]/inHg).
5. Use E to select the unit you want.
6. Press A to return to the Barometer/Thermometer Mode screen.
Calibrating the Temperature Sensor
The temperature sensor of this watch is calibrated at the factory before
shipment and further adjustment is normally not required. If you notice
serious errors in the temperature readings produced by the watch, you can
calibrate the sensor to correct the errors.
Important!
Incorrectly calibrating the temperature sensor can result in incorrect readings.
Carefully read the following before doing anything.
• Compare the readings produced by the watch with those of another reliable
and accurate thermometer.
• If adjustment is required, remove the watch from your wrist and wait for 20
or 30 minutes to give the temperature of the watch time to stabilize.
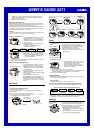
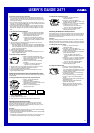
To calibrate the temperature sensor
1. Press C to enter the Barometer/
Thermometer Mode.
2. Hold down A until either
OFF or a
temperature value (if set) starts to flash, which
indicates the setting screen.
3. Press E (+) or B (–) to change the displayed
temperature by 0.1°C (or 0.2°F).
• Pressing B and E at the same time
returns to the factory calibration (
OFF).
4. Press A to return to the Barometer/
Thermometer Mode screen.
Calibrating the Barometric Pressure Sensor
The pressure sensor of this watch is calibrated at the factory before shipment
and further adjustment is normally not required. If you notice serious errors in
the barometric pressure readings produced by the watch, you can calibrate
the sensor to correct the errors.
l
l
l
l
l
l
l
l
l
l
l
l
l
l
l
l
l
l
Important!
Incorrectly calibrating the barometric pressure sensor can result in incorrect
readings. Before performing the calibration procedure, compare the readings
produced by the watch with those of another reliable and accurate barometer.
To calibrate the pressure sensor
1. Press C to enter the Barometer/
Thermometer Mode.
2. Hold down A until either
OFF or a
temperature value (if set) starts to flash, which
indicates the setting screen.
3. Press D to move the flashing to the pressure
sensor calibration setting.
• At this time,
OFF or the barometric
pressure value should be flashing on the
display.
4. Press E (+) or B (–) to change the displayed
barometric pressure by 1 hPa/mb (0.05 inHg).
• Pressing B and E at the same time
returns to the factory calibration (
OFF).
5. Press A to return to the Barometer/
Thermometer Mode screen.
l
l
l
l
l
l
l
l
l
l
l
l
l
l
l
l
l
l
l
l
l
l
l
l
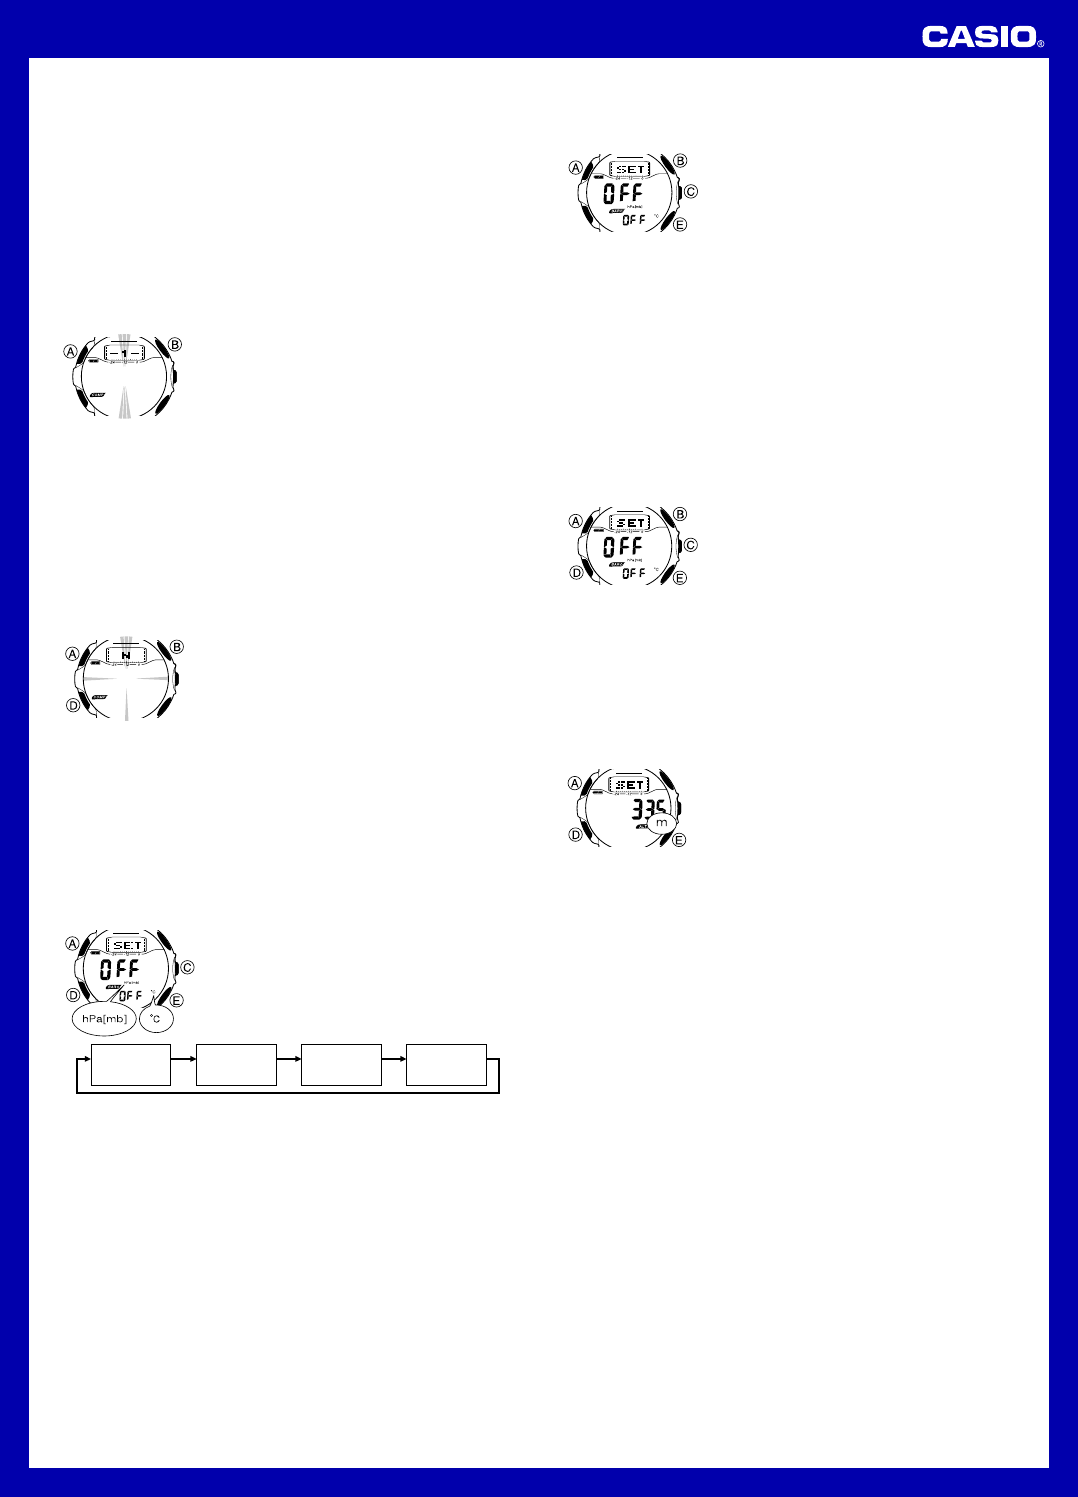
To change the Altitude Units
1. Press E to enter the Altimeter Mode.
2. Hold down A until the display clears. After
four or five seconds, either
OFF or the current
reference altitude (if set) starts to flash, which
indicates the setting screen.
3. Press D three times to move the flashing to
the altitude unit setting.
4. Use E to select the unit you want (m or ft).
5. Press A to return to the Altimeter Mode
screen.
• Changing the altitude units automatically turns
the altitude alarm off.
• Changing the altitude units automatically
restarts the altitude graph.
• Performing the above procedure causes
altitude values stored in memory also to be
converted to the unit you select.
l
l
l
l
l
l
l
l
l
l