


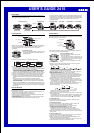
USER’S GUIDE 2415
1
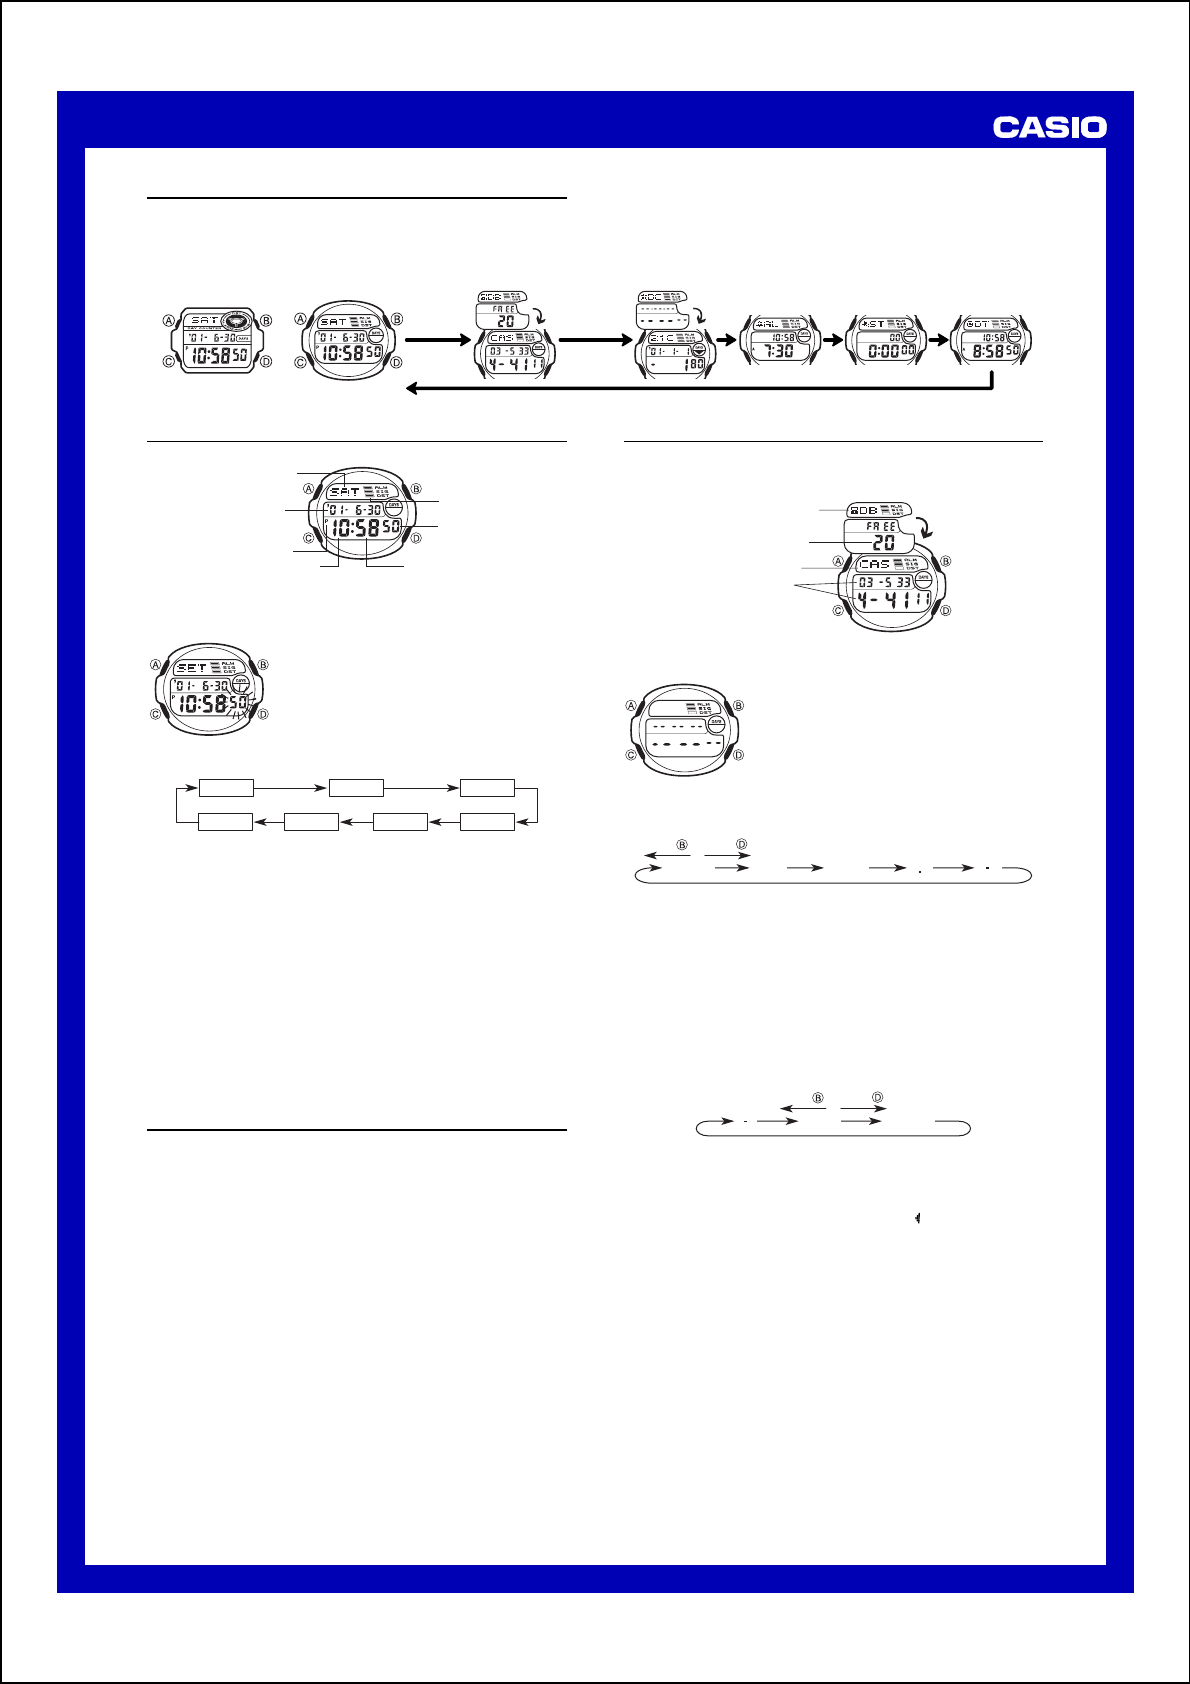
Timekeeping Mode
Data Bank Mode
Press C.
Day Counter Mode Alarm Mode Stopwatch Mode
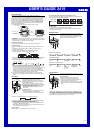
General Guide
•The operational procedures for Modules 2285 and 2415 are identical. All of
the illustrations in this manual show Module 2285.
•Press C to change from mode to mode.
•If you do not perform any operation for a few minutes while a setting screen (with
flashing digits) is on the display, the watch automatically exits the setting screen.
•If you do not perform any operation for a few minutes in the Data Bank Mode
or Day Counter Mode, the watch automatically reverts to the normal
timekeeping screen.
Dual Time Mode
[Module 2415] [Module 2285]
Timekeeping Mode
•Press D to toggle between 12-hour and 24-hour timekeeping.
Seconds
Day of week
PM indicator
MinutesHour
Year - Month -
Day
DST on indicator
•With 12-hour timekeeping, times between midnight and noon are indicated by
A (am), while times between noon and midnight are indicated by P (pm).
•The A and P indicators do not appear when you are using 24-hour
timekeeping.
To set the time and date
1.While in the Timekeeping Mode, hold down A until
the seconds digits flash on the display, indicating
the setting screen.
2.Press C to move the flashing in the sequence shown below.
DST
Seconds
Day
Hour
Year
Month
Minutes
3.While the seconds setting is selected (flashing), press D to reset it to 00. If
you press D while the seconds setting is in the range of 30 to 59, the
seconds are reset to 00 and 1 is added to the minutes. If the seconds setting
is in the range of 00 to 29, the minutes count is unchanged.
•While the DST
∗
setting is selected (DST on indicator is flashing), press D
to toggle it on (on) and off (OF). If DST setting is on, the DST on indicator
is shown in the Timekeeping Mode, Day Counter Mode and Alarm Mode.
4.While any other setting is selected (flashing), press D to increase it or B to
decrease it. Holding down either button changes the setting at high speed.
5.After you make the settings you want, press A to exit the setting screen.
•The day of the week is automatically set in accordance with the date.
•The date can be set within the range of January 1, 2000 to December 31,
2039.
•The watch’s built-in full automatic calendar automatically makes
allowances for different month lengths and leap years. Once you set the
date, there should be no reason to change it except after the replacement
of the watch’s battery.
∗
Daylight Saving Time (DST), which is also sometimes called “summer time”
advances the time for one hour, as is the custom in some areas during the
summer. Remember that not all countries or even local areas use Daylight
Saving Time.
About the Backlight
Pressing B in any mode (except when making any settings) illuminates the
display for about 3 seconds.
•The backlight of this watch employs an electro-luminescent (EL) light, which
loses its illuminating power after very long term use.
•Frequent use of the backlight shortens the battery life.
•The watch emits an audible sound whenever the display is illuminated. This
does not indicate malfunction of the watch.
•The illumination provided by the backlight may be hard to see when viewed
under direct sunlight.
•The backlight automatically turns off whenever an alarm sounds.
Data Bank Mode
The Data Bank Mode lets you store up to 25 records, each with a name (up to
eight characters) and a phone number (up to 12 digits). Data is automatically
stored into alphabetical order based on the name data. You can recall records
by scrolling through them on the display.
Mode indicator
Text area
Number area
Remaining memory
•The record on the display when you exit the Data Bank Mode appears first
the next time you enter the Data Bank Mode.
To input a new Data Bank record
1.In the Data Bank Mode, press D until the new
data screen appears.
•If the new data screen does not appear when you
press D and B, it means that memory is full. To
store another record, you will first have to delete
a record stored in memory.
2.Hold down A and a cursor appears on the text
area.
[ New Data Screen ]
3.Use D or B to scroll through characters at the current cursor position.
Characters scroll in the sequence shown below.
A to Z
0 to 9
(Space)
Press .
Press .
•Holding down either button scrolls at high speed.
4.When the character you want is at the current cursor position, press C to
move the cursor to the right.
5.Repeat the steps 3 and 4 to input the rest of the characters.
•You can input up to eight characters for the name, though only three
characters are visible at a time. If the name you input has fewer than eight
characters, use C to move the cursor to the eighth space (which means
you would press C three times after inputting a five-character name).
•Holding down C to move the cursor at high speed.
6.After you input the name, use C to move the cursor to the number area.
•Pressing C while the cursor is located at the eighth character of the text
area advances to the number area. Pressing C while the cursor is located
at the 12th digit of the number area returns to the text area.
7.Use D or B to scroll through characters (hyphen, numbers, space) at the
current cursor position on the number area. Characters scroll in the
sequence shown below.
0 to 9 (Space)
Press .
Press .
•Holding down either button scrolls characters at high speed.
•You can input up to 12 digits for the number.
8.After inputting the name and number of the record, press A to store it and
exit the setting screen.
•The display can show only three name characters at a time. Longer names
scrolls continuously from right to left. The symbol “ ” indicates that the
character to the left is the last, and the character to the right is the first.
To recall Data Bank data
In the Data Bank Mode, press D to scroll through the stored data items.
•Holding down D scrolls at high speed.
To edit Data Bank data items
1.In the Data Bank Mode, press D to display the data you want to edit.
2.Hold down A until the cursor appears in the display.
3.Use C to move the cursor to the character you want to change.
•Holding down C to move the cursor at high speed.
4.Use D or B to change the character.
•Holding down either button scrolls characters at high speed.
•See step 3 of “To input a new Data Bank record” for information on
inputting name characters, and step 7 for inputting number characters.
5.After making the changes that you want, press A to store them and exit the
setting screen.
To delete a Data Bank record
1.In the Data Bank Mode, press D to display the record you want to delete.
2.Hold down A until the cursor appears in the display.
3.Press D and B at the same time. The message “CLR” appears in the
display, indicating that the record was deleted.
•After the record is deleted, the cursor appears in the text area, ready for input.
4.Input a new record or press A to exit the setting screen.