


2307/2335/2355/2357-3
Using the barometric pressure graph
Barometric pressure is affected by changes in weather and temperature. The
following shows how to interpret the data that appears on the barometric
pressure graph.
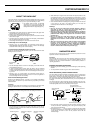
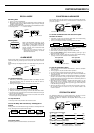
A rising graph generally means better weather.
A falling graph generally means deteriorating
weather.
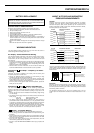
Note that if there are sudden changes in weather or
temperature, the graph line of past measurements
may run off the top or bottom of the display. The
entire graph will become visible once barometric
pressure conditions stabilize.
The following conditions cause the barometric pressure measurement to be
skipped, with the corresponding point on the barometric pressure graph being
left blank.
• Barometric reading that is out of range (460 hPa/mb to 1100 hPa/mb/13.55
inHg to 32.45 inHg).
• Sensor malfunction.
• Dead battery.
Selecting the unit of measurement
1. Use C to enter the Barometer Mode.
2. Hold down A until “OFF” or the current barometric pressure value flashes
on the display.
3. Press C to change to the measurement unit selection screen.
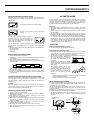
4. Each press of D or B cycles the barometric pressure measurement unit
as shown below.
hPa
mb
inHg
5. After you select the measurement unit you want, press A to return to the
Barometer Mode screen.
• Note that all measurement data currently in memory is also deleted
whenever you change the barometric pressure, altitude, or temperature unit
of measurement.
Calibrating the barometric pressure measurement
The sensor of this watch is calibrated at the factory before shipment, and
further adjustment is normally not required. If noticeable error is found in the
barometric pressure readings produced by the watch, you can adjust it to
correct the error.
Important!
Incorrectly calibrating the barometric pressure measurement of this watch can
result in incorrect readings. Compare the readings produced by the watch with
those of another reliable, accurate barometer.
Calibrating the barometric pressure
1. Use C to enter the Barometer Mode.
2. Hold down A until “OFF” or the current barometric pressure calibration
value flashes on the display.
• “OFF” appears when the factory setting is currently set as the current
barometric pressure calibration value.
3. Each press of D increases the displayed barometric pressure by 1 hPa/mb,
while pressing B decreases it. Holding down either button changes the
value at high speed.
• If inHg is currently selected as the unit of measurement, the above
operations change the reading by 0.05 inHg.
• Pressing B and D at the same time returns to the “OFF” setting.
4. After calibrating the barometric pressure, press A to return to the
Barometer Mode screen.
L
A
D
A
B
C
2
1
50
2
1
50
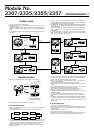
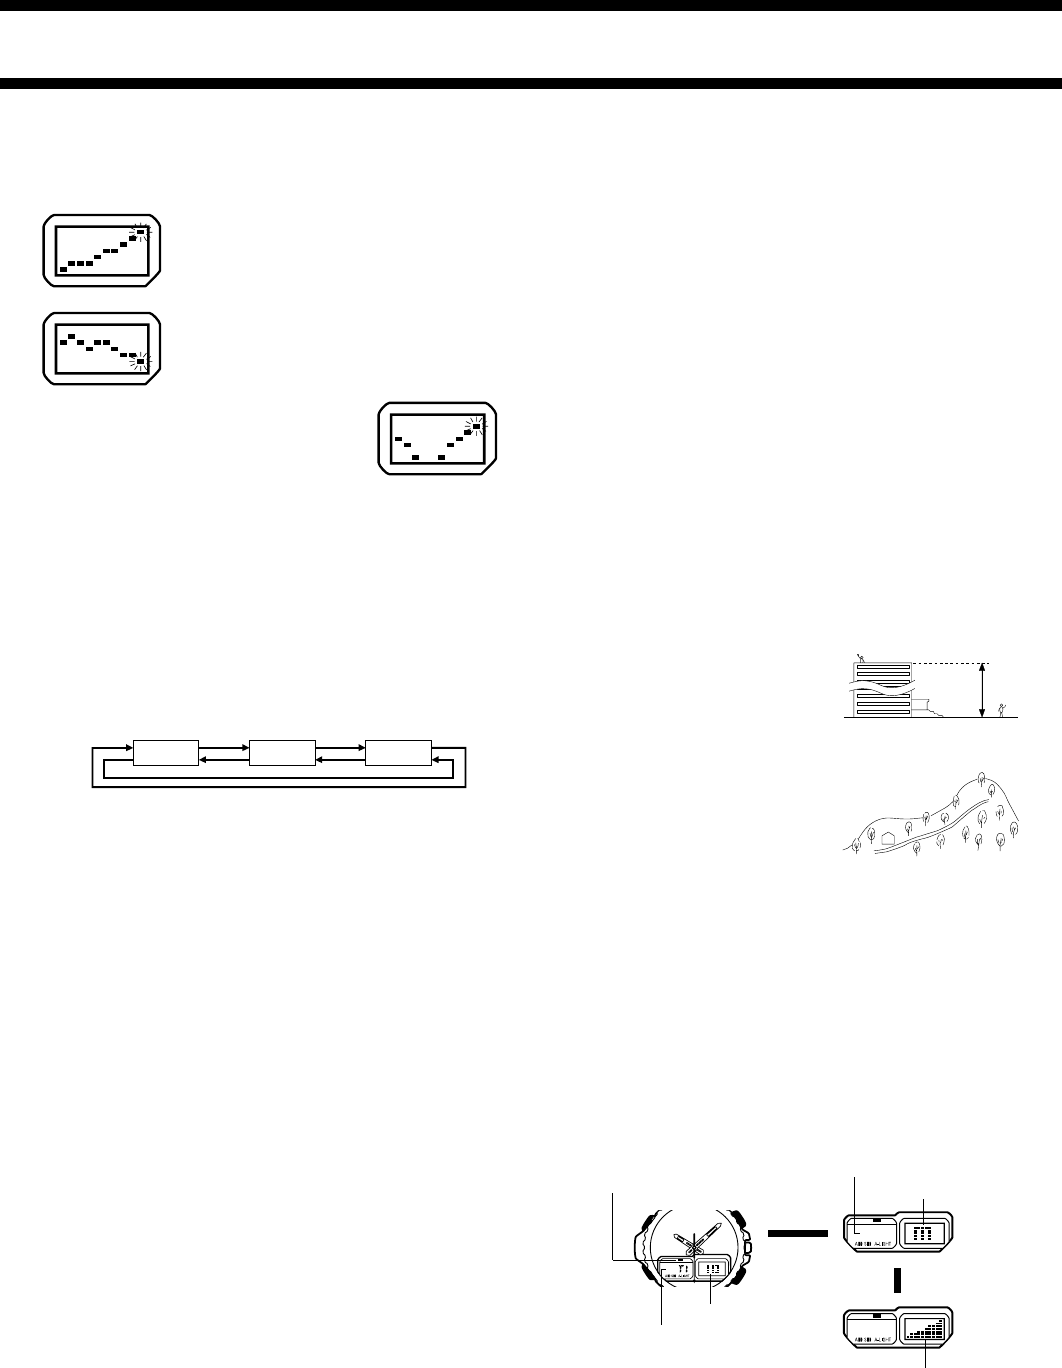
Altimeter Mode indicator 2
Remaining memory
Altitude graph
Press A.
Unit of measurement
Current altitude
5 seconds
later
▼
▼
▼
400
Altimeter Mode
indicator 1
ALTIMETER MODE
A built-in altimeter uses a pressure sensor to detect the current barometric
pressure, which is then used to estimate the current altitude in accordance
with ISA (International Standard Atmosphere) values for altitude and
barometric pressure. If you preset a reference altitude, the watch will also
calculate the current relative altitude based on your preset value.
Important !
• This watch estimates altitude based on barometric pressure. This means
that altitude readings for the same location may vary if barometric pressure
changes.
• Sudden changes in the weather make it impossible to produce accurate
altitude readings.
• This watch employs a semiconductor pressure sensor, which is affected by
temperature changes. When taking altitude measurements, be sure to do
so while ensuring that the watch is not exposed to temperature changes.
• Do not use this watch while participating in sports where there are sudden
altitude changes. Also, do not use this watch for applications that demand
professional or industrial level precision. This watch should not be used
while engaging in the following activities: skydiving, hang gliding,
paragliding, gyrocopter riding, glider riding, etc.
Applications
When no reference altitude is preset:
• The watch produces approximate altitude readings.
When a reference altitude is preset:
• Before beginning the climb, set the reference altitude to 0 meter at the foot
of the mountain. This makes it possible to determine the difference in
altitude between the reference point and your destination.
• To determine the height of a tall building, set the reference altitude to 0
meter on the ground floor. Note that you
may not be able to get a good reading if
the building is pressurized or air-
conditioned.
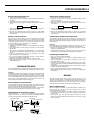
• To determine the difference in altitude
between your house and another location, set the reference altitude to 0
meter at your house, and then check the reading when you arrive at the
other location.
• When mountain climbing, you can input
the altitude from a marker as your
reference altitude, which will then let you
know your altitude as your climb
proceeds. The following conditions will
prevent you from obtaining accurate
readings:
When barometric pressure changes because of changes in the weather
Extreme temperature changes
When the watch itself is subjected to strong impact
About altitude measurements
The watch measures altitude every five seconds for the first two minutes after
you enter the Altimeter Mode. The Altimeter Mode indicator 1 flashes on the
display during these two minutes.
After the first two minutes, the Altimeter Mode indicator 1 stops flashing, and
the watch automatically takes measurements every two minutes (on even
numbered minutes).
The display unit for Altimeter Mode measurements is 5 meters (20 feet), and
the display range is 0 to 6,000 meters (0 to 19,680 feet).
• The measured altitude may be a negative value in cases where there is a
reference altitude value set or because of certain barometric pressure
conditions.