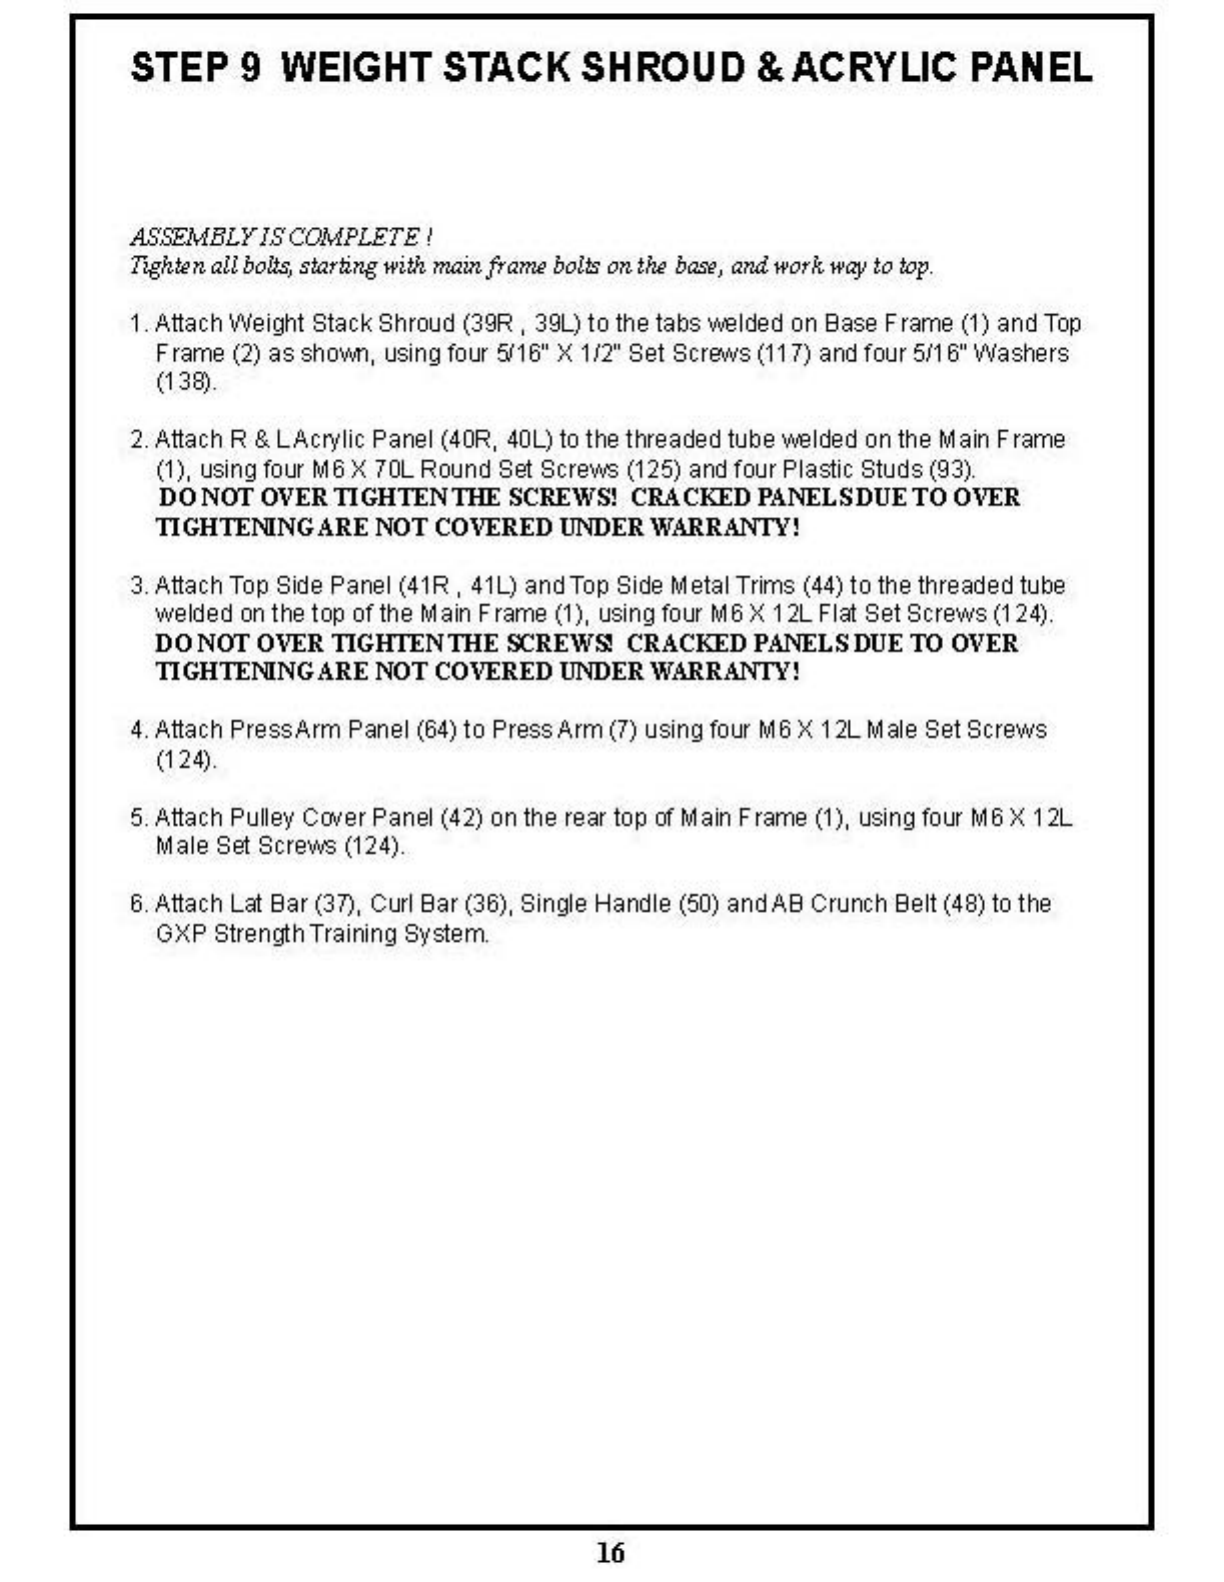
STEP 9 WEIGHT STACK SHROUD &ACRYLIC PANEL
ASSEMBLYISCOMPLETE I
Tl-ght.n
ali
""Its,
starkng "ith
mJlm
framJI
lxJil<
on
Ih.
baoI,
and
1<orh
"ay
to
top
Attach Wei(j1t Stack Shrood
(3!Jl,
3!l..) to the tabs
""1<Jed
on
8ase
Fr,.,.,
(1)
and T~
F
,,.,..,
(2) as
sho",",
l13inQ
fOlX
,,16"
X
111"
Set Screws
(11
7)
am
frur
511
6"
Washers
(13",
2.
Attach R &
LAcrylic
Panel «(CP,
(Oll
to the
trreaded
tube welded on the
Man
Fr,.,.,
(1),
lJSinQ
fOlX
M6 X
7CL
Roond Set ScreW3 (125)
am
foor Plastic Studs (93)
DONOT
OVER
TIGHTENlHE
SCREWS! CRACKED PANELSDUETO OVER
TIGHTENINGARE NOT COVERED UNDER WARRANfY!
3.
Attach Top
Sd"
Panel
«(1R,
41L) and Top Side Metal
Trrns
(44)
to
the threooed tuoo
wekJed
rn
the
t~
of
the
Man
F
r,.,.,
(1),
lJSinQ
falX M6 X 1
2l
Flit
Set Screws
(1
24)
DONOT
OVER
TIGHfEN1HE
OCREWSl
CRACKED PANELS
DUE
TO
OVER
TIGHTENINGARE NOT COVERED UNDER WARRANfY!
4.
Attach
PressArm
Poo"1
(5()
to
Press
Arm
(7) us;nQ
fOlr
M6 X
12l
Male Set Screws
(1
24)
5.
Attach Puley
C",er
Pan
..
(0)
on
the rear top cI
Mall
Fr""'"
(1),
lJSinQ
fOlX
M6
X
12l
Male S
..
ScreW3
(12()
6.
Attach
Lit
Bar
(37),
ClXl
Bar (36),
Sin"e
Hardie ('JJ) andAB Cruro:h Belt «(8)
to
the
GXP
Stren"h
TrairinQ System


