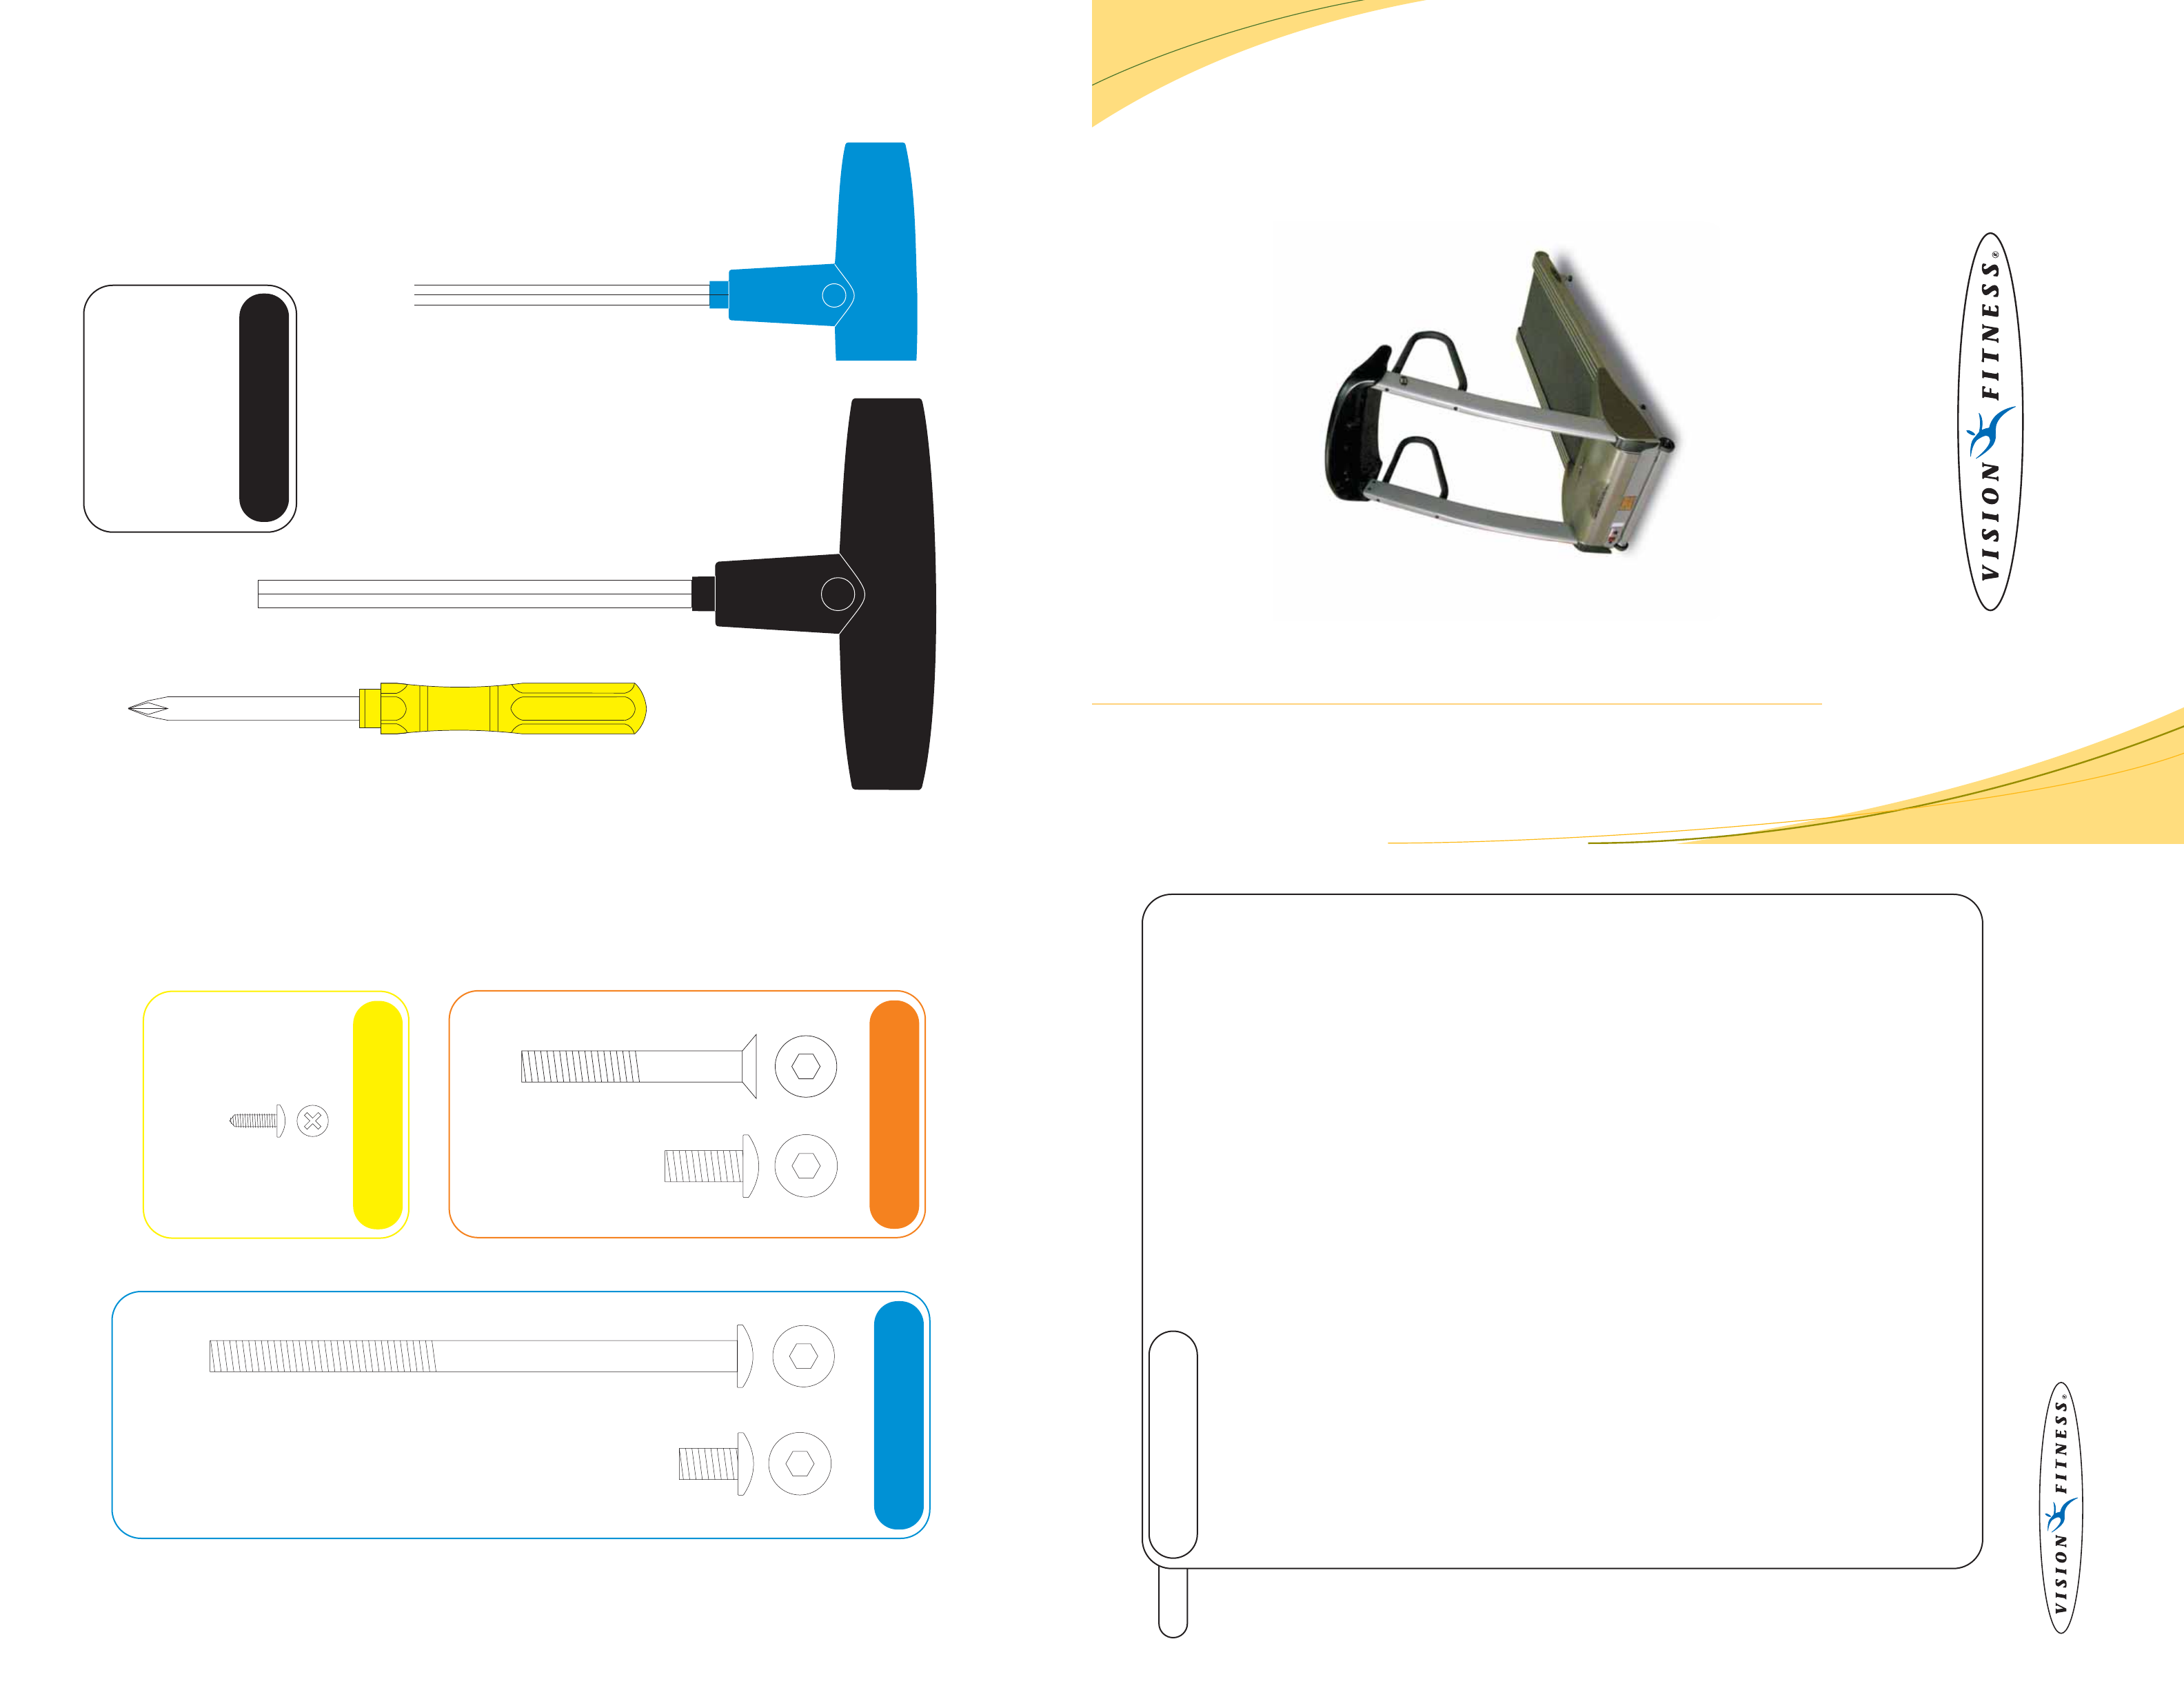
HARDWARE INCLUDED
Screwdriver
TOOLS, HARDWARE, & PARTS INCLUDED
PARTS BOX
Water Bottle, Qty: 1
Heart Rate Chest Strap, Qty: 1
Color-coded Hardware Bags
Owner’s Guide
Assembly Guide
Warranty Card
8
MM
Allen Wrench
ORANGE BAG
BLUE BAG
M8 x 135L Bolts
Quantity: 4
M8 x 15L Bolts
Quantity: 4
Assembly
Guide
T9500HRT AND T9700HRT
PLATFORM TREADMILLS
©2004 Vision Fitness. All Rights Reserved. 8.03 Part #Z92TM49-AG1812PRD
AG18.12PRD
REV3 Mar.03.04
M8 x 55L Flathead Bolts
Quantity: 4
YELLOW BAG
M4 x 12L Panhead Screws
Quantity: 6
M8 x 20L Bolts
Quantity: 2
5mm L-Shaped Wrench
4
STEP
Once the treadmill is plugged in, you need to perform an Auto-Calibration to assure maximum performance.
MODELS T9500HRT:
DO NOT STAND ON THE BELT WHEN PERFORMING THE AUTO-CALIBRATION
• You need to access User Engineering Mode to run the Auto-Calibration. With the Safety Key in place, please
hold down SPEED DOWN and SELECT for 5 seconds. When in the User mode, "USEr" displays in the center
window. To access the data press the ELEVATION keys until "Auto" appears in the center window. Press Start to
select this function.
• To begin Auto-Calibration, press START. The treadmill will run through minimum and maximum Speed and
maximum Elevation. This will take 3-5 minutes. Let the treadmill perform this complete function before exiting the
Engineering Mode.
• Elevation A/D or Elevation in % appears in the left window. PWM value or Speed appears in the right
window. "End" will appear in the center window when the Auto-Calibration is complete. When Auto-Calibration
is complete, it will take the treadmill about 30 seconds to go to 0% Elevation and return to the start-up screen
with “P1” showing in the Function window.
MODELS T9700HRT:
DO NOT STAND ON THE BELT WHEN PERFORMING THE AUTO-CALIBRATION
• You need to access User Engineering Mode to run the Auto-Calibration. With the Safety Key in place, please
hold down SPEED DOWN and SELECT for 5 seconds. When in the User mode, "User Mode" appears in the
alphanumeric window. To access the data press the ELEVATION keys until "Auto-Cal" appears. Press Start to select
this function.
• To begin Auto-Calibration, press START. The treadmill will run through minimum and maximum Speed and
maximum Elevation. This will take 3-5 minutes. Let the treadmill perform this complete function before exiting the
Engineering Mode.
• Elevation A/D or Elevation in % appears in the left window. PWM value or Speed appears in the right
window. "Cal Passed" will appear in the alphanumeric window when the Auto-Calibration is complete. The
treadmill will come to a complete stop and return to the start-up screen in the alphanumeric window.
AUTO CALIBRATION


