STAR TRAC UNIVERSAL TV BRACKET INSTALLATION
8
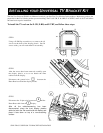
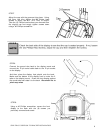
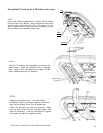
STEP4
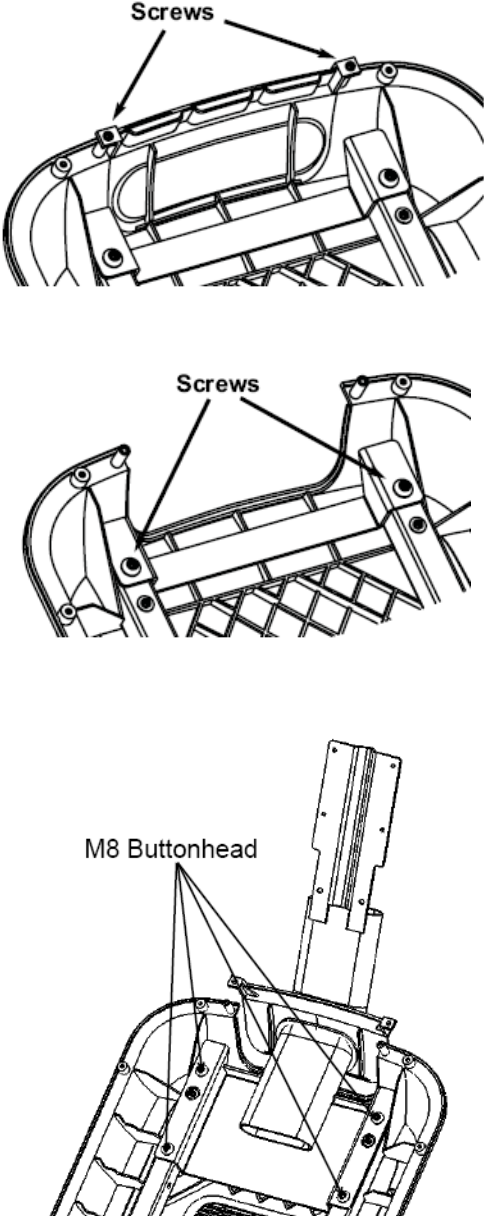
Remove the cap cover with the Star Trac logo from the
plastics by removing the (2) screws using a #2 Phillips
screwdriver. Retain the screws for later use. You will no
longer need the cap cover and, if desired, you can store it
away for any possible future use.
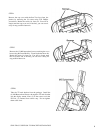
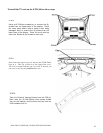
STEP5
Remove the (2) M8 button head screws retaining the cross
brace using the 5mm Hex Key. Found in the hardware kit.
Retain the screws for later use. You will no longer need
the cross brace and, if desired, you can store it away for
any possible future use.
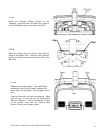
STEP6
Take the TV neck bracket from the package. Install the
(4) M8 Button head Screws through the TV neck bracket
into the display mount. Note: (2) of the screws are in the
PVS kit, (2) retained from earlier step. Do not tighten
them at this time.


