


WV3480IS01SPTRA
07/15/08
347
Walk-Run Pedometer
© 2008 EB Sport Group#3480
1
2345
7
89
10
151413 1611 12
6
IMPORTANT: READ THROUGH ALL INSTRUCTIONS
BFORE BEGINNING TO USE YOUR PEDOMETER
BEFORE USING YOUR PEDOMETER YOU WILL NEED
TO DO THE FOLLOWING:
1. Remove the battery insulator tab from the battery
compartment to turn your pedometer on.
2. Remove the plastic static label from the display screen
to read your display.
The display will show all segments for 2 seconds and all
data is cleared. The unit will then enter into Clock Mode.
This is a multifunctional unit with several features to
enhance your exercise program. Features are:
Counts Steps (counts from 0 to 99999)
Measures Distance in Miles or Kilometers (from 0.00 to
999.99)
Clock with Alarm (12 or 24 hour format)
Stopwatch with Split Time Function (times activity up to 9
hours 59 minutes and 59 Seconds)
Calculates Speed (Up to 1/1000 of a mile up to a maximum
speed of 21.8 MIL/H or 34.56 KM/H per hour)
BUTTON FUNCTIONS:
Button A- ALT-ALARM – This button is used to
• Turn clock alarm on and off
• Change modes from Step to Distance to Speed
Button B - + START/STOP -- You would use this button for
the following:
• To adjust the minutes and hours when setting the clock
in Clock Mode.
• To adjust the minutes and hours when setting the alarm
time in Alarm Mode.
• To adjust your stride length while in Distance Mode
Button C – WALK/RUN – SPLIT – You would use this
button to:
• Adjust your unit to a walking or running pace
• In stopwatch mode it enables you to split time an event
Button D – SET/RESET – This button serves several
functions:
• Resets all data back to zero (except the Clock and Alarm
Time)
• In Clock Mode enables you to set the time
• In Alarm Mode enables you to set the alarm
• Resets stride setting back to the default (30-in/75 cm for
Walk mode or 42- in/100cm for Run mode)
Button E - MODE – SYSTEM – This button does the
following:
• Switches time from 12 hour to 24 hour format and vice
versa
• Advances you through Mode Selections from Clock,
Alarm, Stopwatch and Step
DISPLAY OPTIONS:
WALK – STEP OR RUN – STEP: Counts steps whether
walking for running
CLOCK – 12 hour format will show A or P
24 hours format will show 24hr
The word ALARM will indicate the time the alarm
is set to
Indicates the alarm is on
Indicates you are in stop watch mode
SPLIT – If this appears at the top of the display while in
stopwatch mode it indicates that you are using the split
timing feature. If SPLIT is flashing, it is internally timing the
split time.
WALK – MIL or RUN – MIL – Pedometer is measuring
distance in miles
WALK – KM or RUN – KM – Pedometer is measuring
distance in kilometers
WALK – MIL/H or RUN – MIL/H – Pedometer is calculating
your speed in miles
WALK – KM/H or RUN – KM/H – Pedometer is calculating
your speed in kilometers
– Pedometer is recording your
activity time
–
– Indicates that data is being recorded
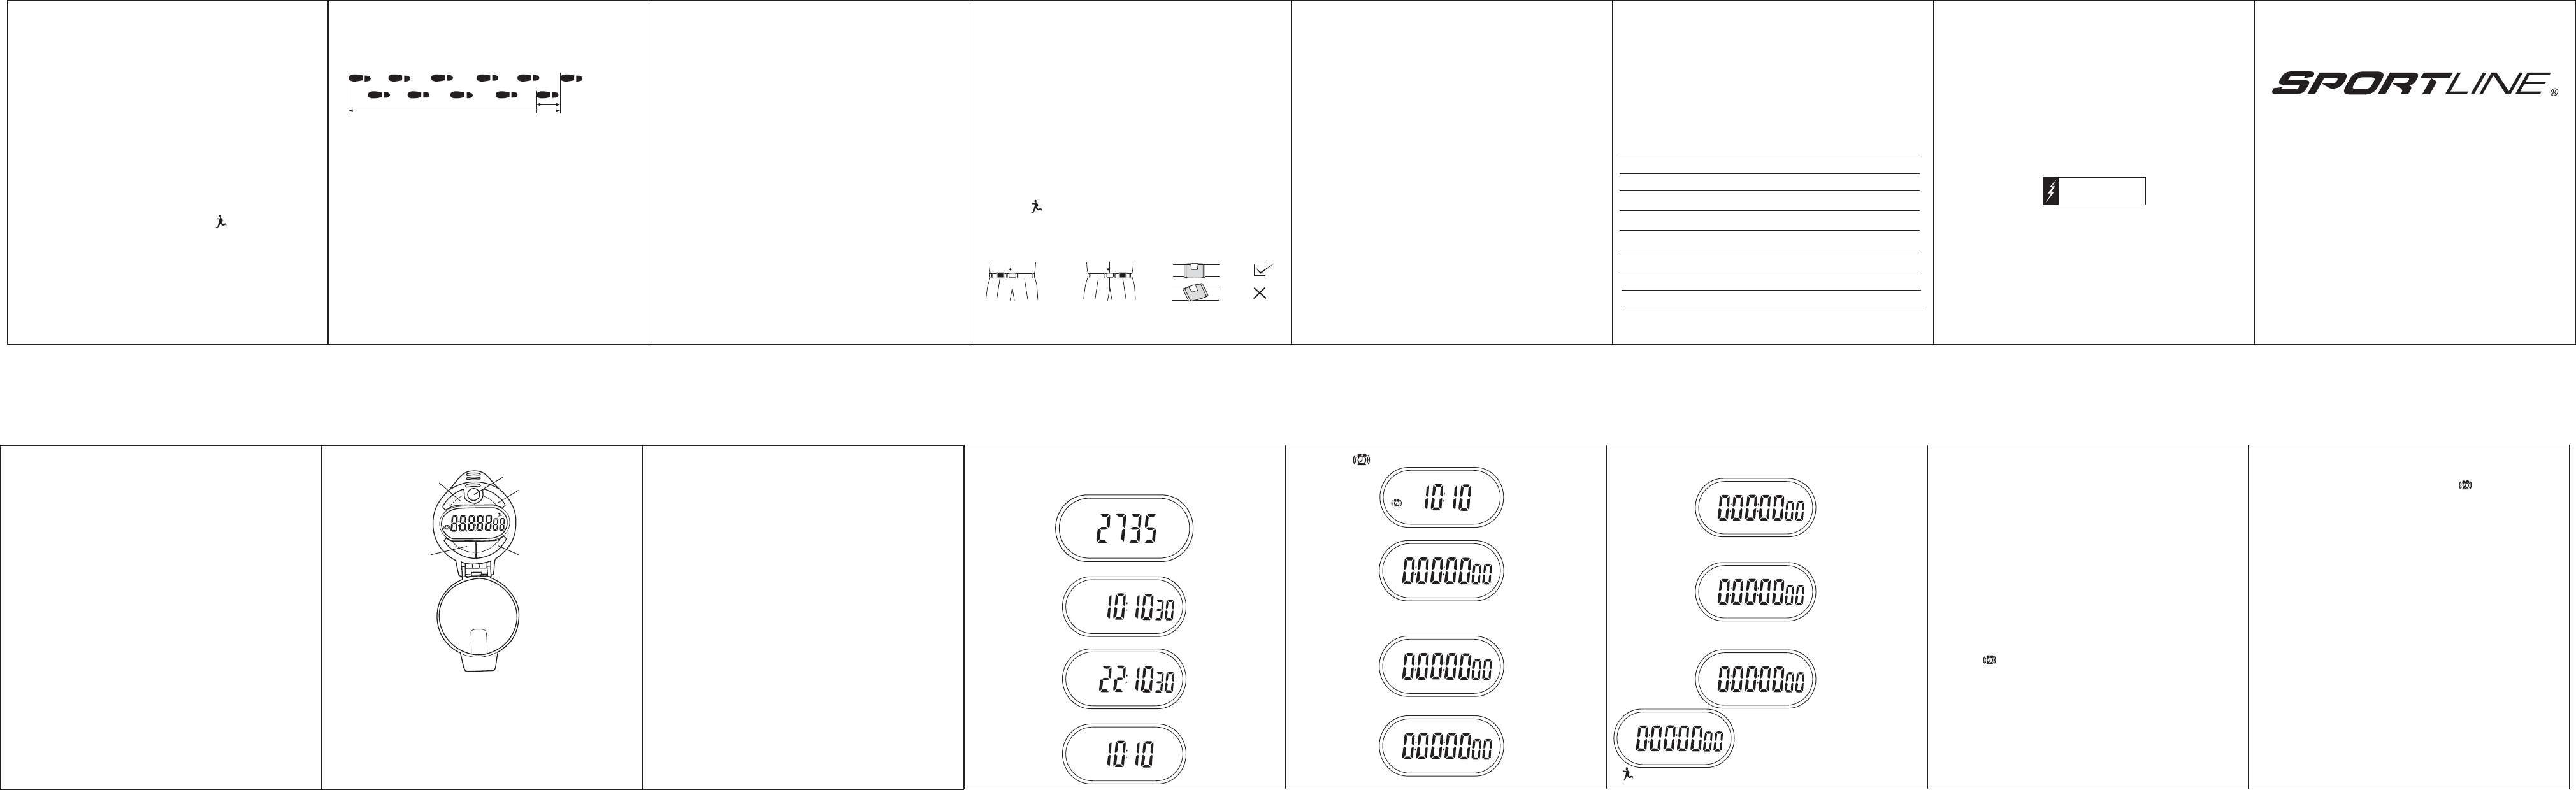
CLOCK MODE:
This mode will be symbolized by A or P in 12 hour format or
24hr in 24 hour format.
SETTING TIME:
Press Button D (SET/RESET) for 2 seconds while in clock
Mode and the minute digits will flash. The second digits
clear to zero at the same time.
Press Button B (+START/STOP) to adjust the minutes
Press Button D (SET/RESET) and the hour digits flash
Press Button B (+START/STOP) to adjust the hours
To switch between the 12/24 hour system press
Button E
(MODE/SYSTEM)
Press Button D (SET/RESET) once more to end setting.
ALARM MODE:
The alarm mode is symbolized by the word ALARM to set it
and the when the alarm is in the On position. When
the alarm time is reached it will beep for approximately 20
seconds.
SETTING ALARM TIME:
Press Button D (SET/RESET) for 2 seconds while in Alarm
Mode and the minute digits will flash.
Press Button B (+START/STOP) to adjust minutes
Press Button D (SET/RESET) and the hour digits flash
Press Button B (+START/STOP) to adjust the hours
Press Button D (SET/RESET) once more to end setting.
TURNING THE ALARM ON/OFF:
Press Button A (ALT/ALARM) to turn the alarm on/off in all
modes except the pedometer mode. A appears when
the alarm is on and there will be a ‘beep’ sound when
pressing any key in every mode once the
alarm was set
STOPWATCH MODE:
In this mode the unit can be used as a stopwatch. It can
time up activity up to 9 hours, 59 minutes and 59 seconds
up to one hundredth of a second.
NORMAL STOPWATCH TIME MODE:
Press Button B (+START/STOP) to start the stopwatch timer.
Press Button B (+START/STOP) again to stop the stopwatch
timer.
Press Button D (SET/RESET) to clear the recorded time.
SPLIT TIME MEASUREMENT:
Press Button B (+START/STOP) to start the stopwatch timer.
Press Button C (WALK/RUN – SPLIT) to measure the split
time. The flashing SPLIT indicates that the timer is working
internally although the numbers may remain the same.
Press the C (WALK/RUN – SPLIT) key to release the split
value. SPLIT disappears and the normal time measurement
appears again. The split time measurement can be
repeated as frequently as you like.
Press Button B (+START/STOP) to stop the timer.
Press Button D (SET/RESET) to clear the recorded time.
DOUBLE TIME MEASUREMENT:
Press Button B (+START/STOP) to start the measurements
of two events simultaneously.
Press Button C (WALK/RUN – SPLIT) to measure the time
of the first event. The flashing word SPLIT indicates that the
measurement of the second event is functioning internally.
Press Button B(+START/STOP) to stop the measurement of
the second event. The word SPLIT stops flashing.
Press Button C (WALK/RUN – SPLIT) to display the time of
the second event.
Press Button D (SET/RESET) to clear the recorded time for
both values.
PEDOMETER MODE:
The pedometer mode is symbolized by . Your pedometer
can be set to be used at either a walking or running pace
and will cover the following:
1. Exercise Time (Up to 9 hours, 59 minutes and 59
seconds).
2. Number of Steps (Up to 99999 steps)
3. Distance Covered (Up to 999.00 miles or kilometers)
4. Speed updated every 6 seconds (to a maximum reading
of 21.8 MIL/H or 34.56 KM/H
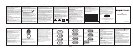
TO MEASURE STRIDE LENGTH:
You will need to input your stride length in order to get
accurate readings of your walking and/or running progress.
You can measure your stride length by doing the following:
1. Walk 10 steps.
2. Measure the distance that you’ve walked either from
heel-to-heel or toe-to-toe.
3. Divide by the distance covered by the number of steps
take to arrive at your Stride Length.
4. Example: measured distance covered 360 inches,
number of steps taken was 10 so divide 360 by 10 to
get 36. 36 inches is your stride length.
Important: Please remember that the length of your stride
while walking is different than the length of your stride while
running. You will need to measure your stride separately for
both walking and running so that you can use your
pedometer in the appropriate pace setting.
TO ENTER STRIDE LENGTH WHILE IN WALK SETTING
(Range is from 12 in 30 cm to 96 in/240cm with default
values of 30 in/75cm):
1. Decide first whether you want your pedometer’s Distance
Mode to operate in Miles or Kilometers.
2. Determine if the Distance Mode is currently set to MIL or
KM. If already set to your desired measurement, please
skip to #4.
3. If you need to change from MIL to KM or vice versa while
in Distance Mode press and hold Button D (SET/RESET)
for about 5 seconds and you will see the display change.
4. Press Button A (ALT/ALARM) to get to Distance Mode
(MIL or KM will show at the bottom of the display).
5. Press Button C (WALK/RUN–SPLIT) to go to the WALK pace.
6. Press Button D (SET/RESET)
7. Press Button B (+START/STOP) to enter your stride
length. Each press of the button will increase the length
by 1 inch or 1 centimeter depending on the measurement
system you are using. If you hold Button B
(+START/STOP), the numbers will advance continuously
until you release it. Release it when the display reaches
the stride length you want to set it to. The stride length
will flash for a few seconds. When it stops flashing the
stride length will be set in memory.
Or pressing (ALT/ALARM) to back to Distance Mode
8. You can go back to the stride length default setting
(30-in/75 cm in Walk Mode or 42-in/100cm in Run Mode)
by pressing Button D (SET/RESET).
NOTE: The default settings are 30-in/75 cm. If you need to
set your stride length lower than the default settings you will
need to advance through the maximum setting (96 in/240
cm) until the pedometer registers the minimum settings of 12
in/30 cm and advance the stride length from their until you
reach your desired setting.
TO ENTER STRIDE LENGTH IN RUN SETTING (Range is from
12 in 30 cm to 96 in/240cm with default values of 42-in/ 100cm):
Follow instructions as above for setting your stride length in Walk
Setting. The only difference will be in #5 you will press Button C
(WALK/RUN – SPLIT) until RUN appears on the display.
TO START YOUR EXERCISE:
Press Button D (SET/RESET) for about 1 second. All
exercise data readings will be reset to zero. When you
begin exercising will flash and the exercise data will show.
When you press Button A (ALT/ALARM) you can see the
step counter, distance traveled, speed and exercise time
rotated on the display with each press.
HOW TO WEAR YOUR PEDOMETER:
1. Clip the unit to your belt or the top of your shorts or
trousers as close to the crease line as possible.
2. The pedometer must always be in a horizontal position,
parallel to the ground. Do not attach it at an angle or
sideways as false readings will occur.
TO REPLACE BATTERY:
BATTERY REPLACEMENT
1. The battery hatch is on the front side of your pedometer.
Open the battery door with a coin to access the battery.
2. Replace with type AG13, LR44 or equivalent battery
when display dims.
3. When replacing battery door, be sure to place the longer
tabs at the top into their respective compartment slots
first in order to prevent breakage.
4. Reset the pedometer and re-enter the STRIDE length.
CAUTION – Battery Safety Information
• Non-rechargeable batteries are not to be recharged
• Rechargeable batteries must be removed before recharging
• Rechargeable batteries only to be recharged under adult
supervision
• Do not mix alkaline, standard (carbon-zinc), or rechargeable
(nickel-cadmium) batteries
• Do not mix old and new batteries
• Exhausted batteries to be removed
• Do not dispose of batteries in fire; batteries may explode
or leak
• Do not dispose of product in fire; batteries may explode
or leak
A
B
C
D
E
10
9
8
7
6
5
4
3
20
1
Step Distance
Ideal Distance
A
ALARM
24 hr
WALK
RUN
SPLIT
STEP
P
CMINKM/H
MIL/H
WALK STEP
SPLIT
WALK RUN
MIL
WALK RUN
KM
WALK RUN
KM/H
WALK
WALK RUN
MIL/H
P
A
24 hr
ALARM
P
GUARANTEE CERTIFICATE
For purchases made in the U.S.
If at any time within one (1) year from the purchase date of
this product, it fails to perform properly because of defects in
material or manufacturing, return it prepaid to:
EB SPORT GROUP, 585 Oak Ridge Road, Hazleton, PA 18202
Complete this Guarantee Certificate and enclose it
(or a copy of it) with the product.
(PLEASE PRINT CLEARLY)
NAME TEL
ADDRESS
CITY
STATE ZIP
STORE PURCHASED FROM
DATE OF PURCHASE PURCHASE PRICE
PROBLEM WITH PRODUCT
REPLACEMENT
This product has been carefully designed, manufactured
and packaged. If any parts are missing or damaged,
please contact us at the address above and we will replace
the unit at no charge. (Guarantee does not cover crystal or
battery.)
For purchases made in the UK:
Should you experience problems with this item, please
return it to the point of purchase. This will not affect your
statutory rights. Alternatively return it to the address shown
below for a repair/replacement: StarCase (UK) Ltd,
Berkeley Business Park, Wainwright Road, Worcester
WR4 9FA
WV3480IS01SPTRA
Please note: Before using your
pedometer, remove battery
insulation strip. (Insulation strip
designed to preserve battery power)
www.sportline.com
Sportline® and Walking Advantage by Sportline™ are trademarks of SPORTLINE,
a division of EB Sport Group, Yonkers, NY 10701
Distributed in the UK by StarCase (UK) Ltd., Worcester, WR4 9FA
All Rights Reserved. ©2008