16
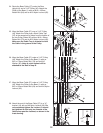
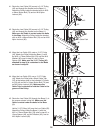
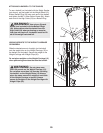
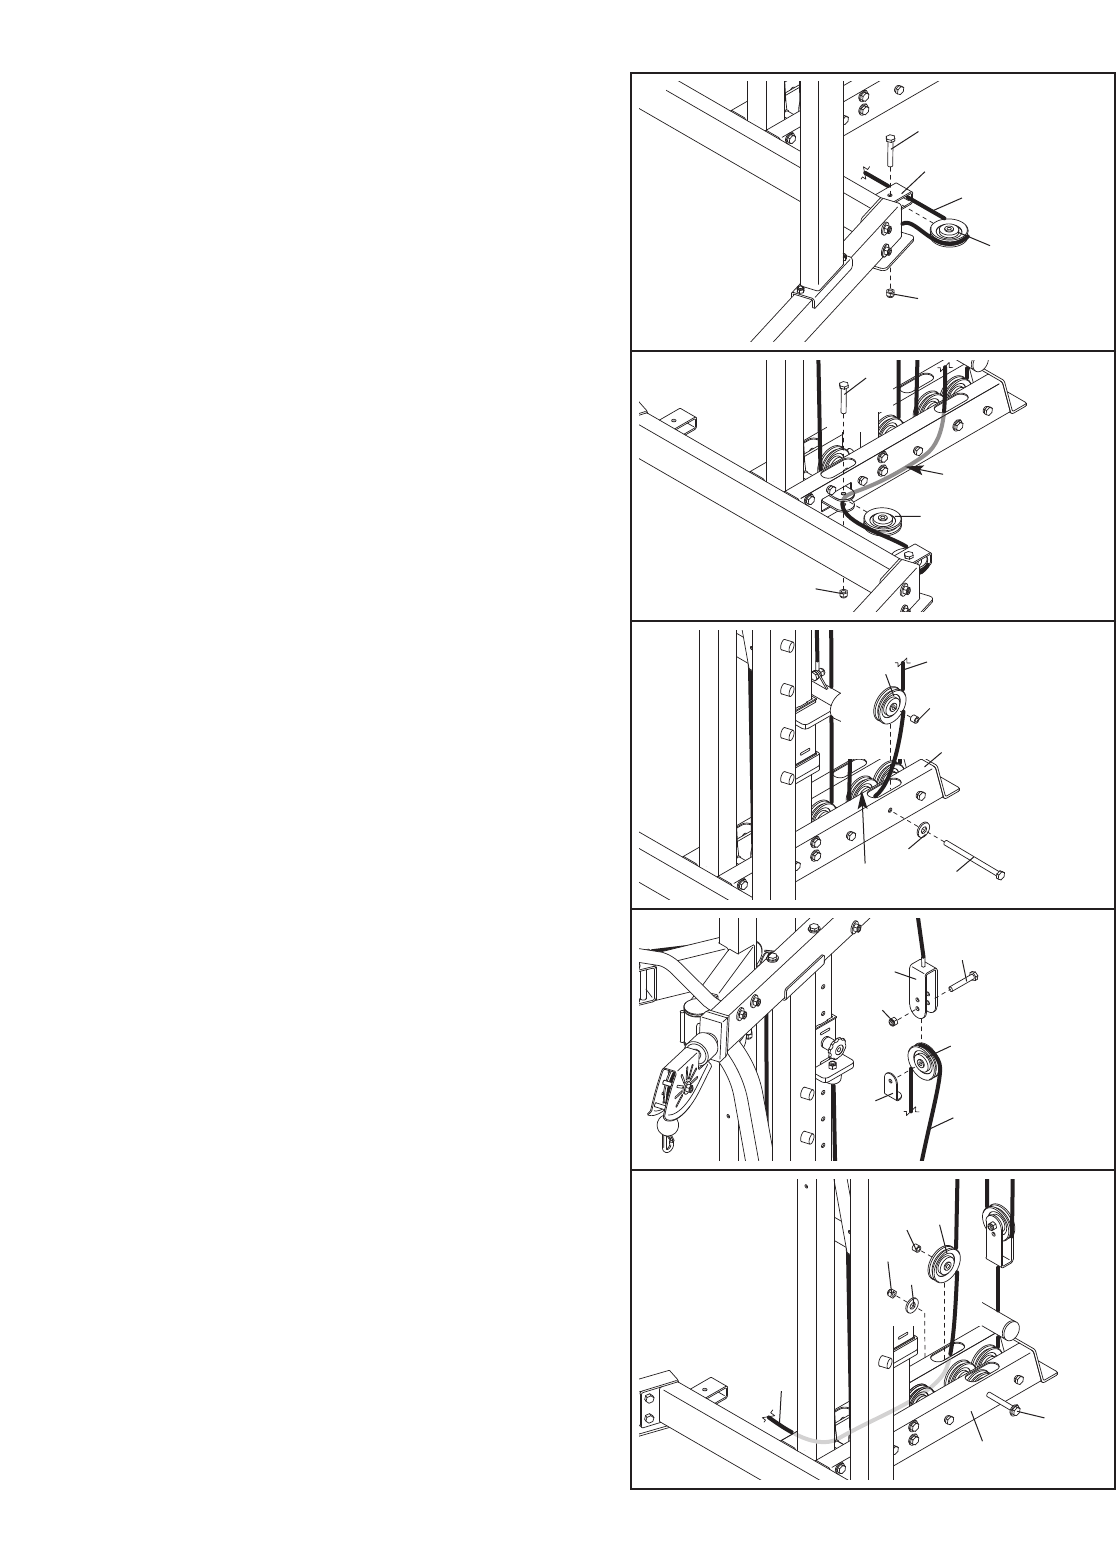
41. Route the Low Cable (55) around a 3 1/2” Pulley
(45) and through the bracket on the Base (1).
Attach the Pulley inside the bracket with an M10
x 48mm Button Bolt (74) and an M10 Nylon
Locknut (62).
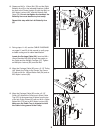
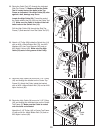
43. Wrap the Low Cable (55) under a 3 1/2” Pulley
(45). Attach the Pulley inside the Base (1) with
the M10 x 178mm Button Bolt (78) and the M10
Washer (65) used in step 26, and a 12mm
Spacer (49).
Make sure the 3 1/2” Pulley (45)
attached in step 26 is reattached to the Base
as shown in step 26.
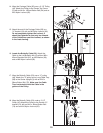
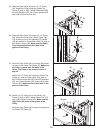
44. Wrap the Low Cable (55) over a 3 1/2” Pulley
(45). Attach the Pulley and a Short Cable Trap
(47) at the bottom hole in the indicated “U”-brack-
et (19) with an M10 x 54mm Button Bolt (73) and
an M10 Nylon Locknut (62). Make sure the
Cable Trap is oriented to hold the Cable in the
groove of the Pulley.
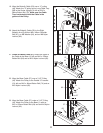
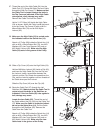
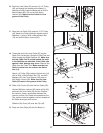
45.
Route the Low Cable (55) through the Base (1) in
the manner shown in step 42. Make sure the
Cable is routed under the bolts in the Base
(1).
Hold a 3 1/2” Pulley (45) over the Low Cable (55).
Attach the Pulley inside the Base (1) with the
M10 x 178mm Button Bolt (78) used in step 43, a
12mm Spacer (49), an M10 W
asher (65), and an
M10 Nylon Locknut (62).
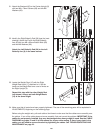
41
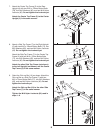
42. Route the Low Cable (55) around a 3 1/2” Pulley
(45) and through the bracket on the Base (1).
Make sure the Cable is routed under the bolts
in the Base. Attach the Pulley inside the bracket
with an M10 x 48mm Button Bolt (74) and an M10
Nylon Locknut (62).
42
43
44
45
74
1
55
45
62
62
45
Cable Path
74
55
49
1
65
45
78
45
19
73
47
45
55
62
78
1
62
49
45
65
55


