Life Fitness Model 9500 Series Cross-Trainers
How To...Remove AC Line cord Assembly (GK53-00002-0013)
Tools Required: Torx key, or Standard flat screwdriver, Socket Set, Hex Key Set, Side cutters
Step 1
Turn power off at the ON/OFF switch then unplug the AC line cord from electrical outlet.
Step 2
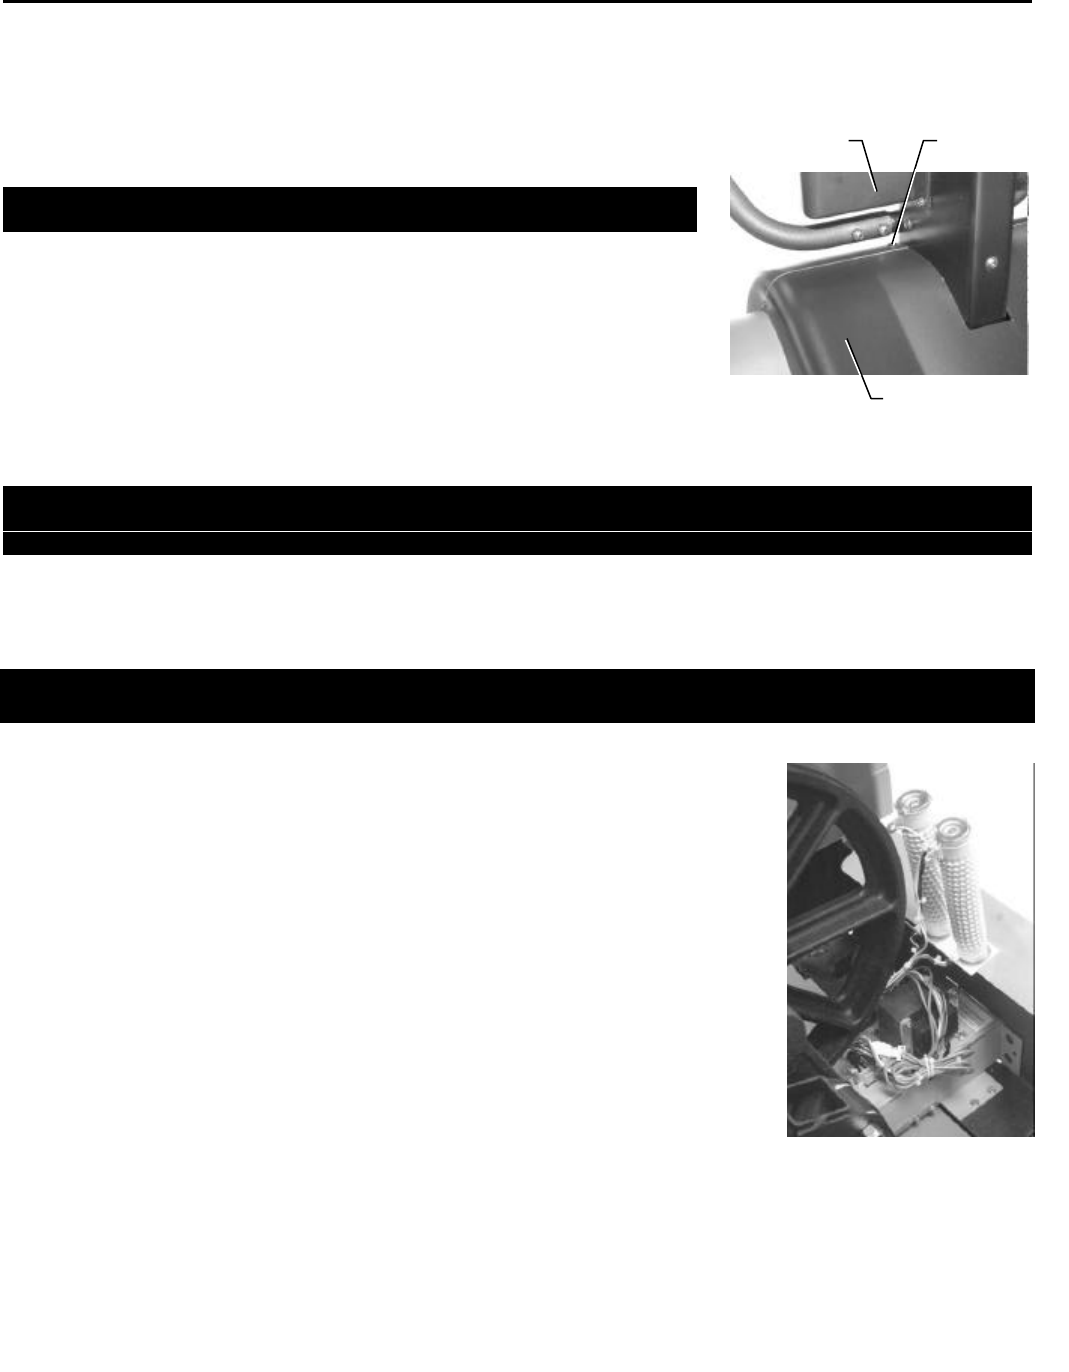
Locate PUSH SNAPS (2) under the TRAY ASSEMBLY. Depress the center
tab down.
NOTE: USING A HEX KEY TOOL YOU CAN REACH UNDER THE TRAY
ASSEMBLY TO DEPRESS THE CENTER PIN.
Step 3
Remove SCREWS (8) securing the HOOD SHROUD ASSEMBLY.
Step 4
Gently press down on the HOOD SHROUD ASSEMBLY, just below the
PUSH SNAP and remove the HOOD SHROUD ASSEMBLY.
Step 5
Reverse steps 1 through 4 to return parts to proper location.
NOTE: TO REPLACE PUSH SNAP, POSITION INNER PIN SO THE HEAD OF THE PIN IS OUT AT THE TOP.
INSERT INTO BOTH SHROUD ASSEMBLES, AND DEPRESS. FOR PROPER INSTALLATION THE PUSH
SNAP WILL BE FLUSH WITH THE HOOD SHROUD ASSEMBLY.
Step 6
Disconnect the 2 PIN CONNECTOR at CABLE CONNECTION in base of the unit and the POWER MODULE
ASSEMBLY. Replace ALL wire ties.
NOTE: THE CABLE FROM THE POWER CONTROL BOARD TO THE POWER MODULE DOES NOT NEED TO
BE REMOVED; DISCONNECT AT BASE OF FRAME.
Step 7
With a socket wrench (5/16”), loosen and remove the GROUND TERMINAL NUT
which attaches the GROUNDING STRAP to the FRAME.
Step 8
With a socket wrench (5/16”), loosen and remove the MOUNTING SCREWS (4)
securing the POWER MODULE to the FRAME. Carefully lift POWER MODULE out
from unit.
Step 9
With a socket wrench (1/4”), remove the three hex head screws securing the bottom
cover plate to the POWER MODULE housing. Remove the cover plate and set aside.
Step 10
See wiring diagram on reverse side for wire placement.
Step 11
Reverse steps 6 through 9 to reassemble parts to proper position.
Continued
Hood Shroud
Assembly
