Quick Setup
Before using the projector, read these instructions and the safety instructions in the
User’s Guide on your projector CD-ROM.
Turning off the projector
1 If you’re using a computer, shut it down first, while you can still
see the display.
2 Press the power button on the projector or remote control.
3 When you see the confirmation message, press the power
button again. The
projector beeps twice and the power light
turns orange.
With Epson’s Instant Off
®
technology, there’s no cool-down period. When
you’re done, just unplug the projector and it’s ready to travel.
5 Connect your video source
Follow these instructions to connect the projector to your video
equipment using an HDMI cable or component video cable and adapter.
For instructions on using other connection options, or connecting to a
computer, see the User’s Guide on your CD-ROM.
Connecting with an HDMI cable
For the best image and sound quality, connect your video equipment to the
HDMI port, if possible.
1 Connect an HDMI cable (not included) to the HDMI port on your
video player and the HDMI port on the projector.
2 Start your video or presentation. Use the Source Search button on
the projector or the Search button on the remote control to select
the HDMI source, if necessary.
Connecting with a component video cable
If your video equipment has component video connectors (three
connectors labeled either Y/Cb/Cr or Y/Pb/Pr), you can use a component
video cable (not included) along with the included component-to-VGA
adapter.
1 Connect your component video cable to your video device.
2 Connect the component-to-VGA adapter that came with your
projector to the component video cable.
3 Connect the VGA end of the adapter to the projector’s Computer
(Component Video) port.
4 You can connect an optional audio cable if you want to play sound
through the projector. See the User’s Guide on your CD-ROM for
instructions.
5 Start your video or presentation. Use the Source Search button on
the projector or the Search button on the remote control to select
the video source, if necessary.
3 Set up the remote control
1 Remove the battery cover.
2 Insert the batteries.
3 Replace the battery cover.
4 Plug in and turn on
1 Open the A/V Mute slide (lens cover).
2 Connect the power cord to the projector and plug
the other end into an electrical outlet.
The
power light on the projector turns orange.
3 Connect your video source, as described to the right.
4 Turn on your computer or video source.
5 Press the power button on the projector or remote control. The
projector beeps, the power light flashes green, and the projector
warms up. When the power light stays green, the projector is
ready for use.
Turn over
PowerLite
®
Home Cinema 700
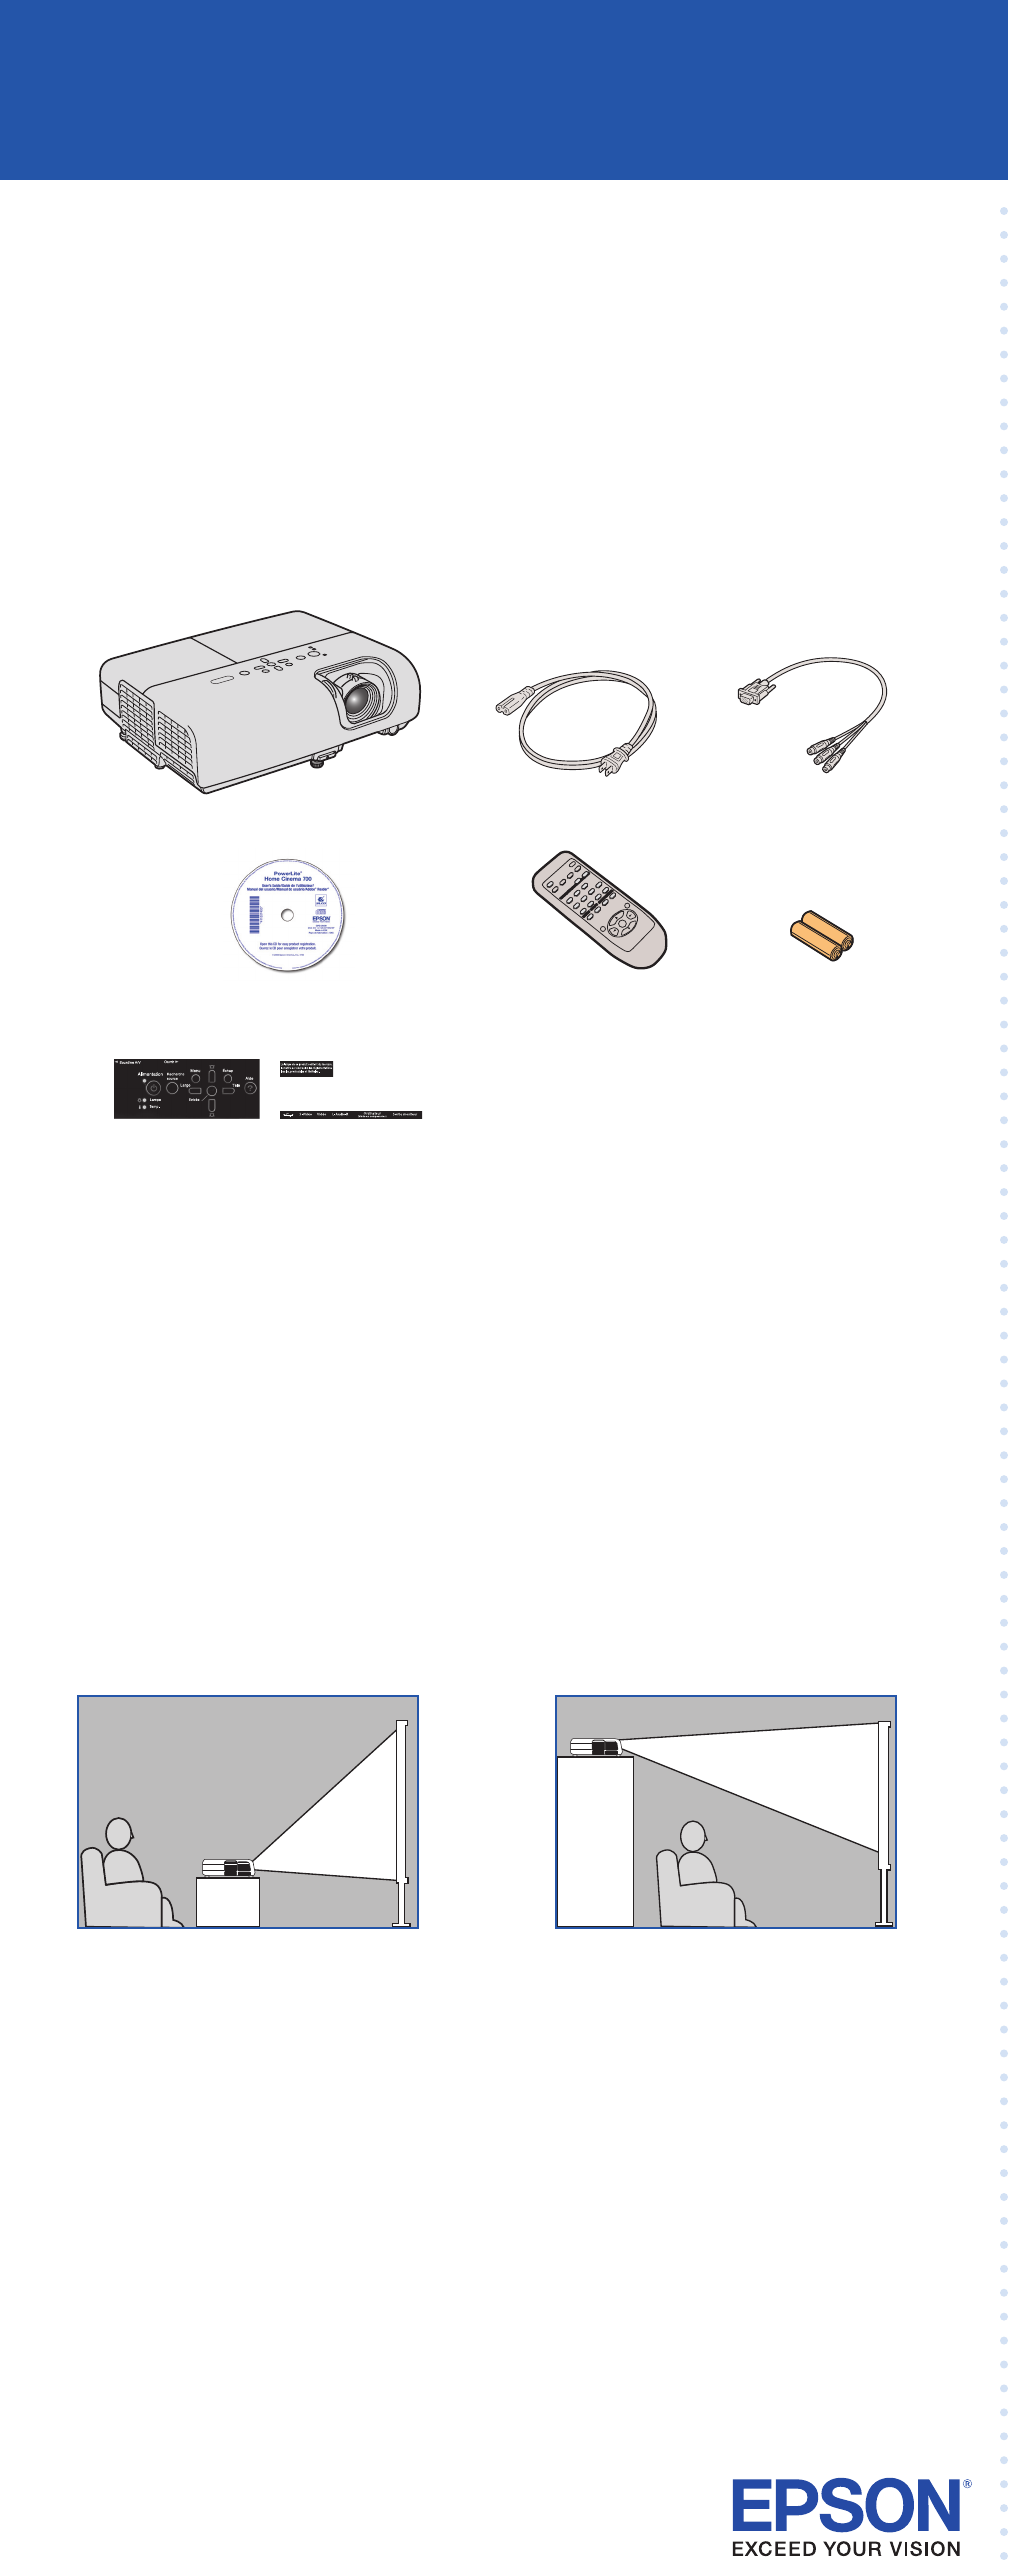
1 Unpack the projector
You should have the following items:
Canada only: For French speakers, remove sticker(s) from the interface
label backing sheet and place over corresponding text on the control
panel.
2 Choose a location
The easiest way to set up your projector is to place it on a table in front of
your screen or wall, or on a high shelf behind you. See the User’s Guide for
other ways of setting up the projector.
Table Shelf
The distance between the projector and the screen generally determines the
size of the image, but the size can also vary depending on the aspect ratio
(image shape), how you zoom into the image, and whether you’ve adjusted
other image settings. Depending on the image settings you’ve chosen, you
can place the projector anywhere from 33 to 407 inches (84 to 1035 cm)
from the screen.
Use the tables in the User’s Guide, or the Image Size or Projection Distance
calculator on the Multimedia Projectors page on Epson’s website to help
you determine the proper projection distance.
Projector
Power cord
User’s Guide
CD-ROM
Batteries
Component-to-VGA
adapter
Projector
remote control
Power button
Power button
Power light
Interface label stickers
(Included for Canada only)


